Perfect Puff Pastry: An Easy Step-By-Step Guide

Unlock the secret to achieving the lightest, Perfect Puff Pastry that will leave you feeling like a master baker. Picture yourself effortlessly creating layers upon layers of golden, buttery goodness, with each bite melting in your mouth. But how do you achieve this pastry perfection? Fear not, for this easy step-by-step guide will take you through the process, from understanding the basics to baking and enjoying your own perfect puff pastry. So, are you ready to embark on a culinary journey that will elevate your baking skills to new heights?
Bake with Style—Click Here For Our Collection and Start Creating
Understanding Puff Pastry Basics
To truly grasp the intricacies of puff pastry, it is essential to have a solid understanding of its fundamental basics. Puff pastry is a versatile pastry dough that is known for its light, airy texture and flaky layers. It is made by layering butter between thin layers of dough and then folding and rolling it out multiple times. This process creates the characteristic layers and puffiness that puff pastry is famous for.
There are several variations of puff pastry that you can experiment with. Classic puff pastry is made with just flour, butter, salt, and water. However, there are also variations that use a combination of butter and shortening, which can result in a slightly different texture. Additionally, some recipes call for the addition of sugar, which can create a sweeter pastry that is perfect for desserts.
While puff pastry is generally easy to make, there are some common problems that can arise. One of the most common issues is uneven rising or puffing. This can be caused by uneven rolling or folding of the dough. To prevent this, make sure to roll the dough out evenly and fold it carefully, pressing the layers together firmly.
Another common problem is shrinking during baking. This can be caused by not chilling the dough properly before baking or not allowing it to rest long enough. To avoid this, make sure to chill the dough for at least 30 minutes before baking and allow it to rest for a few minutes after rolling it out.
Preparing the Butter Block
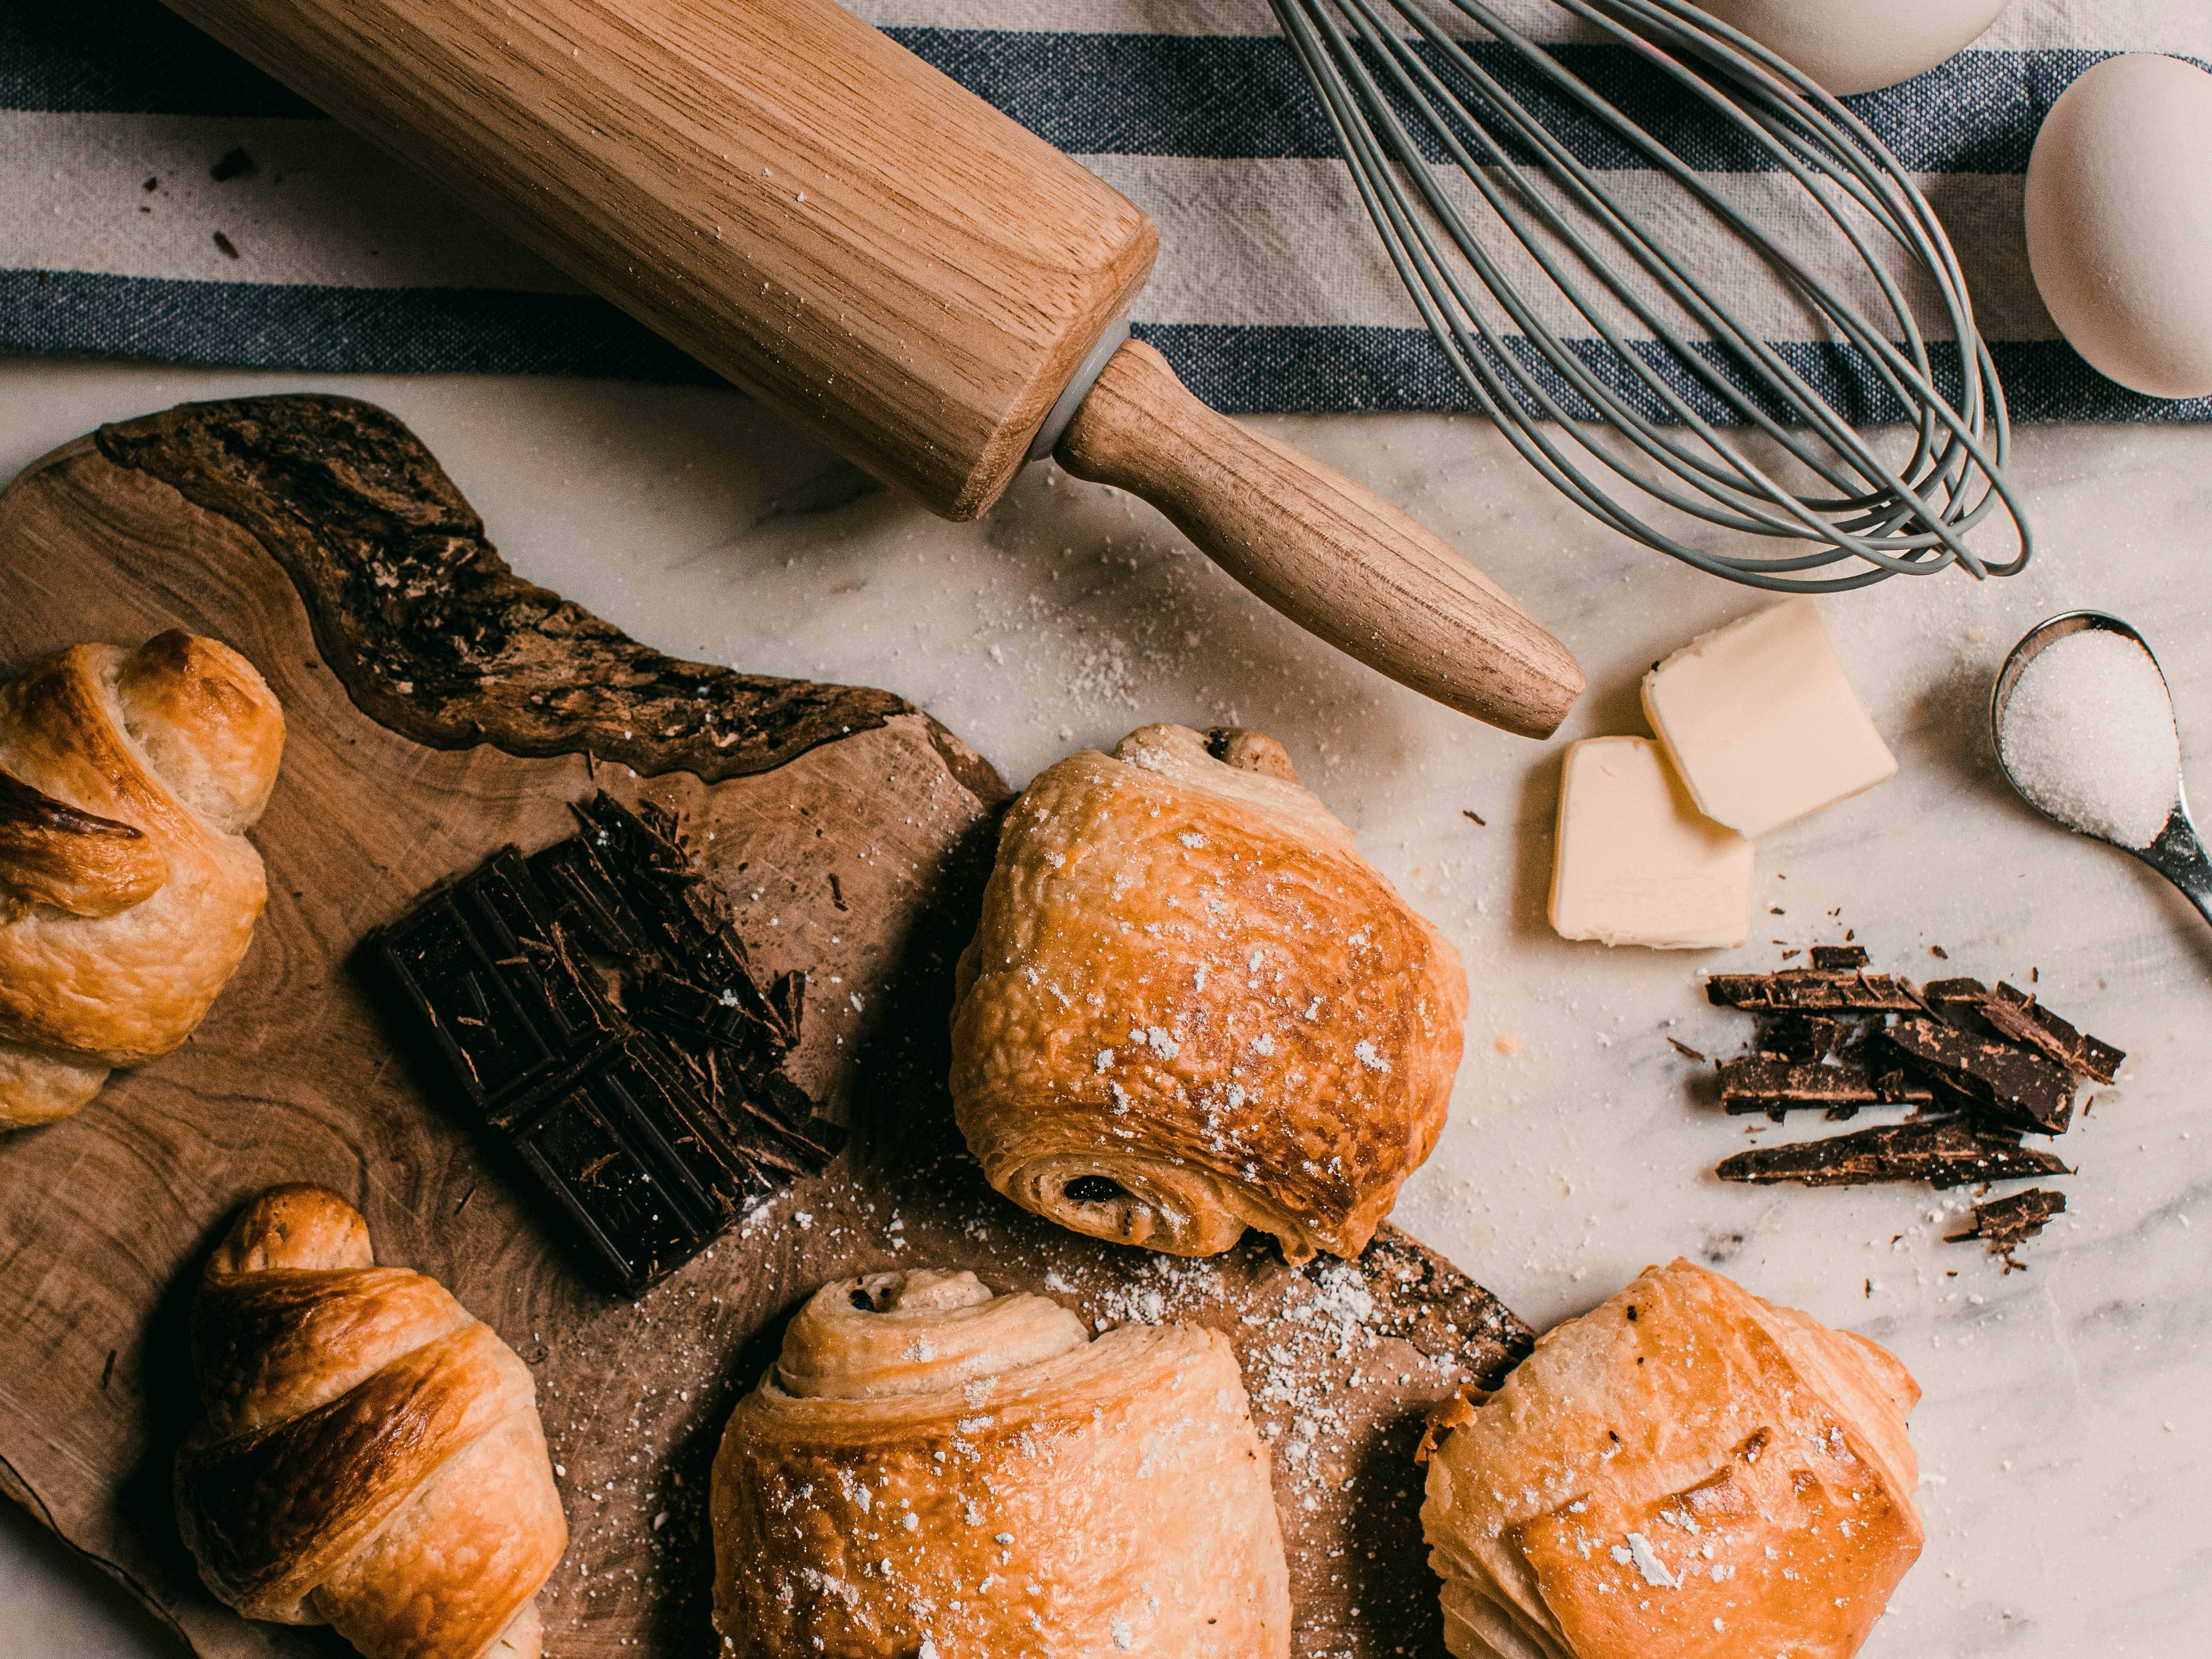
To prepare the butter block for your puff pastry, start by chilling the butter in the refrigerator until it is firm but still pliable. Once chilled, place the butter between two sheets of parchment paper and use a rolling pin to gently roll it out into a rectangle. This will create a uniform block of butter that can be easily incorporated into the pastry dough.
Chilling the Butter
In order to ensure that your puff pastry turns out perfectly flaky and delicious, it is essential to properly chill the butter, thereby creating a solid butter block that will create those desirable layers when baked. Chilling the butter is a crucial step in the puff pastry process, as it helps maintain the integrity of the dough and prevents the butter from melting too quickly during baking.
To chill the butter, you can use a variety of chilling techniques, such as placing it in the refrigerator or freezer. Temperature control is key, as the butter needs to be firm but not frozen. Typically, chilling the butter block for about 30 minutes to an hour is sufficient. Remember, the goal is to have a solid, cold butter block that can be easily incorporated into the dough, resulting in beautifully flaky layers in your puff pastry.
Bake with Style—Click Here For Our Collection and Start Creating
Rolling Out the Block
To prepare the butter block for rolling out, make sure the butter has been properly chilled and is firm but not frozen. This is crucial for achieving the perfect thickness in your puff pastry. Here are some steps to help you with the rolling technique:
- Start by lightly flouring your work surface to prevent sticking.
- Take the chilled butter block and place it in the center of the floured surface.
- Using a rolling pin, gently press down on the butter to soften it slightly.
- Begin rolling the butter outwards, applying even pressure to create an even thickness.
Remember to keep the butter block as rectangular as possible, and if it starts to soften too much, place it in the fridge for a few minutes to firm up again. By following these steps, you’ll be well on your way to achieving that perfect puff pastry thickness.
Mixing the Dough
For the perfect puff pastry, start by thoroughly mixing the dough until it reaches a smooth and elastic consistency. This step is crucial in creating layers of flaky pastry. To begin, gather all the required ingredients: flour, salt, cold unsalted butter, and ice water. In a large mixing bowl, combine the flour and salt. Next, using a pastry cutter or your fingertips, cut the cold butter into small pieces and add them to the flour mixture. Incorporate the butter into the flour by rubbing it in until the mixture resembles coarse crumbs.
Once the butter is evenly distributed, make a well in the center of the mixture and pour in the ice-cold water. Start by adding a small amount of water at a time and mix gently with a fork. Be careful not to overmix, as this can result in a tough pastry. The dough should come together, but still be slightly crumbly.
Now it’s time to knead the dough. Transfer the mixture onto a lightly floured surface and gently knead it for a few minutes until it becomes smooth and elastic. Use the heel of your hand to push the dough away from you, then fold it back over itself. Repeat this process, rotating the dough occasionally, until it becomes cohesive and pliable.
Once the dough has reached the desired consistency, shape it into a rectangular block and wrap it tightly in plastic wrap. Place it in the refrigerator for at least an hour to chill and allow the gluten to relax. This chilling step is essential for achieving a flaky and tender pastry.
Now that you have successfully mixed the dough, it is time to move on to the next step in creating the perfect puff pastry: rolling out the block.
Bake with Style—Click Here For Our Collection and Start Creating
Rolling and Folding the Dough
Now it’s time to tackle the crucial step of rolling and folding the dough to create those perfect, flaky layers in your puff pastry. To achieve this, you’ll need to roll the dough into a thin, even sheet using a rolling pin. Then, the folding technique comes into play, where you’ll fold the dough in a specific pattern to create those distinct layers. Lastly, don’t forget to give the dough time to rest between each fold, allowing the gluten to relax and ensuring a light and airy final product.
Rolling the Dough
Gently roll out the puff pastry dough on a lightly floured surface, ensuring it is evenly distributed and of the desired thickness. To achieve those flaky layers, follow these steps:
- Start rolling from the center of the dough and work your way outwards, using a rolling pin. This rolling technique helps maintain an even thickness throughout.
- Apply gentle pressure while rolling, being careful not to stretch or tear the dough. This ensures the layers remain intact.
- Rotate the dough periodically to prevent sticking and to ensure an even roll.
- If the dough becomes too soft or sticky, refrigerate it for a few minutes to firm it up before continuing.
Folding Technique
To perfect the art of puff pastry, it’s time to master the folding technique, which involves rolling and folding the dough to create those coveted flaky layers. There are different folding techniques you can use to achieve the desired results. One popular method is called the book fold, where you fold the dough in thirds like a book, then rotate it 90 degrees and repeat the process. This creates layers of dough and butter that will puff up when baked.
Another technique is the envelope fold, where you fold the dough in thirds, like a letter, and then fold it in half. This method also creates layers and adds to the flakiness of the pastry. Whichever method you choose, remember to keep your dough and butter cold, as this will help create the desired texture. Additionally, avoid overworking the dough, as this can result in a less flaky pastry. With these tips in mind, you’ll be well on your way to achieving perfectly flaky layers in your puff pastry.
Resting the Dough
Resting the dough is a crucial step in the process of rolling and folding the dough for perfect puff pastry. This step allows the gluten in the dough to relax, ensuring a tender and flaky texture in the final pastry. Here are some important resting techniques to keep in mind:
- Chill the dough: After each round of rolling and folding, it is essential to refrigerate the dough for at least 30 minutes. This helps firm up the butter, preventing it from melting and creating a greasy pastry.
- Use plastic wrap: Wrap the dough tightly in plastic wrap before chilling to prevent it from drying out and forming a tough exterior.
- Rest between folds: After each fold, let the dough rest for about 10 minutes. This allows the gluten to relax and makes rolling easier.
- Don’t rush: Give the dough enough time to rest, as this step is crucial for achieving the desired flakiness in your puff pastry.
Resting and Chilling the Dough
Allow the puff pastry dough to rest and chill for optimal results in achieving a light and flaky texture. The resting process is a crucial step in puff pastry making as it allows the gluten in the dough to relax, making it easier to handle and preventing shrinkage during baking. Additionally, chilling the dough helps to solidify the layers of fat, which is essential for creating the signature flaky texture.
After making the dough, cover it with plastic wrap and let it rest in the refrigerator for at least 30 minutes. This resting period allows the gluten strands to relax, resulting in a more tender pastry. It also gives the dough time to hydrate evenly, ensuring a cohesive and workable texture.
Once the resting period is complete, it’s time to chill the dough. Transfer the dough to a lightly floured surface and roll it out into a rectangle. Fold the dough into thirds like a letter, then rotate it 90 degrees, so the open ends are facing away from you. This process helps to create distinct layers in the pastry.
Place the folded dough on a baking sheet lined with parchment paper and cover it with plastic wrap. Refrigerate the dough for at least 30 minutes, or up to overnight. Chilling the dough solidifies the layers of fat, which ensures the pastry will rise properly in the oven and have a flaky, light texture.
Bake with Style—Click Here For Our Collection and Start Creating
Baking and Enjoying Perfect Puff Pastry
For the best results in achieving a perfect puff pastry, it’s time to dive into the process of baking and savoring this delectable treat. Here are some essential baking techniques to ensure your puff pastry turns out light, flaky, and absolutely irresistible:
- Preheat the oven: Before placing your puff pastry in the oven, make sure it’s properly preheated. This ensures even baking and helps the pastry rise to its full potential.
- Use a hot oven: Puff pastry loves a hot oven! The high temperature creates steam, which is what gives the pastry its signature flaky layers. Set your oven to at least 400°F (200°C) for optimal results.
- Avoid overcrowding: When placing your puff pastry in the oven, make sure to leave enough space between each piece. Overcrowding can prevent proper airflow, resulting in uneven baking and soggy pastry.
- Bake until golden brown: Keep a close eye on your puff pastry while it’s in the oven. It should bake until it turns a beautiful golden brown color. This indicates that the layers have fully risen and the pastry is cooked through.
Now that your puff pastry is perfectly baked, it’s time to enjoy the fruits of your labor! Whether you’re using it as a base for a savory dish or creating a sweet treat, the possibilities are endless. Try making classic palmiers, apple turnovers, or even a cheese and spinach tart. With these baking techniques and a variety of puff pastry recipes at your disposal, you’ll be able to create delicious, flaky delights that will impress everyone at the table. Enjoy!
Bake with Style—Click Here For Our Collection and Start Creating
Perfect Puff Pastry ; Frequently Asked Questions
Can I Use Margarine Instead of Butter for the Butter Block in Puff Pastry?
Yes, you can use margarine instead of butter for the butter block in puff pastry. Margarine is a suitable substitute, but keep in mind that it may affect the flavor and texture of the final product.
How Long Can I Keep the Prepared Puff Pastry Dough in the Refrigerator Before Using It?
You can keep the prepared puff pastry dough in the refrigerator for up to three days. To ensure its freshness, store it in an airtight container or wrap it tightly in plastic wrap.
Can I Freeze Puff Pastry Dough for Later Use?
Yes, you can freeze puff pastry dough for later use. To freeze it, wrap the dough tightly in plastic wrap and place it in an airtight freezer bag. When thawing, transfer it to the refrigerator overnight.
Can I Substitute Whole Wheat Flour for All-Purpose Flour in Puff Pastry Dough?
Yes, you can substitute whole wheat flour for all-purpose flour in puff pastry dough, but the texture and taste may be different. Also, if you substitute butter with margarine, the pastry won’t be as flaky.
Can I Add Savory or Sweet Fillings to Puff Pastry Before Baking?
Yes, you can add savory or sweet fillings to puff pastry before baking. Savory fillings like cheese and vegetables work well, while sweet fillings like fruit and chocolate create delicious desserts. The puff pastry will bake and become golden and flaky.
Conclusion
In conclusion, mastering the art of puff pastry is easier than you think. By understanding the basic techniques, preparing the butter block, mixing the dough, rolling and folding it, and allowing it to rest and chill, you can achieve perfect puff pastry every time. With a little practice and patience, you’ll be able to enjoy delicious, flaky pastries that are sure to impress. So go ahead, give it a try and elevate your baking skills to a whole new level.


