7 Simple Steps to Bake a Perfect Pumpkin Pie
Bake a Perfect Pumpkin Pie; You might think that baking a perfect pumpkin pie is a complicated and time-consuming task, but it doesn’t have to be. With these 7 simple steps, you’ll be able to create a delicious pumpkin pie that will impress your friends and family. From choosing the perfect pumpkin to letting the pie cool and set, this guide will walk you through each step with clear and easy-to-follow instructions. By following these steps, you’ll be able to bake a pumpkin pie that is golden and perfectly cooked, without any hassle or stress. So, put aside any doubts or worries and get ready to bake a pumpkin pie that will be the highlight of your next gathering.
Choose the Perfect Pumpkin
Choose a pumpkin that is firm and free from any soft spots or blemishes. When it comes to selecting the perfect pumpkin for your pumpkin pie, there are a few key things to keep in mind. First, consider the variety of pumpkins available. While the traditional orange pumpkin is a popular choice, there are also other varieties such as the Cinderella pumpkin, the Fairy Tale pumpkin, and the Sugar Pie pumpkin, which are all known for their delicious flavor and smooth texture.
To ensure that you are choosing a high-quality pumpkin, it is important to inspect it carefully. Look for a pumpkin that is firm to the touch, with no soft spots or blemishes. A healthy pumpkin should have a vibrant color and a sturdy stem. Avoid pumpkins with mold or any signs of decay, as these can affect the taste and texture of your pie.
When harvesting pumpkins, it is best to wait until they are fully mature. This is typically indicated by a hard rind and a deep, rich color. To harvest your pumpkin, gently cut the stem, leaving about two inches attached to the fruit. Be careful not to damage the pumpkin itself, as any cuts or bruises can lead to spoilage.
Now that you know how to choose the perfect pumpkin, you can confidently move on to the next steps in baking your delicious pumpkin pie. Remember, the quality of your pumpkin will greatly impact the flavor and texture of your pie, so take your time in selecting the best one. Happy baking!
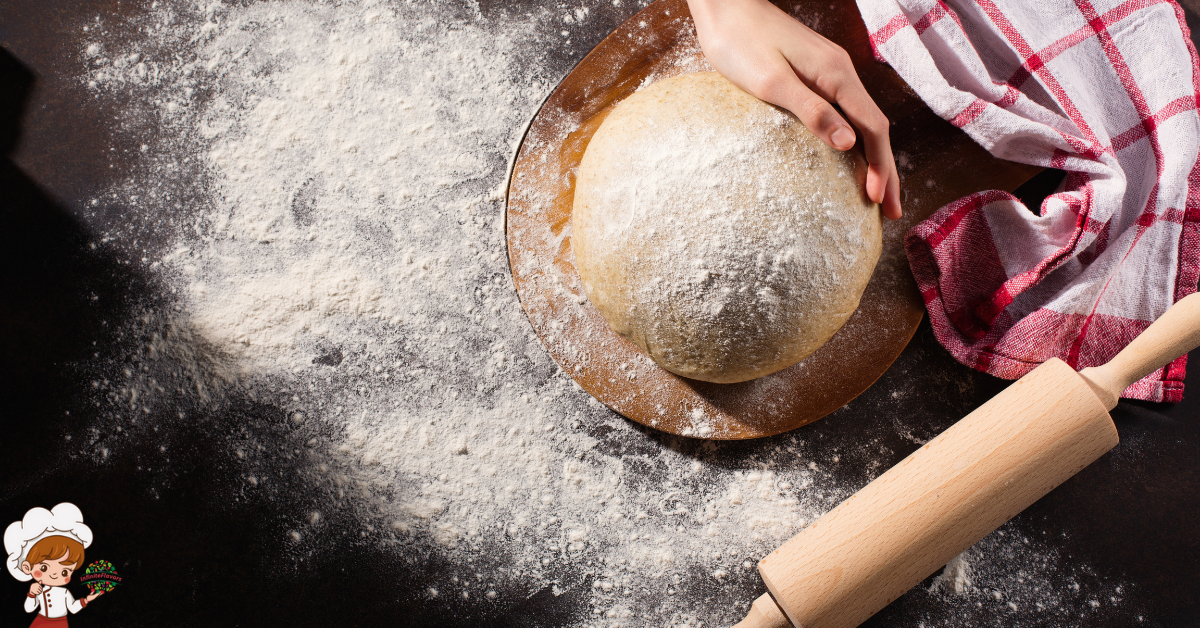
Prepare the Pie Crust
To ensure a flaky and delicious pie crust, you should always start by preheating your oven. This step is crucial because it allows the crust to bake evenly and develop that perfect golden color. Once your oven is preheated to the recommended temperature, it’s time to move on to the next step: blending the ingredients.
Blending the ingredients for the pie crust is a simple yet important process. In a large mixing bowl, combine the flour, salt, and sugar. Whisk them together until well combined. Then, add the cold butter and use a pastry cutter or your fingers to cut it into the flour mixture. The goal is to achieve a crumbly texture with small pea-sized pieces of butter. This is what gives the crust its flakiness.
After the ingredients are blended, it’s time to roll out the dough. Lightly flour a clean surface and place the dough on it. Using a rolling pin, start rolling the dough from the center outward. Turn the dough occasionally to ensure an even thickness. Roll it out until it’s about 1/8 inch thick.
Once the dough is rolled out, carefully transfer it to a pie dish. Gently press the dough into the dish, making sure it fits snugly. Trim any excess dough hanging over the edges with a sharp knife. You can also crimp the edges for a decorative touch.
Now that you’ve prepared the pie crust, it’s time to move on to the next step in baking a perfect pumpkin pie: making the filling. But don’t worry, we’ll guide you through it step by step. Stay tuned for the next subtopic: ‘Make the Perfect Pumpkin Filling.’
Mix the Pumpkin Filling
Now that you have prepared the perfect pie crust, it’s time for you to mix the pumpkin filling. This step is crucial in achieving a creamy and delicious pumpkin pie that will leave your taste buds craving for more. To help you create a filling that will wow your family and friends, here are some tips and tricks to follow:
- Use real pumpkin: While canned pumpkin puree is convenient, using freshly roasted pumpkin will add a depth of flavor that can’t be beat. Simply roast the pumpkin until it’s soft, scoop out the flesh, and puree it in a blender until smooth.
- Add a twist to traditional flavors: If you’re feeling adventurous, consider adding some unique spices or ingredients to your filling. A dash of nutmeg, a sprinkle of cinnamon, or even a pinch of cardamom can elevate the flavor profile of your pumpkin pie and give it a unique twist.
- Don’t skimp on the cream: For a truly creamy pumpkin filling, make sure to use heavy cream. This will give your pie a rich and velvety texture that is simply irresistible.
- Beat the eggs well: Beating the eggs until they are light and frothy is essential in creating a smooth and silky pumpkin filling. This step incorporates air into the mixture, resulting in a lighter texture.
- Sweeten to taste: Adjust the amount of sugar according to your preference. If you like a sweeter pie, add a little more sugar. If you prefer a more subtle sweetness, reduce the amount accordingly.
Pour the Filling Into the Crust
Now that you’ve mixed the pumpkin filling, it’s time to pour it into the crust. The key here is to achieve a smooth and even filling, free from any lumps or air bubbles. Gently pour the filling into the crust, ensuring that it reaches the edges and fills any gaps. Be mindful of the baking time and temperature, as this will determine the perfect consistency and texture of your pumpkin pie.
Smooth or Lumpy Filling
Once you have prepared your pumpkin pie filling, it’s time to carefully pour it into the crust. This step is crucial in achieving a smooth and delicious pumpkin pie. Here are a few tips to ensure your filling turns out perfectly:
- Use a ladle or measuring cup with a spout to pour the filling into the crust. This will help control the flow and prevent any spills.
- Slowly pour the filling into the crust, starting from the center and working your way outwards. This will help distribute the filling evenly and prevent any lumps from forming.
- If you prefer a smoother filling, use a whisk or immersion blender to blend the ingredients together before pouring it into the crust.
- For an extra burst of flavor, consider adding spices like cinnamon, nutmeg, or cloves to your filling. These spices will enhance the taste and aroma of your pumpkin pie.
- Be sure not to overfill the crust. Leave a little bit of room at the top to prevent any overflow during baking.

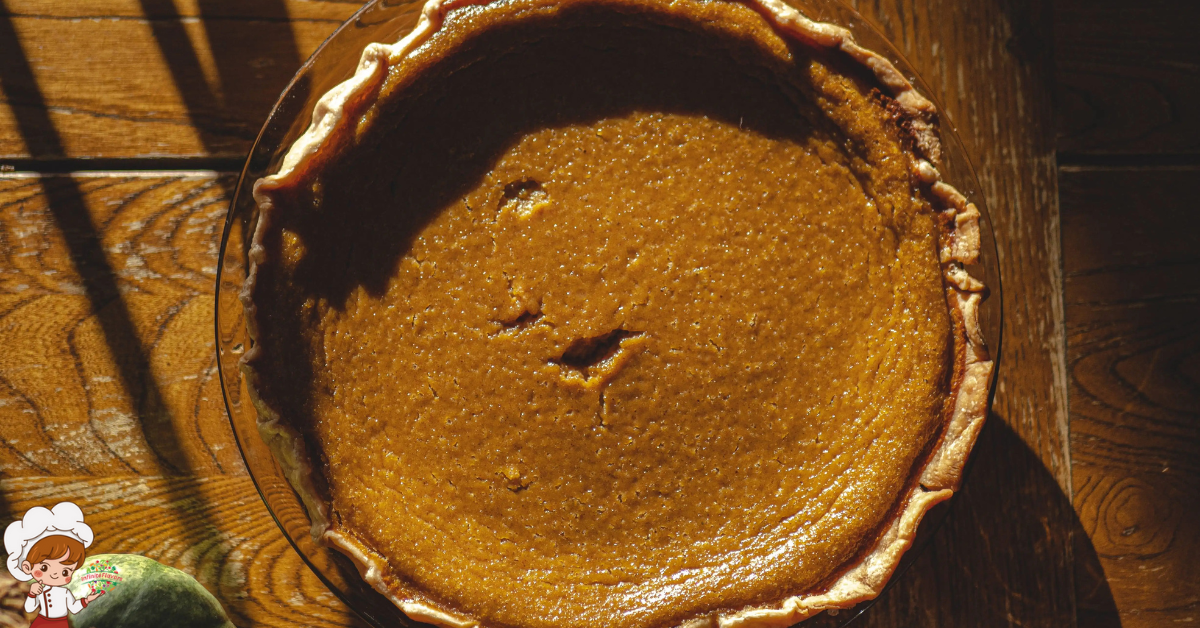
Baking Time and Temperature
To ensure a perfectly baked pumpkin pie, adjust the oven temperature to 350°F and bake the pie for approximately 45-50 minutes. This is the crucial step in achieving a golden, flaky crust and a firm, custardy filling. The baking time may vary depending on your oven, so it’s important to keep an eye on the pie while it bakes. If you notice the crust browning too quickly, you can use a pie shield to prevent it from burning.
A pie shield is a simple tool made of aluminum foil or silicone that you can place over the edges of the pie crust to protect it from excessive heat. By adjusting the baking time and using a pie shield if needed, you can ensure that your pumpkin pie bakes to perfection, with a beautifully cooked filling and a crust that’s just the right shade of golden brown.
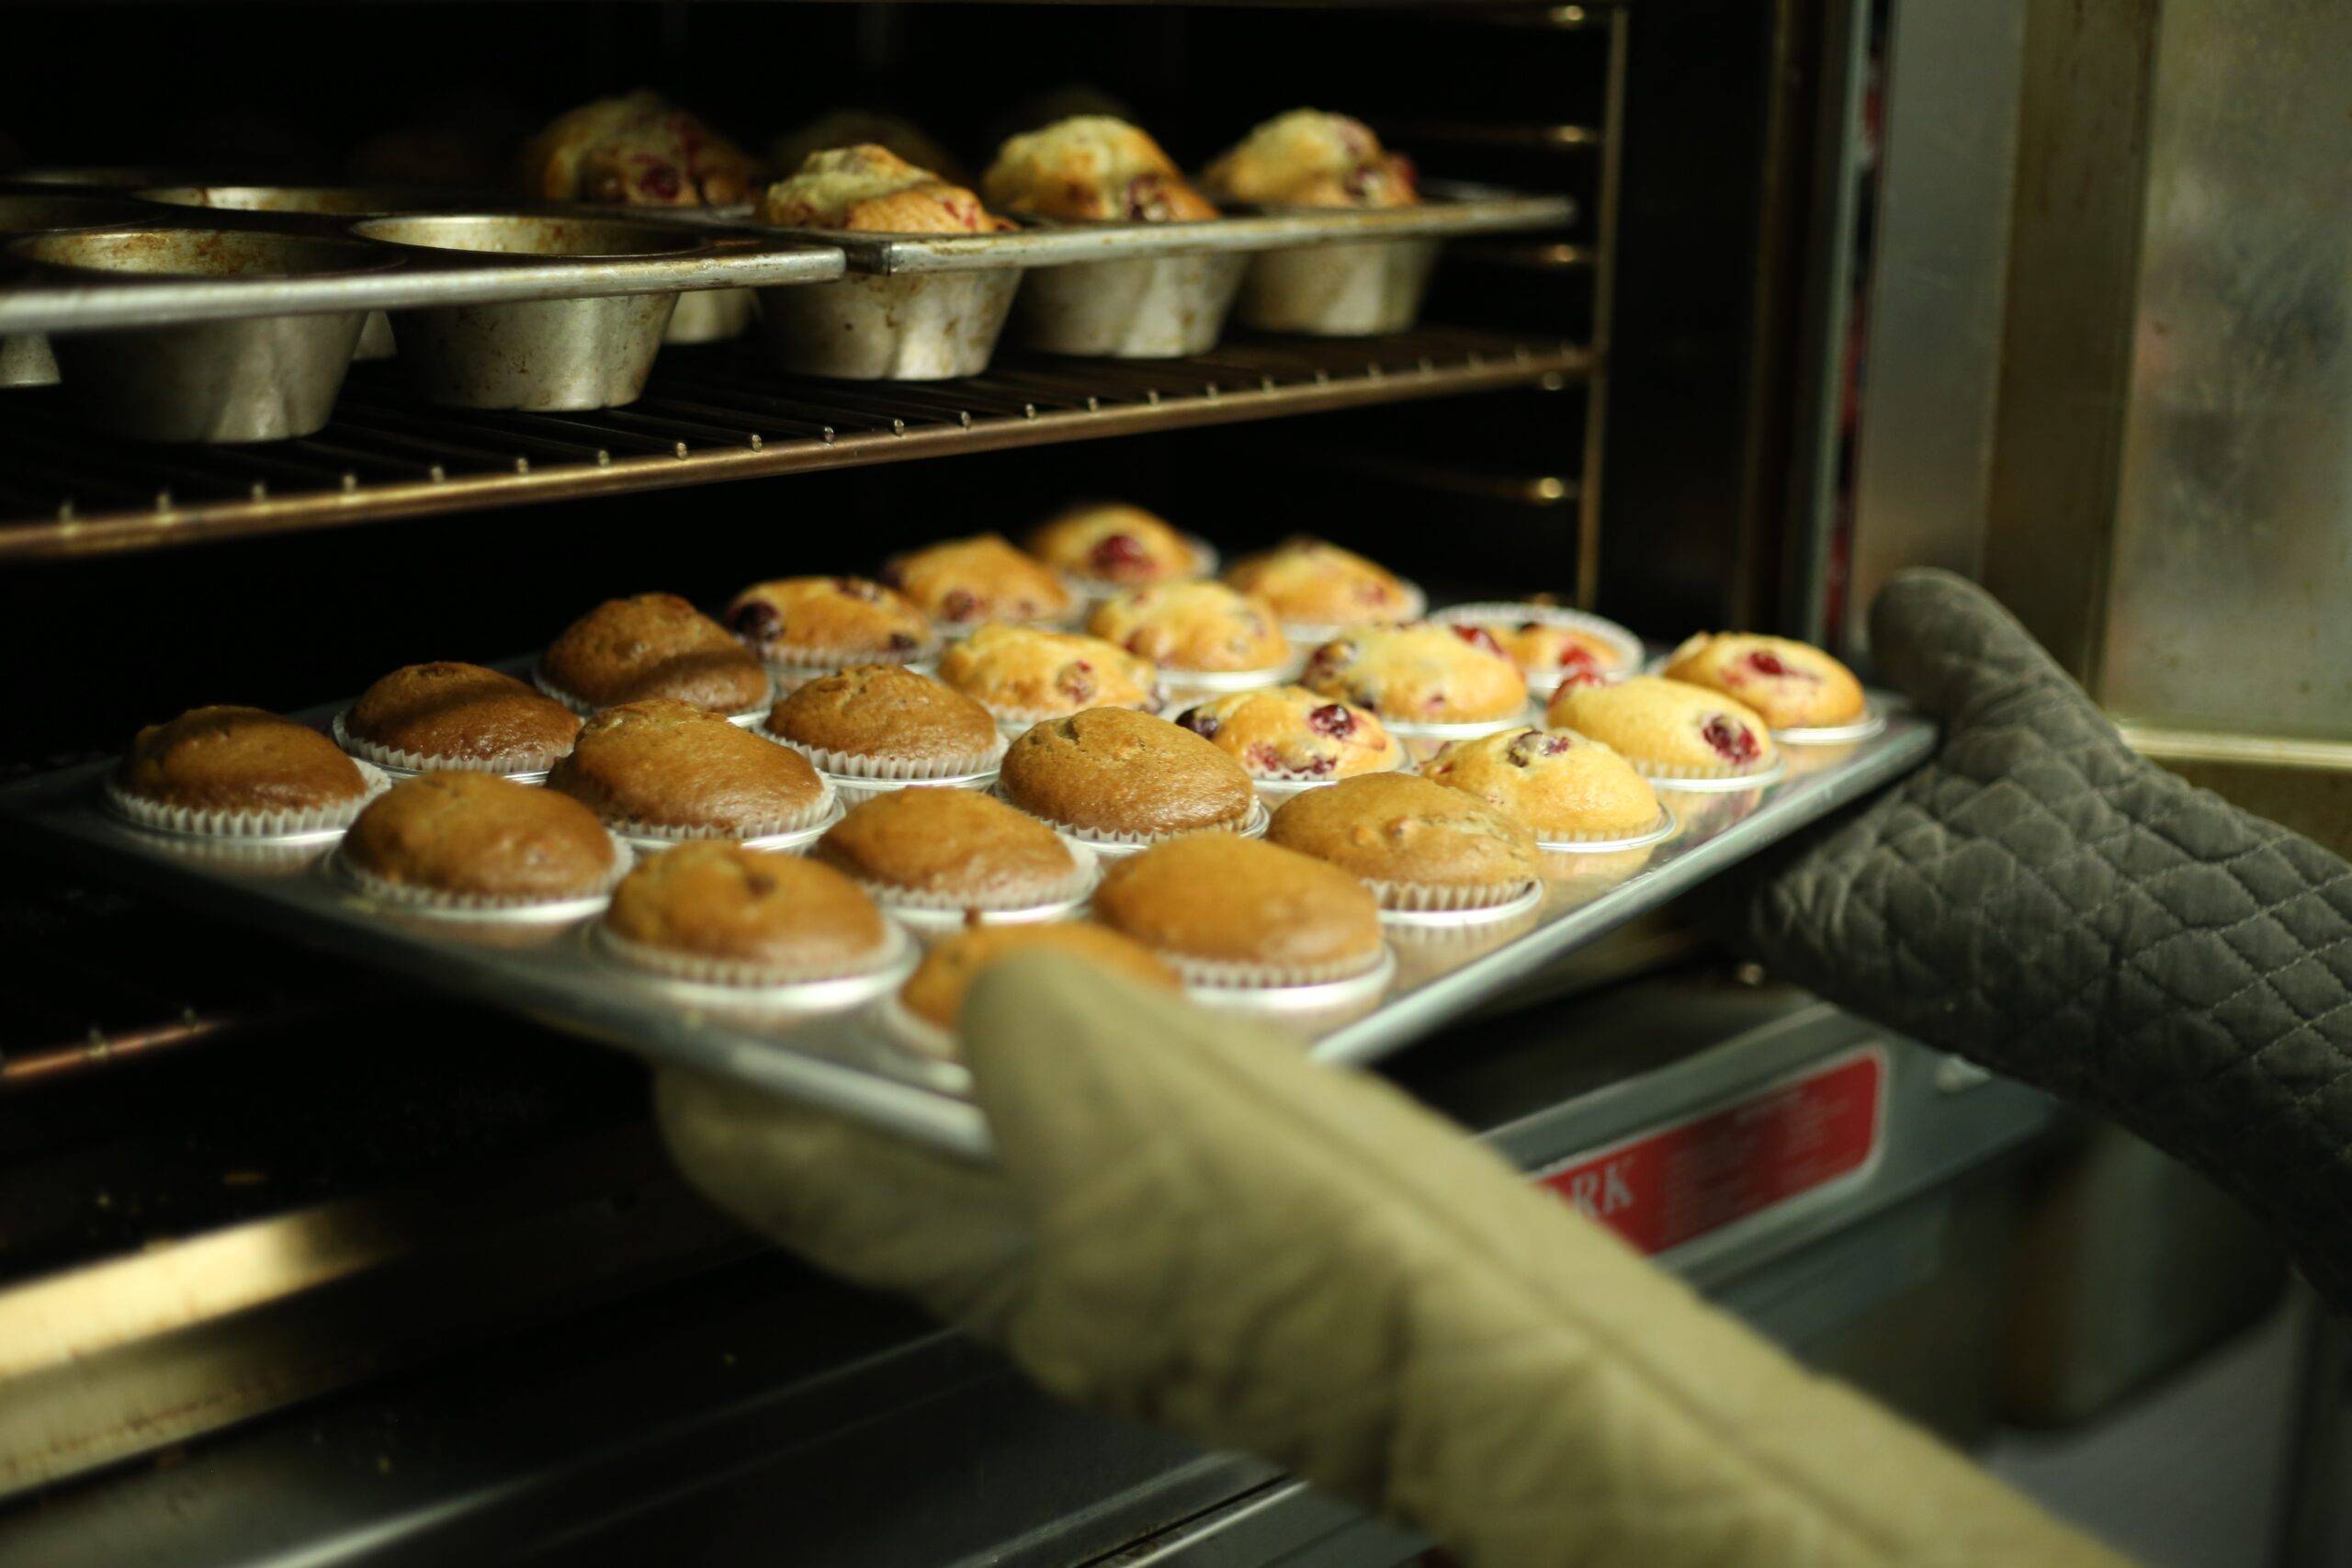
Bake the Pie to Golden Perfection
You can achieve golden perfection by baking the pie for the recommended time and temperature. Baking a pumpkin pie to golden perfection requires careful attention to detail. Here are some tips to help you achieve the perfect golden crust and delicious filling:
- Preheat the oven: Make sure to preheat your oven to the recommended temperature before placing the pie inside. This allows for even heat distribution and ensures proper baking.
- Use a pie shield: To prevent the crust from browning too quickly or becoming overly dark, consider using a pie shield. It will protect the edges of the pie from excessive browning while allowing the center to bake to golden perfection.
- Rotate the pie: Halfway through the baking time, rotate the pie 180 degrees. This helps to ensure even baking and prevents any hot spots in the oven from causing uneven browning.
- Check for doneness: To determine if the pie is done baking, gently jiggle the pan. The center of the pie should be set but slightly wobbly. If it jiggles excessively, it needs more baking time. Remember that the pie will continue to set as it cools.
- Cool completely: After removing the pie from the oven, allow it to cool completely on a wire rack. This allows the filling to fully set and ensures a smooth texture when slicing into the pie.
Let the Pie Cool and Set
After achieving golden perfection by baking the pie to the recommended time and temperature, it is important to let the pie cool and set before serving. This step is crucial to ensure that the flavors meld together and the filling achieves the perfect consistency.
Firstly, you need to allow the pie to cool at room temperature for about 2 hours. During this time, the residual heat will continue to cook the filling, and the flavors will develop further. It might be tempting to cut into the pie immediately, but trust me, the wait will be worth it.
While cooling, the pie will also undergo a process called setting. This is when the filling solidifies and becomes firm enough to hold its shape when sliced. The cooling time required for setting can vary depending on the recipe, but generally, it takes around 4 to 6 hours. To speed up the process, you can place the pie in the refrigerator for a couple of hours.
As the pie cools, the filling will continue to firm up, resulting in a smooth and creamy texture. The filling consistency is crucial to a perfect pumpkin pie. If the pie is not adequately cooled and set, the filling might be runny and not hold its shape when cut. On the other hand, if the pie is overcooked or cooled for too long, the filling might become dry and lose its lusciousness.
Serve and Enjoy Your Masterpiece
Once the pumpkin pie has cooled and set, it’s time to savor and relish your delicious masterpiece. But before you dig in, let’s talk about how to garnish your pumpkin pie and get creative with serving ideas. Here are some suggestions to add a touch of elegance and excitement to your dessert:
- Whipped Cream Dollops: Add generous dollops of homemade whipped cream on top of your pumpkin pie. You can sprinkle some cinnamon or nutmeg on the cream for an extra burst of flavor.
- Crushed Pecans: Toast some pecans and crush them into small pieces. Sprinkle the crushed pecans over the pie to add a delightful crunch and nutty flavor.
- Caramel Drizzle: Warm up some caramel sauce and drizzle it over the pie. The sweet and sticky caramel will complement the pumpkin flavor perfectly.
- Chocolate Shavings: Use a vegetable peeler to create delicate chocolate shavings. Sprinkle them over the pie for a touch of elegance and a hint of richness.
- Cinnamon Dust: Dust the top of your pie with a light sprinkling of cinnamon. This simple yet classic garnish will enhance the warm and cozy flavors of the pumpkin.
Now that you have some garnishing ideas, let’s talk about creative serving ideas for your pumpkin pie:
- Individual Mini Pies: Instead of serving a whole pie, make individual mini pies using ramekins. This way, everyone gets their own personal portion.
- Pie à la Mode: Serve a slice of pumpkin pie with a scoop of vanilla ice cream on top. The combination of warm pie and cold ice cream is simply divine.
- Pumpkin Pie Milkshake: Blend a slice of pumpkin pie with some vanilla ice cream and milk to create a delicious pumpkin pie milkshake. Top it off with whipped cream and a sprinkle of cinnamon.
- Pie Parfait: Layer crumbled pie crust, pumpkin pie filling, and whipped cream in a glass to create a beautiful and tasty pumpkin pie parfait.
- Pie Sundae: Break up pieces of pumpkin pie and layer them in a glass with your favorite toppings like whipped cream, chocolate sauce, and chopped nuts.
Now that you have some garnishing and serving ideas, go ahead and enjoy your pumpkin pie masterpiece. Get creative and have fun with it. Your guests will surely be impressed with your culinary skills and the delightful presentation of your pumpkin pie.
Bake a Perfect Pumpkin Pie; Frequently Asked Questions
How Do I Store Leftover Pumpkin Pie?
To store leftover pumpkin pie, wrap it tightly in plastic wrap or place it in an airtight container. Keep it in the fridge to prevent spoilage. Enjoy within 3-4 days for the best taste!
Can I Use a Pre-Made Pie Crust Instead of Making My Own?
Yes, you can definitely use a pre-made pie crust instead of making your own. It offers convenience, but keep in mind that homemade crusts often have a better taste. To ensure a great result, follow these tips for using a pre-made crust.
Can I Substitute a Different Type of Squash for the Pumpkin?
Yes, you can substitute a different type of squash for pumpkin in your pie. Some pros include a unique flavor and texture. The best types of squash to use are butternut or acorn squash.
How Long Does It Take for the Pie to Cool and Set?
Once you’ve taken the pumpkin pie out of the oven, it’s important to let it cool and set properly. This will usually take about 2 hours at room temperature. Once cooled, it’s ready to be served at the desired temperature.
Can I Freeze the Pumpkin Pie for Later?
Yes, you can freeze the pumpkin pie for later. It’s a great option if you have leftovers or want to prepare in advance. Just make sure to wrap it tightly in foil or plastic wrap to keep it fresh.
Conclusion
Now that you’ve followed these 7 simple steps, you’re ready to enjoy a slice of your homemade pumpkin pie. The perfect blend of smooth pumpkin filling and flaky crust will leave you wanting more. Whether it’s for a holiday gathering or just a cozy night in, this pumpkin pie is sure to impress. So grab a fork and savor the delicious flavors of your culinary masterpiece.