The Best Step-by-Step Guide Baking a Chocolate Cake
Baking a Chocolate Cake; Do you want to learn how to bake a chocolate cake? Well, get ready to embark on a sweet adventure as we guide you step-by-step through the process. Baking a chocolate cake is as easy as pie, and by following our simple instructions, you’ll be able to create a moist and decadent dessert that will leave everyone craving for more. From gathering the ingredients to frosting and adding delightful decorations, we’ve got you covered. So put on your apron, preheat that oven, and let’s dive into the world of chocolatey goodness. Get ready to impress your friends and family with your newfound baking skills. Let’s get started!
Preparing the Ingredients
To begin preparing the ingredients for your chocolate cake, gather all the necessary items from the recipe. First, make sure you have a set of measuring cups and spoons. Accurate measurements are crucial for a successful cake, so it’s important to use the right tools. Next, check if you have all the dry ingredients, such as flour, sugar, cocoa powder, baking powder, and salt. These will form the base of your cake.
Once you have all the dry ingredients, it’s time to move on to the wet ingredients. Check if you have eggs, milk, vegetable oil, and vanilla extract. These will provide moisture and flavor to your cake. Now, it’s time for the star ingredient – chocolate! Check if you have enough chocolate bars or chips for melting.
To melt the chocolate, you can either use a double boiler or the microwave. If using a double boiler, fill a saucepan with water and bring it to a simmer. Place a heatproof bowl on top of the saucepan, making sure it doesn’t touch the water. Add the chocolate to the bowl and stir until melted. If using the microwave, place the chocolate in a microwave-safe bowl and heat in short increments, stirring after each interval, until the chocolate is smooth and melted.
Once the chocolate is melted, set it aside to cool slightly before adding it to the cake batter. Now that all the ingredients are gathered and prepared, you’re ready to move on to the next step: mixing the batter. But before that, make sure to clean up your workspace and get your baking pans ready. Happy baking!
Mixing the Batter
Now that you have all your ingredients prepared, it’s time to tackle the crucial step of mixing the batter. The key to a successful chocolate cake lies in achieving the proper batter consistency. To achieve this, it’s important to use the right mixing techniques and follow a few helpful tips.
Proper Batter Consistency
Begin by adding the eggs and sugar to your mixing bowl. Mixing the batter to achieve the proper consistency is crucial for a successful chocolate cake. You want the batter to be smooth and well-blended, without any lumps. As you mix, pay attention to the texture. If the batter seems too thick, you can add a tablespoon of milk at a time to thin it out. On the other hand, if the batter appears too runny, gradually add a tablespoon of flour until you reach the desired consistency.
Troubleshooting batter issues is common, so don’t worry if you encounter any problems. Just remember to make small adjustments and test the batter along the way. The goal is to achieve a batter that is thick enough to hold its shape but still pourable. With practice, you will master the art of perfect batter consistency for your chocolate cake.
Mixing Techniques and Tips
To achieve a perfectly mixed batter for your chocolate cake, you will need to employ effective mixing techniques and utilize some helpful tips. First, ensure that you have the right mixing tools and equipment. A stand mixer or a hand mixer with beaters is ideal for achieving a smooth and consistent batter. Begin by creaming the butter and sugar together until light and fluffy. Then, add the eggs one at a time, mixing well after each addition.
Gradually add the dry ingredients, alternating with the liquid ingredients, until just combined. Be careful not to overmix, as this can lead to a dense and tough cake. If you encounter any common mixing problems, such as lumps or uneven mixing, stop and scrape down the sides of the bowl with a spatula, then continue mixing until the batter is smooth. By following these mixing techniques and troubleshooting any issues that arise, you’ll be on your way to baking a delicious chocolate cake.
Preparing the Baking Pan
First, grease the baking pan with butter or cooking spray. This step is crucial to prevent the cake from sticking to the pan and ensure easy removal once it’s baked. Greasing the pan can be done by simply taking a small amount of butter and spreading it evenly across the bottom and sides of the pan. Alternatively, you can use cooking spray by holding the can about six inches away from the pan and spraying a thin, even layer.
After greasing the pan, you can also line it with parchment paper for extra insurance. Cut a piece of parchment paper to fit the bottom of the pan and place it inside, pressing it down to adhere to the greased surface. This will make it even easier to remove the cake once it’s baked and ensures a clean finish.
Lining the sides of the pan with parchment paper is another option, especially if you want to create a taller cake or if the batter tends to rise a lot during baking. Cut long strips of parchment paper and line them along the sides of the greased pan, overlapping the ends if necessary. This will help the cake to rise evenly and prevent it from sticking to the sides.
Taking the time to properly grease and line the baking pan may seem like an extra step, but it will make a world of difference when it comes to the final presentation of your chocolate cake. The cake will easily release from the pan without any sticking or tearing, resulting in a beautifully baked cake that is ready to be enjoyed.
Baking the Cake
Now that you’ve prepared the baking pan, it’s time to move on to baking the cake. The baking time and temperature are crucial factors in achieving a perfectly baked chocolate cake. Make sure to follow the recipe’s instructions for the recommended time and temperature, and always preheat your oven. To determine if the cake is done, you can use the toothpick test. Insert a toothpick into the center of the cake, and if it comes out clean or with a few crumbs, your cake is ready.
Baking Time and Temperature
When Baking a Chocolate Cake Set your oven to the recommended baking temperature and preheat it for 10 minutes before placing the cake batter inside. This step is crucial to ensure that your cake bakes evenly and rises properly. Here are a few additional tips to help you achieve the perfect bake:
- Adjusting baking time for high altitude: If you live in a high altitude area, you may need to increase the baking time slightly. The lower air pressure at higher altitudes can affect the baking process, so keep an eye on your cake and extend the baking time if necessary.
- Using a water bath for even baking: To prevent your cake from drying out or developing a cracked top, consider using a water bath. Simply place your cake pan inside a larger pan filled with hot water before putting it in the oven. The steam created will help maintain the moisture in the cake and promote even baking.
- Checking for doneness: To determine if your cake is fully baked, insert a toothpick into the center. If it comes out clean or with a few crumbs attached, your cake is ready. If there is still wet batter on the toothpick, continue baking for a few more minutes.
- Cooling the cake: Once your cake is baked, allow it to cool in the pan for about 10 minutes before transferring it to a wire rack to cool completely. This will help the cake set properly and avoid it from breaking apart.
Testing for Doneness
To determine if your cake is fully baked, insert a toothpick into the center and check for doneness. This simple technique, known as the toothpick test, is a reliable way to ensure that your chocolate cake is perfectly cooked. Gently insert a clean toothpick into the center of the cake. If it comes out clean or with just a few crumbs clinging to it, your cake is done.
However, if the toothpick comes out with wet batter or sticky crumbs, it needs more time in the oven. It’s important to note that the toothpick test is a visual indicator and doesn’t take into account the internal temperature of the cake. If you prefer a more precise method, you can also use an instant-read thermometer to check the internal temperature, which should be around 205-210°F (96-99°C) for a fully baked chocolate cake.
Testing for Doneness
When Baking a Chocolate Cake Insert a toothpick into the center of the cake to check if it comes out clean. Testing for doneness is a crucial step in baking a chocolate cake to ensure that it is perfectly cooked. Here are four key testing techniques using a toothpick that you can follow to determine if your cake is ready to be taken out of the oven:
- Insert the toothpick: Gently insert a toothpick into the center of the cake. Make sure to go all the way down to the bottom to get an accurate result.
- Check for crumbs: Pull out the toothpick and examine it. If it comes out with wet batter or large, gooey crumbs sticking to it, the cake needs more time in the oven. If it comes out with a few moist crumbs, the cake is almost done and will continue to cook with the residual heat.
- Look for a clean toothpick: After a few more minutes of baking, insert the toothpick again. This time, you want it to come out clean, with no batter or crumbs clinging to it. This indicates that the cake is fully baked and ready to be removed from the oven.
- Test multiple areas: If you have a larger cake, it’s a good idea to test for doneness in different areas. Insert the toothpick into a few different spots to ensure that the entire cake is cooked evenly.
Cooling and Removing From the Pan
Allow the chocolate cake to cool in the pan for about 10 minutes before removing it. This cooling time is crucial as it allows the cake to set and firm up, making it easier to handle and less likely to break apart. While the cake is cooling, it’s a good opportunity to prepare for the next step of removing it from the pan.
Before pouring the batter into the pan, it’s important to grease it properly. This ensures that the cake doesn’t stick to the pan, making the removal process much simpler. To grease the pan, start by using a pastry brush or a paper towel to apply a thin layer of butter or cooking spray to the entire interior surface of the pan. Pay extra attention to the corners and crevices to prevent any potential sticking.
Once the cake has cooled for about 10 minutes, it’s time to remove it from the pan. Take a butter knife and gently run it along the edges of the pan to loosen the cake. Make sure to slide the knife all the way to the bottom to ensure the entire cake is released. Next, place a cooling rack or a large plate upside down on top of the pan. Carefully flip the pan over, holding onto the rack or plate to catch the cake as it comes out. Slowly lift the pan away, allowing the cake to gently settle onto the rack or plate.
Now that the cake is out of the pan, you can let it cool completely on the rack or plate. This will prevent condensation from forming on the bottom of the cake, which could make it soggy. Once the cake has cooled completely, it’s ready to be frosted and enjoyed!
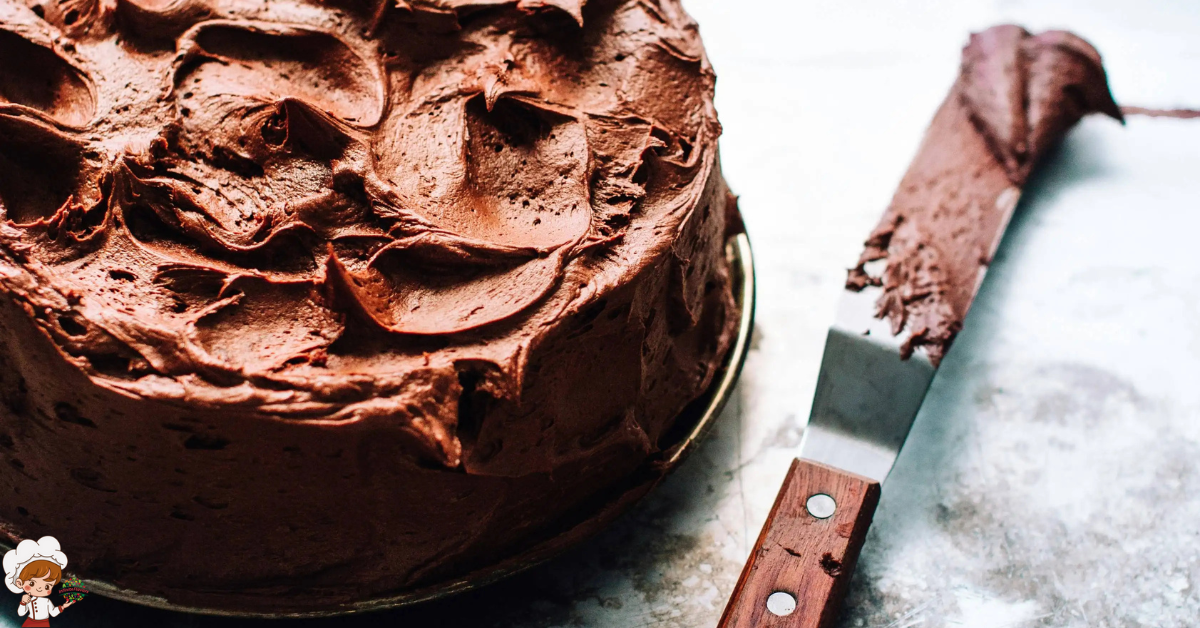
Frosting the Cake
After removing the cake from the pan, you can now move on to frosting it. Frosting is the final step in making a delicious chocolate cake. It not only adds flavor but also enhances the overall presentation of the cake. There are different frosting techniques you can use to achieve the desired look and taste. Additionally, if you’re looking for alternative frosting options, there are a few to consider.
Here are four frosting techniques you can try:
- Buttercream Frosting: This classic frosting is made by creaming butter and powdered sugar together until light and fluffy. It can be flavored with vanilla, chocolate, or other extracts, and it spreads easily on the cake.
- Ganache: Made with chocolate and heavy cream, ganache creates a smooth and glossy finish. It can be poured over the cake for a decadent look or used as a filling between cake layers.
- Cream Cheese Frosting: Perfect for those who love a tangy flavor, cream cheese frosting is made by combining cream cheese, butter, powdered sugar, and vanilla extract. It pairs well with chocolate cake and adds a creamy and slightly tangy taste.
- Whipped Cream Frosting: Light and airy, whipped cream frosting is made by whipping heavy cream with powdered sugar and vanilla extract. It is a great option for those who prefer a lighter frosting that isn’t overly sweet.
If you’re looking for alternative frosting options, consider using a flavored glaze, such as a chocolate or caramel glaze. You can also experiment with different types of fruit preserves or jams to add a unique twist to your cake.
Remember to let your creativity shine and have fun frosting your cake. Whether you’re using traditional buttercream, rich ganache, tangy cream cheese, or light whipped cream frosting, the end result will surely be a delicious chocolate cake that everyone will enjoy.
Adding Decorations and Serving
When Baking a Chocolate Cake To achieve an enticing presentation, embellish your chocolate cake with decorative accents and serve it with flair. Cake presentation is just as important as the taste, as it creates a lasting impression on your guests. Get creative with your cake decorations to make it a visually stunning centerpiece for any occasion.
Start by choosing a theme for your cake decorations. Consider the occasion or the recipient’s preferences. For a birthday celebration, you can use colorful sprinkles, edible glitter, or themed cake toppers. If you’re making a cake for a chocolate lover, you can garnish it with chocolate curls, shavings, or ganache drips. The possibilities are endless, so let your imagination run wild.
When adding decorations, make sure to place them strategically on the cake. For example, if you’re using fresh fruits, arrange them in a visually pleasing manner, such as in a spiral pattern or around the edges. You can also pipe buttercream or whipped cream rosettes on top of the cake for an elegant touch. Another idea is to use stencils and powdered sugar to create decorative patterns on the surface of the cake.
Once your cake is beautifully decorated, it’s time to serve it with flair. Use a cake stand or a decorative platter to elevate the cake and make it the focal point of your dessert table. You can also add a sprinkle of powdered sugar or cocoa powder on the serving plate for an extra touch of elegance.
Baking a Chocolate Cake; Frequently Asked Questions
How Long Does It Take to Bake a Chocolate Cake?
Baking a chocolate cake takes about 30-35 minutes. To achieve the perfect texture, use room temperature ingredients, sift the dry ingredients, and avoid overmixing the batter. Happy baking!
Can I Substitute Butter With Oil in the Recipe?
Yes, you can substitute butter with oil in the recipe. It will affect the texture and flavor of the cake, making it moister. If you’re looking for healthier options, you can try using applesauce or Greek yogurt instead.
Can I Use a Different Type of Chocolate Instead of Cocoa Powder?
Using a different type of chocolate instead of cocoa powder can alter the taste and texture of the cake. Alternatives to cocoa powder include dark chocolate, milk chocolate, or even white chocolate. Experiment to find your preferred flavor and consistency.
Can I Use a Different Type of Flour Instead of All-Purpose Flour?
Yes, you can use a different type of flour instead of all-purpose flour. However, keep in mind that all-purpose flour is versatile and provides the best texture and structure for your chocolate cake.
Can I Add Nuts or Fruits to the Batter?
Yes, you can definitely add nuts or fruits to the batter. It adds a delightful texture and flavor. Consider options like walnuts, almonds, or dried cranberries. However, be mindful of allergies and personal preferences.

Conclusion
In conclusion, baking a chocolate cake is a delightful and rewarding experience. By following this step-by-step guide, you can create a moist and decadent dessert that will impress your friends and family. From preparing the ingredients to adding the finishing touches, each step is crucial in achieving the perfect cake. So put on your apron, grab your mixing bowl, and get ready to indulge in the sweet and chocolaty goodness that awaits you!