Amazing Baking Techniques For Chocolate Desserts
Baking Techniques For Chocolate Desserts; Did you know that there are specific baking techniques that can take your chocolate desserts from ordinary to extraordinary? From melting chocolate to achieving the perfect brownie texture, incorporating chocolate into cake batter, tempering chocolate for glossy finishes, and creating chocolate ganache and glazes, there are numerous secrets to master. In this discussion, we will explore these techniques in detail, revealing the insider tips and tricks that will elevate your chocolate desserts to a whole new level. So, if you’re ready to take your chocolate creations to the next level, buckle up and get ready to discover the secrets of baking with chocolate.
Melting Chocolate
To successfully melt chocolate, follow these precise and detailed techniques. Whether you are making chocolate decorations or preparing a delicious chocolate fondue, the process of melting chocolate is crucial to achieve the desired consistency and texture.
Start by selecting high-quality chocolate, preferably with a cocoa content of 60% or higher. Chop the chocolate into small, uniform pieces to ensure even melting. Place the chopped chocolate in a microwave-safe bowl or a double boiler.
If using a microwave, heat the chocolate in short bursts of 15 to 20 seconds, stirring well after each interval. Be careful not to overheat the chocolate as it can become grainy and lose its smooth texture.
If using a double boiler, fill the bottom pot with water and bring it to a gentle simmer. Place the chocolate in the top pot and stir continuously until melted. The indirect heat from the steam will gently melt the chocolate without scorching it.
Regardless of the method chosen, do not let any water come into contact with the chocolate as it will cause the chocolate to seize and become lumpy.
Once the chocolate is melted, use it immediately or keep it warm by placing the bowl over a pan of hot water. Stir occasionally to maintain a smooth consistency.
Achieving the Perfect Brownie Texture
For achieving the perfect brownie texture, it is essential to follow these precise and detailed techniques. The first key factor to consider is the baking time. Overbaking can lead to dry and crumbly brownies, while underbaking can result in a gooey and undercooked center. To achieve the ideal texture, you must bake the brownies for the specified time, as mentioned in the recipe. Keep a close eye on them towards the end of the baking time and perform the toothpick test. Insert a toothpick into the center of the brownies, and if it comes out with a few moist crumbs, they are done.
Another crucial aspect is ingredient substitutions. Brownie recipes often call for specific ingredients like butter, eggs, and chocolate. While it might be tempting to make substitutions, it is important to note that these ingredients play a vital role in determining the texture. Butter adds moisture and richness, eggs provide structure, and chocolate contributes to the fudgy texture. Substituting these ingredients may alter the final outcome. However, if you have dietary restrictions or allergies, you can explore alternative ingredients like vegan butter, applesauce, or mashed bananas. Just keep in mind that the texture might be slightly different from traditional brownies.
Incorporating Chocolate Into Cake Batter
Incorporate chocolate into your cake batter by melting high-quality dark or semi-sweet chocolate and gently folding it into the mixture. This step adds a rich and intense chocolate flavor to your cake, making it even more decadent and delicious. When it comes to mixing techniques, it’s important to ensure that the melted chocolate is cooled slightly before adding it to the batter. This prevents the chocolate from seizing or heating up the batter too much, resulting in a smooth and evenly mixed cake batter.
To incorporate the melted chocolate into the cake batter, start by preparing your cake batter according to the recipe instructions. Once the batter is ready, melt the chocolate using a double boiler or microwave, taking care not to overheat it. Allow the melted chocolate to cool for a few minutes before adding it to the batter.
Next, gently fold the melted chocolate into the cake batter using a spatula or a whisk. Avoid overmixing, as this can lead to a dense and tough cake. Instead, aim for a gentle and even incorporation of the chocolate, ensuring that there are no streaks of unmixed batter or pockets of melted chocolate.
If you’re looking for chocolate substitutions, you can also use cocoa powder instead of melted chocolate. Simply replace a portion of the flour in the recipe with cocoa powder, following the recommended substitution ratios. This will give your cake a deep chocolate flavor without the need for melted chocolate.
Incorporating chocolate into your cake batter is a simple yet effective way to elevate the taste and texture of your chocolate desserts. Whether you choose to use melted chocolate or cocoa powder, be sure to follow the mixing techniques and ratios recommended in the recipe for the best results.
Tempering Chocolate for Glossy Finishes
If you want to achieve a glossy finish on your chocolate desserts, it is essential to properly temper the chocolate. Tempering chocolate involves carefully melting and cooling it to specific temperatures, which helps stabilize the cocoa butter and prevents the formation of unwanted crystals. This process is crucial for creating shiny and smooth chocolate decorations and for ensuring that chocolate molds release easily.
To temper chocolate, start by chopping it into small, uniform pieces. This will help it melt evenly and prevent any burnt or overheated spots. Place the chopped chocolate in a heatproof bowl and set it over a pan of simmering water, making sure that the bottom of the bowl does not touch the water. Stir the chocolate constantly as it melts, until it reaches a temperature of around 115°F (46°C) for dark chocolate or 110°F (43°C) for milk or white chocolate.
Once the chocolate has melted, remove it from the heat and continue stirring until it cools to a temperature of around 88°F (31°C) for dark chocolate or 86°F (30°C) for milk or white chocolate. At this point, it is important to maintain the temperature by gently reheating the chocolate if it starts to cool too much. Once the chocolate reaches the desired temperature, it is ready to be used for chocolate decorations or poured into molds.
Tempering chocolate may seem like a tedious process, but it is essential for achieving that beautiful glossy finish on your chocolate desserts. By following these steps and being patient, you will be able to create stunning chocolate decorations and easily release your chocolate from molds, resulting in professional-looking and delicious treats.
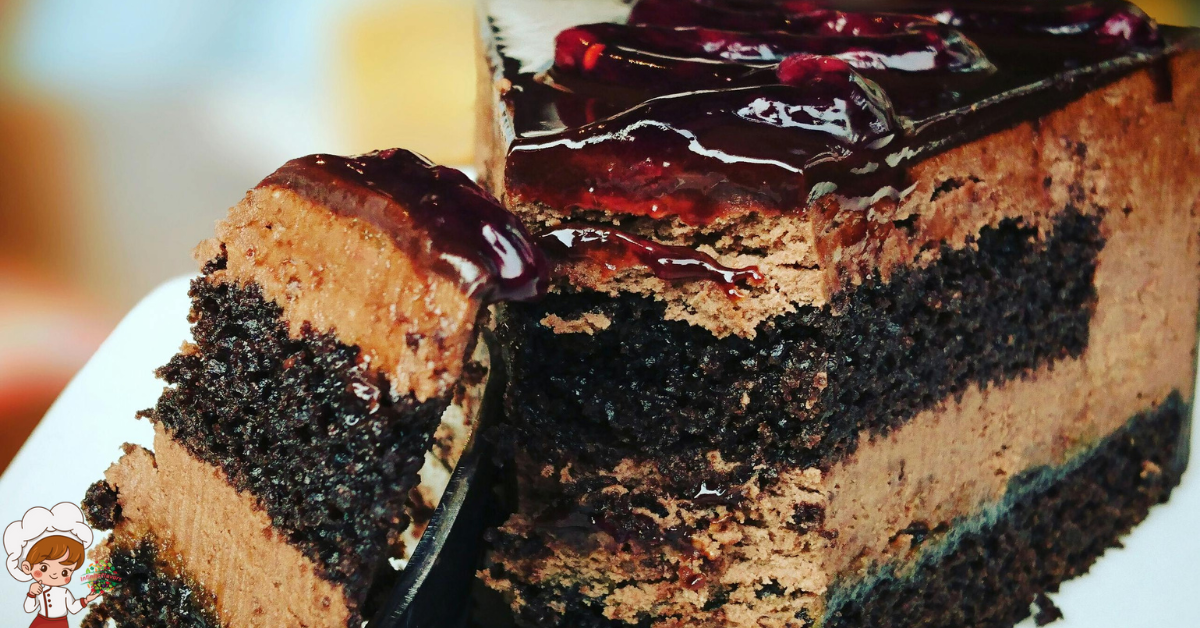
Creating Chocolate Ganache and Glazes
To create luscious chocolate ganache and glazes, follow these precise steps for a professional and decadent result. When it comes to ganache, there are various whipped ganache variations you can try. Whipped ganache is lighter and fluffier compared to the traditional ganache. To achieve this, start by heating equal parts of heavy cream and chopped chocolate in a saucepan over low heat. Once the chocolate has melted, remove it from the heat and allow it to cool slightly. Then, using an electric mixer, whip the ganache until it becomes light and fluffy. You can add flavors like vanilla extract or liqueurs to enhance the taste.
Now, let’s move on to different types of chocolate glazes. One popular choice is the classic chocolate glaze, also known as a mirror glaze. To make this glaze, melt chocolate and butter together in a saucepan over low heat. Once melted, remove from heat and stir in corn syrup until smooth. Let the glaze cool slightly before pouring it over your dessert. This glaze will give your desserts a glossy, mirror-like finish that is sure to impress.
Another type of chocolate glaze is the ganache glaze. This glaze is made by simply pouring warm ganache over your dessert and allowing it to set. Ganache glazes are versatile and can be adjusted in thickness depending on your preference. You can also experiment with different flavors by adding extracts or liqueurs to the ganache.
Baking Techniques For Chocolate Desserts; Frequently Asked Questions
How Do I Store Leftover Melted Chocolate for Future Use?
To store leftover melted chocolate for future use, let it cool at room temperature until solid. Then, transfer it to an airtight container and store it in a cool, dry place. When you want to reuse it, gently reheat it using a double boiler method.
Can I Substitute Cocoa Powder for Melted Chocolate in a Recipe?
Yes, you can substitute cocoa powder for melted chocolate in a recipe. Use 3 tablespoons of cocoa powder and 1 tablespoon of vegetable oil for every ounce of melted chocolate called for in the recipe.
How Can I Prevent My Brownies From Becoming Too Dry?
To keep your brownies moist and prevent them from becoming too dry, make sure not to overbake them. Use a toothpick to check for doneness, and take them out of the oven as soon as it comes out with a few moist crumbs.
What Is the Best Type of Chocolate to Use for Cake Batter?
The best type of chocolate to use for cake batter depends on your preference, but some popular brands include Ghirardelli, Hershey’s, and Callebaut. Different types like dark, milk, or semi-sweet can add unique flavors to your cake.
Can I Use Milk Chocolate Instead of Dark Chocolate for Tempering?
Yes, you can use milk chocolate instead of dark chocolate for tempering. However, it’s important to note that dark chocolate is preferred for tempering due to its higher cocoa content, which provides better structure and stability to the final product.

Conclusion
In conclusion, mastering baking techniques for chocolate desserts requires careful attention to detail and precision. From melting chocolate to achieving the perfect brownie texture, incorporating chocolate into cake batter, tempering chocolate for glossy finishes, and creating chocolate ganache and glazes, each step plays a crucial role in creating delicious and visually appealing treats. By following these techniques, you can elevate your chocolate desserts to a professional level and impress your guests with your culinary skills.