Easy Baking Techniques For Beginners
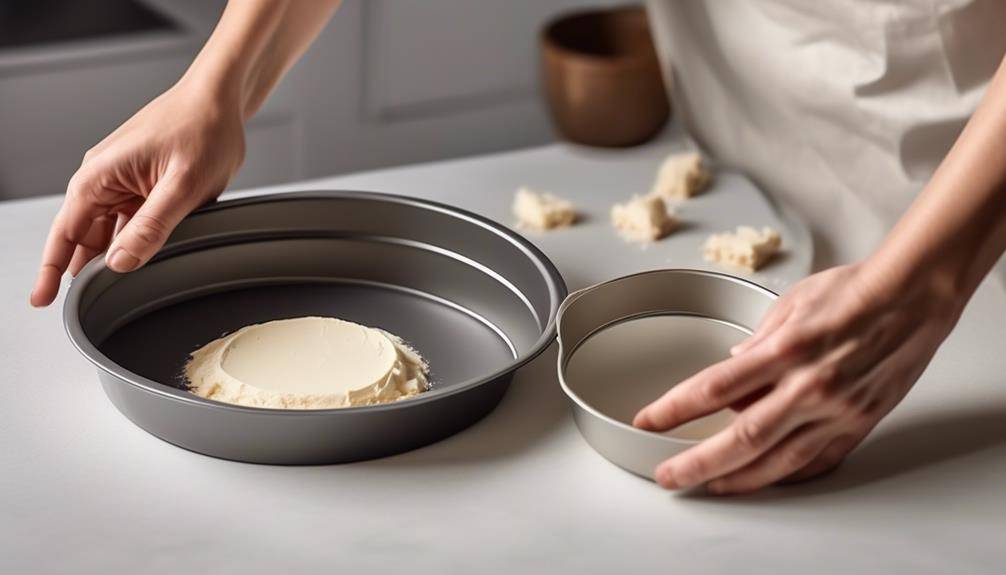
So you’ve decided to venture into the world of baking, huh? Well, get ready to embark on a journey filled with flour-covered countertops, sticky dough, and the occasional burnt cookie. But fear not, dear beginner baker, for I am here to guide you through the treacherous terrain of the oven. In this discussion, we will unravel the secrets of Easy Baking Techniques For Beginners that will have you creating delectable treats in no time. But first, let’s start with the basics – the essential tools every budding baker needs in their kitchen.
Essential Baking Tools
To bake like a pro, you’ll need a few essential tools that will make your baking experience easier and more enjoyable. Having the right baking equipment is crucial for achieving the best results. Here are some must-have tools that every home baker should have in their kitchen.
First and foremost, a good quality set of measuring cups and spoons is essential. Accurate measurements are key to baking success, so investing in a sturdy set that includes both metric and imperial measurements is a wise choice. This will ensure that you can follow recipes precisely and achieve consistent results every time.
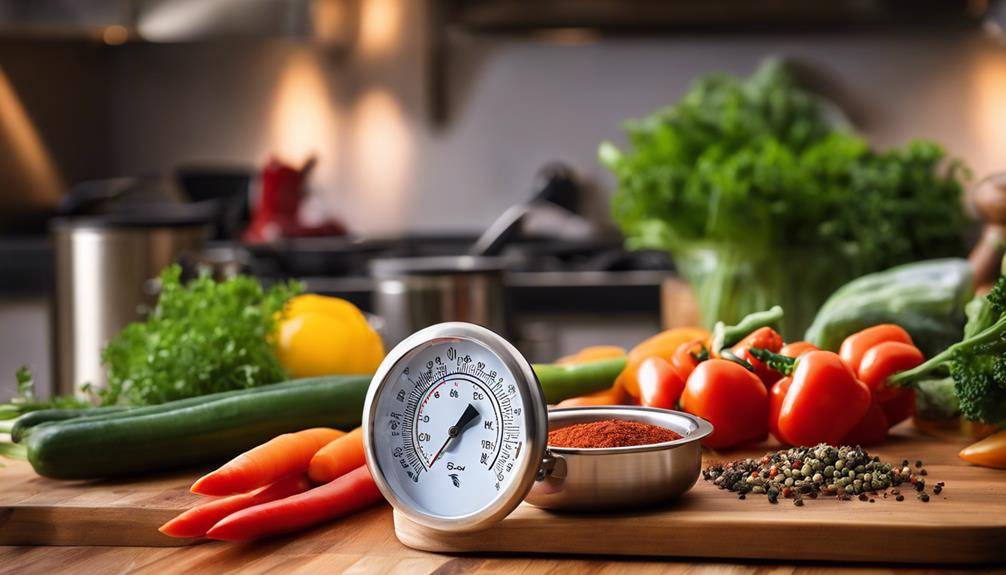
Next, a reliable oven thermometer is a must. Ovens can often have temperature variations, and using an oven thermometer will help you ensure that your oven is at the correct temperature for baking. This is especially important when it comes to delicate pastries and cakes that require precise temperature control.
A sturdy mixing bowl is another essential tool. Look for a bowl that is large enough to accommodate your recipe, with a non-slip base to prevent it from moving around while you mix. Stainless steel or glass bowls are great options as they are durable and easy to clean.
A good quality whisk is also a must-have. Whether you’re beating eggs, whipping cream, or incorporating air into your batter, a whisk is a versatile tool that will come in handy for many baking tasks.
Lastly, a reliable silicone spatula is essential for scraping down the sides of bowls and folding ingredients together gently. Look for one that is heat-resistant and has a comfortable grip for easy maneuvering.
Understanding Ingredient Measurements
Now let’s talk about an important aspect of baking – understanding ingredient measurements. When it comes to measurements, there are two main systems used – metric and imperial. It’s essential to know how to convert between these measurement units to ensure accurate and successful baking results.
Metric Vs. Imperial
Understanding ingredient measurements in baking can be challenging, but it is an essential skill for any beginner baker. When it comes to choosing between metric and imperial measurements, converting units may seem daunting at first, but the advantages of using the metric system are worth considering. The metric system provides precise and consistent measurements, making it easier to follow recipes accurately.
Unlike the imperial system, which uses ounces, pounds, and gallons, the metric system uses grams, milliliters, and liters, which are more precise and easier to work with. Additionally, most baking recipes from around the world use metric measurements, so understanding and using the metric system will allow you to explore a wider array of recipes without the need for constant conversions.
Converting Measurement Units
When it comes to understanding ingredient measurements in baking, converting measurement units is a crucial skill for any beginner baker. Measurement conversion is the process of converting one unit of measurement to another, and it is essential for following recipes accurately. Common baking conversions include converting cups to grams, tablespoons to milliliters, and Fahrenheit to Celsius.
To convert cups to grams, you can find conversion charts online or use a kitchen scale to measure the ingredients by weight. Converting tablespoons to milliliters can be done by remembering that 1 tablespoon is equal to 15 milliliters. When converting temperature from Fahrenheit to Celsius, subtract 32 from the Fahrenheit measurement, then multiply by 5/9 to get the Celsius equivalent. Mastering measurement conversion will ensure that your baked goods turn out just right.
Mastering Basic Mixing Techniques
To become a proficient baker, it is essential to master the fundamental techniques of mixing ingredients together in a precise and efficient manner. Basic mixing techniques are the foundation of any successful baking project. There are different mixing methods that you can use depending on the recipe you are working with.
One of the most common mixing methods is the creaming method. This involves beating together butter and sugar until light and fluffy. The air incorporated during this process helps to create a tender and moist baked good. To cream the butter and sugar properly, make sure the butter is at room temperature and beat it on medium speed until it becomes pale in color.
Another popular mixing method is the folding method. This is commonly used when incorporating delicate ingredients, such as whipped cream or beaten egg whites, into a batter. To fold ingredients together, use a large rubber spatula and gently cut down through the mixture, then fold it over itself. This helps to maintain the airiness of the whipped cream or beaten egg whites.
The final mixing method to be discussed is the all-in-one method. This is the simplest method where all the ingredients are combined together at once and mixed until smooth. It is commonly used for quick breads, muffins, and cakes. To achieve the best results, make sure all the ingredients are at room temperature and mix them just until they are combined.
Mastering these basic mixing techniques will lay a strong foundation for your baking skills. By understanding the different mixing methods and when to use them, you will be able to create delicious and well-textured baked goods. Practice these techniques and soon you will be on your way to becoming a confident baker.
Perfecting the Creaming Method
To achieve optimal results when using the creaming method, it is crucial to ensure that the butter is at room temperature and beaten on medium speed until it becomes pale in color. Perfecting the creaming technique is essential for creating light and fluffy baked goods. Here are some tips to help you troubleshoot any creaming issues you may encounter.
Firstly, make sure that the butter is truly at room temperature. Softened butter should be pliable but not greasy. If the butter is too cold, it will not incorporate well with the sugar, resulting in a dense and heavy texture. On the other hand, if the butter is too warm, it will become too soft and cause the dough to spread excessively during baking.
Next, ensure that you beat the butter and sugar together on medium speed until the mixture becomes light and fluffy. This process aerates the butter, creating pockets of air that will expand in the oven, giving your baked goods a tender and delicate crumb. Overmixing, however, can lead to a dense texture, so be careful not to overdo it.
If you find that your creamed mixture looks curdled or separated, don’t panic. This can happen if the butter and sugar are not properly combined. To fix this, warm the mixture gently in a microwave or over a double boiler, then beat it again until smooth.
Exploring Different Flour Types
Now it’s time to explore the different flour types and how they can affect your baking. First, you’ll learn about the difference between wheat and gluten-free flours, and how they can impact the texture and structure of your baked goods. Then, we’ll cover the basics of all-purpose flour and its versatility in various recipes. Finally, we’ll introduce you to some alternative flours that you can try, such as almond flour or coconut flour, and discuss their unique characteristics. So, let’s get started on this flour-filled journey!
Wheat Vs. Gluten-Free
Exploring different flour types allows beginners to understand the difference between wheat and gluten-free options. Wheat flour is commonly used in baking due to its high gluten content, which gives baked goods their desired structure and texture. However, individuals with gluten sensitivity or celiac disease cannot tolerate gluten, a protein found in wheat. This is where gluten-free flours come into play.
These flours, made from grains like rice, corn, or almond, do not contain gluten and are suitable for those with gluten sensitivity or celiac disease. While wheat flour provides the traditional taste and texture, gluten-free flours offer a healthier alternative for people with specific dietary needs. By experimenting with different flour types, beginners can cater to a wider range of preferences and dietary requirements.
All-Purpose Flour Basics
Understanding the basics of all-purpose flour is essential for beginners exploring different types of flour for baking. All-purpose flour is versatile and commonly used in baking recipes. It has a moderate protein content, which contributes to gluten development. Gluten is a protein that gives baked goods structure and elasticity. When mixed with liquid, the gluten in all-purpose flour forms a network that traps air bubbles, resulting in a light and airy texture.
However, if you need to substitute all-purpose flour in a recipe, keep in mind that it may affect the texture and taste of the final product. Different flours, such as whole wheat flour or gluten-free flour, have different properties and may require adjustments in other ingredients or baking techniques. Experimenting with flour substitutions can lead to unique and delicious creations, but it’s important to understand the basics first.
Alternative Flours to Try
To expand your baking repertoire, consider experimenting with different types of flour. Alternative flours can add new flavors and textures to your baked goods, while also providing gluten-free options for those with dietary restrictions. One benefit of using alternative flours is that they offer a wider range of nutrients compared to traditional all-purpose flour.
For example, almond flour is high in protein and healthy fats, while coconut flour is rich in fiber. Buckwheat flour is another great option, providing a nutty flavor and being naturally gluten-free. Additionally, using alternative flours can help you cater to specific dietary needs and preferences, making your baked goods accessible to a larger audience. So go ahead, try out different types of flour and get creative in the kitchen!
Tips for Properly Preparing Dough
Start by thoroughly measuring your ingredients before beginning the process of preparing dough. Precise measurements are crucial to ensure the right consistency and texture of your dough. Once you have measured all your ingredients, it’s time to move on to kneading the dough. Kneading helps develop the gluten in the dough, giving it structure and elasticity. To knead the dough properly, start by placing it on a floured surface and using the heels of your hands, push the dough away from you. Fold it back towards you and rotate it a quarter turn. Repeat this process for about 8 to 10 minutes until the dough becomes smooth and elastic.
Troubleshooting dough problems is also an important skill to have when preparing dough. If your dough is too dry and crumbly, add a little bit of water, a teaspoon at a time, until the dough comes together. On the other hand, if your dough is too sticky, add a little bit of flour, also a teaspoon at a time, until it reaches the desired consistency.
Another common issue is when the dough doesn’t rise properly. This could be due to factors such as using expired yeast or not giving the dough enough time to rise. Make sure to check the expiration date of your yeast and follow the recommended rising times in your recipe.
Baking With Leavening Agents
You can enhance your baking skills by mastering the use of leavening agents. Leavening agents are ingredients that help your baked goods rise and become light and fluffy. They create air bubbles in the dough or batter, causing it to expand during baking. The most common leavening agents are baking powder and baking soda.
Baking powder is a mixture of baking soda, cream of tartar, and a dry acid. It is a convenient option because it already contains the necessary ingredients for the chemical reaction that produces carbon dioxide gas. Baking soda, on the other hand, needs an acid to activate it. It reacts with acidic ingredients like buttermilk, yogurt, or lemon juice to create the carbon dioxide gas that helps your baked goods rise.
If you run out of baking powder, you can make your own by combining 1 part baking soda with 2 parts cream of tartar. This homemade version works just as well as store-bought baking powder.
Troubleshooting common leavening agent problems can help you avoid dense or flat baked goods. If your baked goods are not rising properly, check the expiration date of your leavening agents. Expired leavening agents lose their potency and may not work as expected. Additionally, make sure you’re using the correct amount of leavening agent called for in the recipe. Too much or too little can affect the rise of your baked goods.
Essential Baking Tips and Tricks
Mastering the use of leavening agents is just the beginning; now let’s dive into essential baking tips and tricks to further enhance your skills in the kitchen. Baking can be a fun and rewarding activity, but it can also be frustrating when things don’t turn out as expected. In this section, we will discuss some common baking mistakes and provide troubleshooting tips to help you avoid them.
One common mistake in baking is overmixing the batter. While it’s important to mix ingredients thoroughly, overmixing can lead to dense and tough baked goods. To prevent this, mix the ingredients just until they are combined. Another mistake is using the wrong measuring technique. Baking is a science, and accurate measurements are crucial. Use measuring cups and spoons specifically designed for baking, and make sure to level off the ingredients for precise measurements.
Temperature control is another important aspect of baking. Baking at the wrong temperature can result in unevenly baked goods. To ensure even baking, always preheat your oven and use an oven thermometer to verify the temperature. Additionally, opening the oven door too frequently can cause temperature fluctuations, so it’s best to resist the temptation to peek.
Another common mistake is not properly greasing the baking pans. This can cause the baked goods to stick to the pan, making it difficult to remove them in one piece. To avoid this, generously grease the pans with butter or cooking spray, and consider lining them with parchment paper for easy removal.
Easy Baking Techniques For Beginners; Frequently Asked Questions
Can I Use Regular Table Salt Instead of Kosher Salt in Baking?
Yes, you can use regular table salt instead of kosher salt in baking. However, keep in mind that kosher salt has larger grains, which means it’s easier to control the seasoning.
How Do I Know When My Dough Has Been Kneaded Enough?
To know if your dough has been kneaded enough, look for signs of over kneading, such as a tough and elastic texture. Use techniques like stretching and folding to evenly distribute the ingredients and develop gluten.
Can I Substitute Butter With Oil in a Baking Recipe?
Yes, you can substitute butter with oil in a baking recipe. However, keep in mind that oil adds moisture and affects the texture. Use 3/4 cup of oil for every 1 cup of butter. Experiment with different oils for different flavors.
What Is the Difference Between Baking Soda and Baking Powder?
Baking soda is used to create a chemical reaction that helps baked goods rise. It can be used to neutralize acidity in recipes. Baking powder is a combination of baking soda and an acid, eliminating the need for additional acid in a recipe.
How Can I Prevent My Cookies From Spreading Too Much While Baking?
To prevent your cookies from spreading too much while baking, try chilling the dough before baking, using a higher ratio of flour to fat, and ensuring your oven is at the correct temperature. These techniques will help improve cookie consistency and troubleshoot spreading issues.
Conclusion
In conclusion, mastering the art of baking is made easier with the right tools, understanding ingredient measurements, and practicing basic mixing techniques. Perfecting the creaming method and exploring different flour types will further enhance your baking skills. Additionally, properly preparing dough and baking with leavening agents are crucial steps for successful baking. By following these essential tips and tricks, even beginners can become confident and skilled bakers. So, get your apron on and start creating delicious treats!

