Amazing Baking Techniques For A Fluffy Sponge Cake
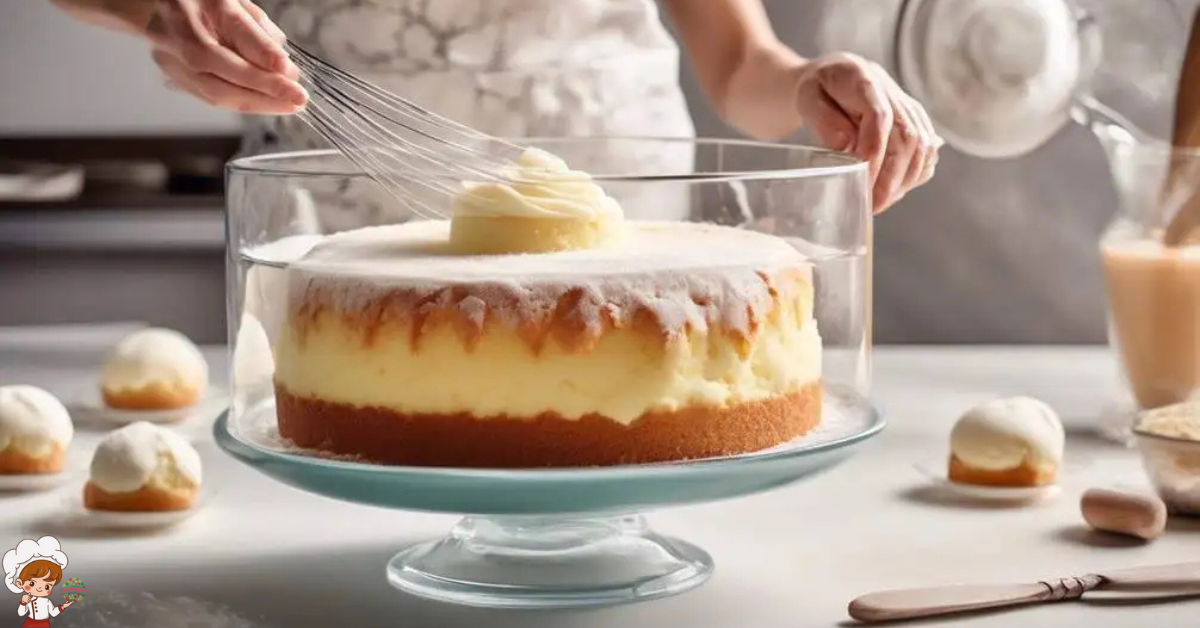
When it comes to baking a Fluffy Sponge Cake, achieving that perfect balance of lightness and fluffiness can seem like a daunting task. But fear not, for with a few simple techniques, you can elevate your sponge cake game to new heights. From choosing the right flour to incorporating air through the creaming method, each step plays a crucial role in creating that melt-in-your-mouth texture. So, gather your ingredients and get ready to embark on a journey that will leave you with a heavenly sponge cake like no other.
Choosing the Right Flour
When choosing the right flour for your sponge cake, it’s important to consider the specific qualities and characteristics that will yield the best results. Whether you’re looking for alternative flours or gluten-free options, there are a few key factors to keep in mind.
One popular alternative flour for sponge cakes is almond flour. Made from ground almonds, this flour adds a rich, nutty flavor to your cake while also providing a moist texture. Almond flour is naturally gluten-free, making it a great option for those with dietary restrictions or preferences. It’s important to note that because almond flour lacks gluten, it may not rise as much as traditional flour, so it’s recommended to add a leavening agent like baking powder to ensure a light and fluffy cake.
Another option for gluten-free baking is coconut flour. Made from dried coconut meat, this flour is high in fiber and low in carbohydrates. Coconut flour absorbs a lot of liquid, so it’s important to adjust the recipe accordingly by using more eggs or liquid. This will prevent your cake from becoming too dry or crumbly.
For those who prefer a more traditional option, cake flour is a great choice. This finely milled flour is made from soft wheat and has a lower protein content compared to all-purpose flour. The lower protein content results in a more tender and delicate crumb, perfect for a light and airy sponge cake.
Beating the Eggs to Perfection
To beat the eggs to perfection for your sponge cake, start by using a whisking technique that incorporates air into the eggs. This will help create a light and fluffy texture. Additionally, make sure the eggs are at room temperature, as this allows them to incorporate more easily into the batter and creates a smoother consistency.
Whisking Technique
For the perfect texture and lightness in your sponge cake, master the art of whisking the eggs to perfection. The whisking technique is crucial for achieving the desired fluffiness in your cake. To begin, ensure that your eggs are at room temperature, as cold eggs will not whisk as well. Crack the eggs into a clean, dry bowl and start whisking vigorously in a circular motion.
As you whisk, you will notice the eggs becoming frothy and pale in color. Keep whisking until soft peaks form. Soft peaks are achieved when the mixture holds its shape but the tips of the peaks gently fold back. Be careful not to over whisk, as this can lead to a dense cake. Once you have achieved the perfect soft peaks, your eggs are whisked to perfection and ready to be incorporated into your cake batter.
Proper Egg Temperature
Achieving the perfect texture and lightness in your sponge cake relies heavily on beating the eggs to perfection, starting with the proper temperature. The ideal egg temperature for beating is room temperature, as eggs at this temperature incorporate more air when beaten. To achieve this, simply take the eggs out of the refrigerator about 30 minutes before you start baking.
This allows them to come to room temperature naturally. Beating the eggs at room temperature ensures that they will reach their maximum volume and create a light and fluffy sponge cake. Cold eggs, on the other hand, result in a denser texture, as they do not incorporate as much air when beaten. So remember, for a sponge cake with the perfect texture, always start with eggs at room temperature.
Incorporating Air With the Creaming Method
Incorporating air with the creaming method results in a light and fluffy texture for your sponge cake. The creaming method involves beating together butter and sugar until light and fluffy. This process helps to incorporate air into the mixture, which creates tiny air pockets that will expand during baking, resulting in a soft and airy sponge cake.
To start, ensure that the butter is at room temperature. Creaming cold butter will not yield the desired results. Softened butter is easier to beat and will incorporate more air. Place the softened butter in a mixing bowl and beat it using an electric mixer on medium speed until it becomes pale and fluffy. This usually takes around 2-3 minutes.
Next, gradually add the sugar to the creamed butter while continuing to beat on medium speed. The sugar helps to create a light and tender sponge cake. Beat the mixture for another 2-3 minutes or until it becomes light and fluffy.
Once the butter and sugar are creamed together, it’s time to incorporate the dry ingredients. This is where the folding technique comes into play. Gently fold in the flour mixture using a spatula or wooden spoon, being careful not to overmix. Overmixing can result in a dense and tough cake. Fold until the dry ingredients are just incorporated.
Incorporating air with the creaming method and using the folding technique will ensure that your sponge cake turns out light, fluffy, and delicious. So, don’t forget to take your time and follow these steps for a perfect sponge cake every time.
Using the Right Amount of Leavening Agents
To ensure optimal results when baking a sponge cake, it is essential to accurately measure and incorporate the right amount of leavening agents. Leavening agents are ingredients that help the cake rise and become light and fluffy. The most common leavening agents used in sponge cakes are baking powder and baking soda.
Baking powder is a mixture of baking soda, cream of tartar, and sometimes cornstarch. It is a convenient option because it already contains the acidic ingredient needed to activate the baking soda. When using baking powder, make sure it is fresh and hasn’t expired, as it loses its effectiveness over time.
Baking soda, on the other hand, needs an acidic ingredient to react with and produce carbon dioxide, which creates air bubbles in the batter. If your recipe doesn’t include enough acidic ingredients, you can add alternatives like lemon juice, vinegar, or buttermilk to activate the baking soda.
Troubleshooting leavening issues can be daunting, but it’s crucial to understand common problems and their solutions. If your sponge cake doesn’t rise enough, it may be due to using outdated or insufficient leavening agents. If this happens, make sure your baking powder or baking soda is fresh and use the correct amount as stated in the recipe.
On the other hand, if your sponge cake rises too much and then collapses, it could be a result of overmixing the batter or using too much leavening agent. To avoid this, be gentle when folding in the dry ingredients and mix just until incorporated. Additionally, make sure to measure the leavening agents accurately to prevent excessive rising.
Properly Folding in the Dry Ingredients
Gently folding in the dry ingredients is a crucial step in achieving a light and airy texture for your sponge cake. Properly incorporating the dry ingredients into the batter helps to create a uniform mixture and prevent lumps from forming. Here are some tips to ensure that you avoid over mixing and achieve a perfectly blended batter.
Firstly, it is important to sift the dry ingredients before adding them to the batter. Sifting helps to break up any lumps and ensures that the ingredients are evenly distributed. This step is particularly important for ingredients such as flour, cocoa powder, and baking powder.
Next, create a well in the center of the batter and gradually add the sifted dry ingredients. Using a rubber spatula or a large metal spoon, gently fold the dry ingredients into the batter using a figure-eight motion. Be careful not to stir or mix vigorously, as this can lead to over mixing and result in a dense cake.
As you fold, make sure to scrape the sides and bottom of the bowl to ensure that all the dry ingredients are fully incorporated. It is important to be patient and take your time during this process. Folding too quickly or forcefully can cause the batter to lose its lightness.
Continue folding until you no longer see any streaks of dry ingredients in the batter. Remember to fold gently and avoid over mixing. Over mixing can cause the gluten in the flour to develop, resulting in a tough and dense cake.
Baking at the Correct Temperature and Time
To achieve a perfectly baked sponge cake, it is crucial to maintain precise temperature control throughout the baking process. Ensure that your oven is preheated to the recommended temperature before placing the cake inside. Additionally, be mindful of the baking time as over or under baking can result in a dry or undercooked cake.
Temperature Control
Maintain precise temperature control when baking your sponge cake to ensure optimal results. Temperature control is crucial in achieving a fluffy and moist sponge cake. Start by preheating your oven to the recommended temperature stated in the recipe. Make sure to use an oven thermometer to accurately measure the temperature inside the oven. This will help you adjust the oven settings accordingly.
If the temperature is too low, your cake may not rise properly, resulting in a dense texture. On the other hand, if the temperature is too high, the cake may overcook and become dry. It is important to follow the recommended baking time as well, as baking for too long can also lead to a dry cake. By maintaining precise temperature control, you can achieve a perfectly baked sponge cake every time.
Timely Baking
To ensure a perfectly baked sponge cake, it is crucial to bake at the correct temperature and for the recommended time. When baking at high altitudes, it is important to make adjustments to the baking time and temperature. The lower air pressure at higher altitudes affects the way cakes rise and bake. To combat this, increase the oven temperature by about 25 degrees Fahrenheit and reduce the baking time slightly. This will help the cake to rise evenly without collapsing in the center.
Additionally, preheating the oven is essential for a successful sponge cake. This allows the cake to start baking immediately and ensures even heat distribution throughout the baking process. So, always remember to adjust for high altitude and preheat your oven for a fluffy and perfectly baked sponge cake.
Allowing the Cake to Cool Properly
After removing the sponge cake from the oven, allow it to cool completely before proceeding with any further steps. Proper cooling is essential to maintain the texture and structure of the cake. To ensure a fluffy and moist sponge cake, it is important to use a cooling rack.
A cooling rack is a device with a grid-like surface that allows air to circulate around the cake. By placing the cake on a cooling rack, you prevent the heat from getting trapped and creating condensation, which can lead to a soggy bottom. The cooling rack allows the hot air to escape from the bottom of the cake, ensuring even cooling and preventing any moisture buildup.
To prevent a soggy cake bottom, make sure to remove the cake from the baking pan as soon as it comes out of the oven. Leaving the cake in the pan will trap the steam, causing the cake to become damp and lose its lightness. Gently run a knife around the edges of the cake to loosen it from the pan, then carefully invert the pan onto the cooling rack.
Allow the cake to cool completely before frosting or decorating. This step is crucial as frosting a warm cake can cause the frosting to melt, resulting in a messy appearance. Additionally, a warm cake can compromise the stability of the frosting, making it more susceptible to sliding off.
Frequently Asked Questions
Can I Use Gluten-Free Flour for a Fluffy Sponge Cake?
Yes, you can use gluten-free flour for a fluffy sponge cake. However, keep in mind that the texture may differ from regular flour. It’s important to follow a recipe specifically designed for gluten-free baking to achieve the desired result.
How Long Should I Beat the Eggs for the Perfect Texture?
To achieve the perfect texture and lightness in your sponge cake, beat the eggs for about 5-7 minutes. This beating technique incorporates air into the eggs, resulting in a fluffy and airy cake.
Can I Use a Hand Mixer Instead of a Stand Mixer for the Creaming Method?
You can definitely use a hand mixer instead of a stand mixer for the creaming method. Just make sure to beat the butter and sugar until light and fluffy. As for the best flour for gluten-free cakes, almond flour or rice flour works well.
What Happens if I Use Too Much Baking Powder in the Recipe?
If you use too much baking powder in your cake, it can result in a dense and bitter texture. To adjust for different cake sizes, use 1 teaspoon of baking powder for every cup of flour.
Can I Skip the Step of Allowing the Cake to Cool Properly Before Serving?
Skipping the step of allowing the cake to cool properly before serving can result in a dense and soggy texture. Cooling allows the cake to set and retain its structure, ensuring a fluffy and light sponge cake.
Conclusion
In conclusion, achieving a fluffy sponge cake requires careful attention to various baking techniques. It is essential to choose the right flour, beat the eggs to perfection, incorporate air using the creaming method, use the correct amount of leavening agents, properly fold in the dry ingredients, bake at the correct temperature and time, and allow the cake to cool properly. By following these steps, you can create a deliciously light and airy sponge cake that is sure to impress.


