8 Of The Best Grilling Techniques for Succulent Meat
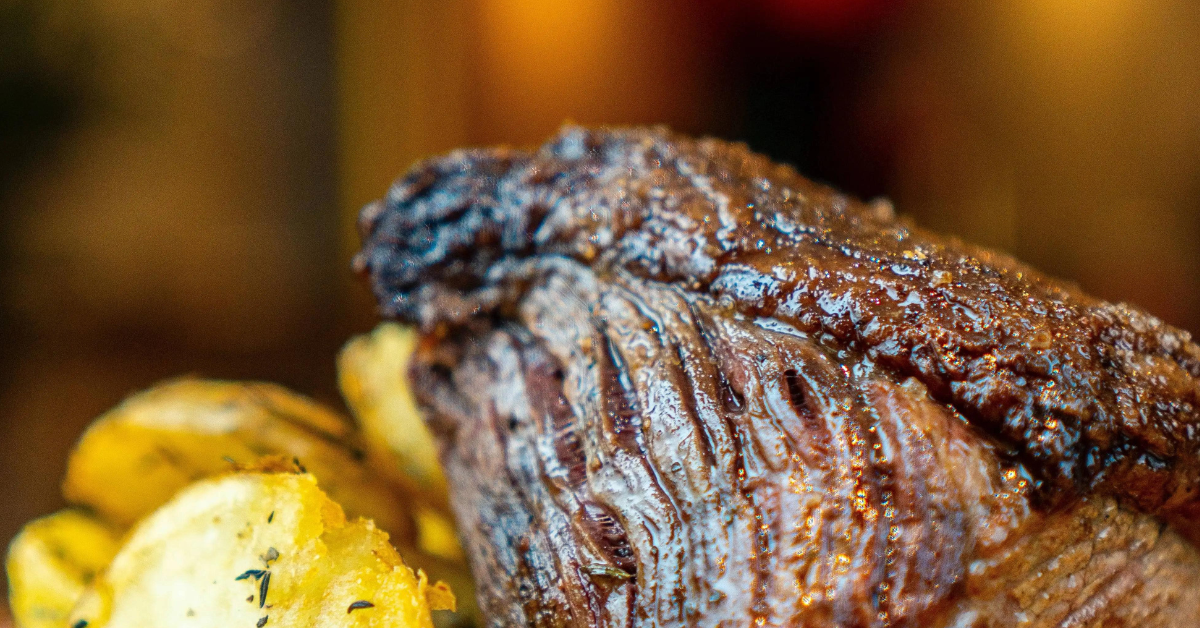
Hey grill master, ready to take your grilling game to the next level? Look no further! In this Grilling Techniques guide, we’ll walk you through essential grilling techniques that will guarantee succulent, mouthwatering meat every time you fire up that grill. From choosing the perfect cuts to nailing those beautiful grill marks, we’ve got you covered. Learn how to prepare a marinade that will make your taste buds sing and season your meat for maximum flavor. Discover the difference between direct and indirect grilling and how to monitor the temperature like a pro. And don’t forget the secret to tender, juicy meat lies in the resting and slicing. Get ready to become a grilling legend with these essential techniques!
Choosing the Right Cuts
To achieve the best results on the grill, you need to know which cuts of meat to choose. Meat selection is a crucial factor in determining the outcome of your grilling experience. When it comes to grilling, not all cuts are created equal. Some cuts are better suited for quick cooking, while others require a longer cooking time to become tender and flavorful.
When selecting meat for grilling, it’s important to consider the grilling time. Thinner cuts, such as steaks, chops, and kebabs, are great options for quick grilling. These cuts cook fast and are best served medium-rare to medium. Thicker cuts, like roasts and whole poultry, require a longer grilling time to ensure they are cooked through. It’s important to use a meat thermometer to check the internal temperature to ensure doneness.
For steaks, popular choices include ribeye, New York strip, and filet mignon. These cuts are known for their tenderness and marbling, which adds flavor and juiciness. For pork chops, bone-in cuts like center-cut pork chops are ideal for grilling. They are juicy and flavorful, perfect for a summer barbecue. When it comes to poultry, chicken breasts and thighs are great options. They cook quickly and can be marinated or seasoned with your favorite spices.
Remember to let your meat rest after grilling to allow the juices to redistribute and for the meat to reach its optimal tenderness. Choose cuts that suit your preferences and grilling style, and you’ll be on your way to enjoying succulent, mouth-watering meat every time you fire up the grill.
Preparing the Marinade
Now, let’s dive into preparing the marinade to enhance the flavor of your grilled meat. The marinade is a crucial step in the grilling process as it infuses the meat with a burst of flavors and helps to tenderize it. To create a mouthwatering marinade, you’ll need a combination of marinade ingredients that will complement the type of meat you’re grilling.
The first step in preparing the marinade is to gather your ingredients. A basic marinade typically consists of an acid, such as vinegar or citrus juice, oil, herbs, spices, and seasonings. You can customize your marinade by adding ingredients like soy sauce, Worcestershire sauce, honey, or even beer. Experiment with different combinations to find the flavors that suit your taste buds.
Once you have your marinade ingredients ready, it’s time to mix them together. Start by combining the acid and oil in a bowl, whisking them together until they emulsify. Then, add your herbs, spices, and seasonings, and mix well. Make sure to taste the marinade and adjust the flavors as needed.
After preparing the marinade, it’s important to give your meat enough time to soak in all those delicious flavors. The marinating time can vary depending on the type of meat and its thickness. For most cuts of meat, marinating for at least 30 minutes is recommended, but for tougher cuts, you may want to marinate for several hours or even overnight. Remember to refrigerate the meat while it marinates to prevent any bacterial growth.
Preparing a flavorful marinade and allowing enough marinating time will result in succulent and tender grilled meat that will leave your taste buds wanting more. So, don’t skip this crucial step and enjoy the deliciousness that comes with a well-marinated grilled dish.
Seasoning for Maximum Flavor
For maximum flavor, enhance your grilled meat with a combination of seasonings. Seasoning is a crucial step in the grilling process as it adds depth and complexity to the taste of your meat. By using the right combination of spices and herbs, you can elevate the flavor profile of your grilled dishes and take them to the next level.
When it comes to seasoning your meat, there are a few key grilling techniques to keep in mind. First, make sure to season your meat at least 30 minutes before grilling. This allows the flavors to penetrate the meat and enhances its tenderness. You can use a dry rub or a marinade to coat the meat, ensuring that each bite is bursting with flavor.
When choosing your seasonings, consider the type of meat you are grilling. For beef, bold flavors like garlic, black pepper, and cayenne pepper work well. For poultry, herbs like rosemary, thyme, and sage add a fragrant and savory taste. Seafood pairs nicely with citrus flavors like lemon and lime, as well as herbs like dill and parsley.
Experimenting with different seasoning combinations can help you discover new and exciting flavors. Don’t be afraid to get creative and mix things up. Additionally, consider using salt as a seasoning agent. Salt not only enhances the natural flavors of the meat but also helps to tenderize it, resulting in a moist and juicy final product.
Preheating the Grill
Before you start grilling, it’s crucial to preheat your grill to the optimal temperature. This step ensures that your meat cooks evenly and develops a delicious sear. Preheating also helps to prevent sticking and makes it easier to clean your grill afterwards.
Optimal Preheating Temperature
To ensure your meat is grilled to perfection, it is important to begin by preheating your grill to the optimal temperature. Preheating the grill has several benefits, including ensuring even cooking and preventing sticking. Here’s how to achieve the ideal preheating temperature:
- Ignite the grill and set the burners to high heat. Allow the grill to preheat for at least 10-15 minutes. This will ensure that the grates are hot enough to sear the meat and create those beautiful grill marks.
- Use a grill thermometer to monitor the temperature. The optimal preheating temperature for most grills is between 400-450°F (204-232°C). This temperature range is perfect for achieving a nice sear on your meat while still maintaining juiciness.
- Keep the lid closed during preheating. This will help to trap the heat and ensure that the entire grill gets hot, creating an ideal cooking environment.
Importance of Preheating
Ensure optimal grilling results by preheating your grill properly. Preheating your grill is a crucial step that many people overlook, but it can make a significant difference in the flavor and texture of your meat. There are several benefits of preheating your grill. Firstly, it allows the grates to reach the desired temperature, ensuring that your meat cooks evenly and reduces the risk of it sticking to the grates. Preheating also helps to sear the meat quickly, locking in the juices and creating a delicious crust on the outside.
However, there are some common mistakes when preheating that you should avoid. One mistake is not preheating for long enough. It is recommended to preheat your grill for at least 10-15 minutes to ensure it reaches the desired temperature. Another mistake is not cleaning the grates before preheating, which can lead to unwanted flavors and residues on your meat. By preheating your grill properly and avoiding these common mistakes, you can ensure succulent and perfectly cooked meat every time you grill.
Direct Vs Indirect Grilling
Choose between direct grilling and indirect grilling to achieve the perfect results for your succulent meat. Understanding the difference between these two techniques is essential for mastering the art of grilling. Here are three key points to help you make the right choice:
- Direct Grilling:
Direct grilling involves placing the meat directly over the heat source. This method is perfect for foods that cook quickly, such as steaks, burgers, and seafood. The advantages of direct grilling include:
- Faster cooking time: Since the heat source is directly beneath the meat, it cooks faster, allowing you to enjoy your meal in no time.
- Intense sear and flavor: Direct grilling creates a beautiful sear on the outside of the meat, locking in the juices and creating a delicious caramelized crust.
- Versatility: Direct grilling allows you to achieve different levels of doneness by adjusting the heat and cooking time.
- Indirect Grilling:
Indirect grilling involves placing the meat away from the heat source. This method is ideal for larger cuts of meat, such as roasts and whole chickens. The advantages of indirect grilling include:
- Even cooking: By cooking the meat away from the direct heat, you can ensure that it cooks evenly without any burnt or undercooked spots.
- Tender and juicy results: Indirect grilling allows the meat to cook slowly, resulting in tender, juicy, and flavorful results.
- Smoke infusion: By adding wood chips or chunks to the grill, you can infuse your meat with delicious smoky flavors.
Monitoring the Temperature
Start by using a reliable meat thermometer to accurately gauge the temperature of your meat while grilling. Temperature control is crucial when it comes to achieving succulent and perfectly cooked meat. Without monitoring the temperature, you run the risk of overcooking or undercooking your meat, resulting in a less than desirable dining experience. Luckily, using a meat thermometer is a simple and effective way to ensure that your meat reaches the ideal temperature.
When using a meat thermometer, it’s important to insert it into the thickest part of the meat, away from any bones or fat. This will give you the most accurate reading of the internal temperature. Be sure to avoid touching any bones or the grill itself, as this can affect the reading.
There are different types of meat thermometers available, such as instant-read thermometers or leave-in thermometers. Instant-read thermometers are perfect for quickly checking the temperature of your meat, while leave-in thermometers can be inserted into the meat and left throughout the grilling process, allowing you to monitor the temperature without constantly opening the grill.
Once you have inserted the thermometer, wait for a few seconds until the reading stabilizes. The temperature you’re aiming for will depend on the type of meat you’re grilling. For example, medium-rare steak should reach an internal temperature of 135°F (57°C), while chicken should reach 165°F (74°C).
Perfecting the Grill Marks
Now that you’ve mastered monitoring the temperature, it’s time to focus on perfecting those coveted grill marks. Achieving consistent grill marks is not only aesthetically pleasing, but it also adds a delicious charred flavor to your meat. To ensure grill mark perfection, follow these simple tips and techniques that will elevate your grilling game to the next level.
Achieving Consistent Grill Marks
To achieve consistent grill marks on your meat, ensure that you properly preheat your grill. This step is crucial in creating those beautiful, caramelized lines that add both visual appeal and flavor to your dishes. Here are three essential tips to help you achieve perfect grill marks every time:
- Clean and oil your grill grates: Before preheating, make sure to thoroughly clean your grates to remove any residue from previous grilling sessions. Once clean, lightly oil the grates to prevent sticking and promote even heat distribution.
- Preheat your grill: Heat your grill to medium-high heat, around 400-450°F (204-232°C), with all burners on. This ensures that the grates are evenly heated and ready for cooking.
- Use the right technique: Place your meat diagonally across the grates to create those classic grill mark patterns. Allow the meat to sear for a few minutes before rotating it 90 degrees to create crosshatch marks. Flip and repeat on the other side.
Tips for Grill Mark Perfection
Achieving perfect grill marks on your meat is easily attainable by following these essential tips. To start, make sure your grill is preheated to the appropriate temperature. This will ensure that your meat cooks evenly and helps create those beautiful grill marks. Next, brush your meat with a thin layer of oil to prevent it from sticking to the grill grates. When placing the meat on the grill, position it diagonally across the grates to create a diamond-shaped grill mark pattern.
Allow the meat to cook undisturbed for a few minutes before flipping it over. Once flipped, rotate the meat 90 degrees to achieve those classic crosshatch grill marks. Remember to avoid moving the meat too much to prevent the grill marks from smudging. With these grill mark techniques, you’ll be able to impress your guests with picture-perfect grill marks every time.
Resting and Slicing for Tenderness
Allow your grilled meat to rest before slicing to ensure maximum tenderness and juiciness. Resting the meat allows the juices to redistribute, resulting in a more flavorful and moist final product. Here are some resting and slicing techniques to help you achieve the perfect grilled meat:
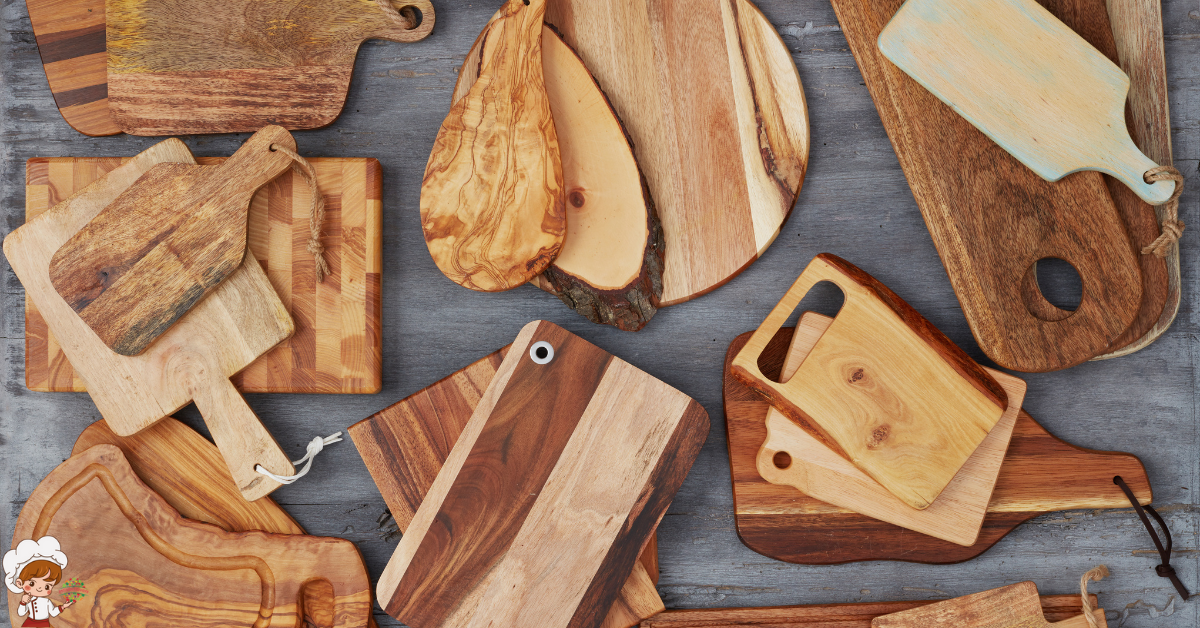
- Resting: After removing the meat from the grill, let it rest on a cutting board or a warm plate for about 5-10 minutes. This allows the juices to settle back into the meat, preventing them from spilling out when you cut into it. Cover the meat loosely with aluminum foil to keep it warm.
- Slicing: When it comes to slicing, the technique you use can greatly affect the tenderness of the meat. For roasts and larger cuts, slice against the grain. This means cutting perpendicular to the direction of the muscle fibers. Slicing against the grain breaks up the muscle fibers, resulting in more tender and easier-to-chew meat.
- Cutting Tools: It’s important to use the right cutting tools to ensure clean and precise slices. A sharp chef’s knife or carving knife is essential for cleanly cutting through the meat. Avoid using serrated knives as they can tear the meat and disrupt the grain.
Grilling Techniques; Frequently Asked Questions
Can I Use the Same Marinade for Different Types of Meat?
Yes, you can use the same marinade for different types of meat. It’s a convenient way to infuse flavors. Alternatively, you can explore other options like dry rubs or brines for variety in your grilling.
Should I Marinate the Meat for a Longer Time to Increase Tenderness?
To increase tenderness, yes, marinating meat for a longer time can be beneficial. By allowing the marinade to penetrate the meat, it helps break down fibers, resulting in succulent and flavorful results on the grill.
How Long Should I Let the Meat Rest Before Slicing?
You should let the meat rest for at least 5-10 minutes before slicing. This resting time allows the juices to redistribute, resulting in a more flavorful and tender meat when you finally take a bite.
Can I Use a Gas Grill Instead of a Charcoal Grill?
Yes, you can use a gas grill instead of a charcoal grill. Gas grilling provides convenience and consistency in temperature. Enhance the flavor by using different types of wood chips. Remember to clean your gas grill regularly for best practices.
What Is the Ideal Temperature for Grilling Different Cuts of Meat?
To achieve perfectly tender meat, you need to know the ideal grilling temperature for different cuts. For example, thicker cuts like steak require higher heat around 400-450°F, while thinner cuts like chicken breast need lower heat around 350-375°F.
Conclusion
In conclusion, mastering essential grilling techniques is the key to achieving succulent and flavorful meat. By choosing the right cuts, preparing a delicious marinade, and properly seasoning the meat, you can enhance its taste. Preheating the grill, using direct or indirect grilling methods, and monitoring the temperature ensures even cooking. Perfecting those beautiful grill marks adds visual appeal. Lastly, letting the meat rest and slicing it with care allows for maximum tenderness. So fire up your grill and enjoy mouthwatering results every time!


