What Is the Essential Guide to Home Bread Baking
Are you ready to dive into the world of bread baking? The Essential Guide to Home Bread Baking is like a trusted friend, guiding you through the process step by step. Guide to Home Bread Baking; In this comprehensive guide, you will learn the fundamental techniques and essential ingredients needed to create delicious homemade bread. From understanding different types of flour to troubleshooting common baking issues, this guide has got you covered. With clear instructions and helpful tips, you will soon be kneading and shaping dough like a pro. Whether you’re a beginner or an experienced baker looking to enhance your skills, this guide will help you master the art of bread baking in the comfort of your own home.
Bake with Style—Click Here For Our Collection and Start Creating
The Basics of Bread Baking
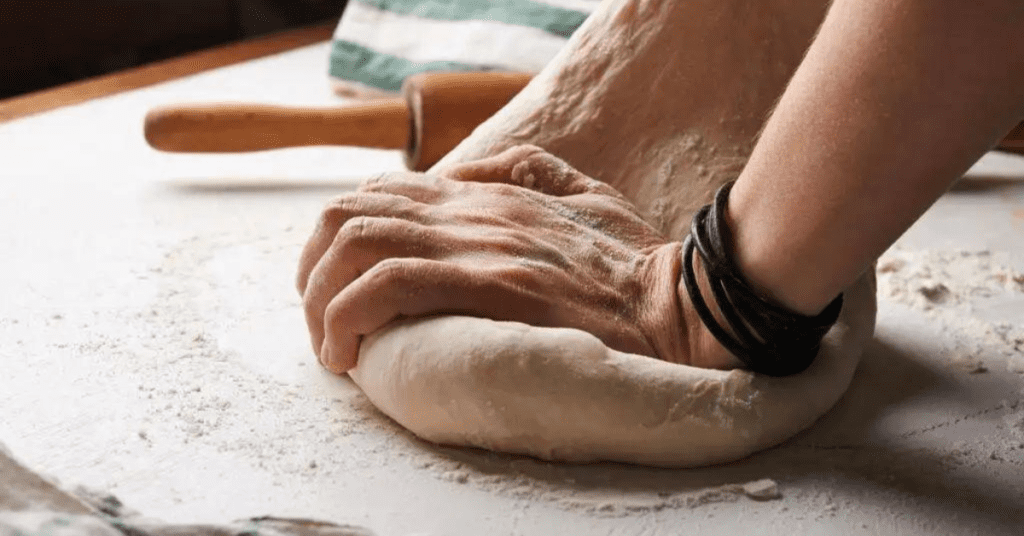
In the essential guide to home bread baking, you will learn the fundamental steps and techniques needed to create delicious homemade bread. One of the most important aspects of bread baking is mastering the basics of kneading. Kneading is the process of working the dough to develop the gluten, which gives bread its structure and texture. To knead the dough, you will need to use the heel of your hand to push the dough away from you, then fold it back over itself and repeat. This motion helps to distribute the yeast and other ingredients evenly throughout the dough and also adds air into the mixture, resulting in a lighter, fluffier loaf.
Once you have mastered the art of kneading, you can move on to exploring the different bread shapes. There are countless shapes and styles of bread, each with its own unique characteristics. Some popular shapes include the classic round loaf, which is perfect for sandwiches and toast, and the baguette, a long, thin bread with a crispy crust and a soft interior. Other shapes include braided loaves, rolls, and even decorative shapes like animals or flowers. Experimenting with different shapes not only adds visual interest to your bread but also affects the way it bakes and tastes.
Essential Ingredients for Homemade Bread
Ready to take your homemade bread baking to the next level? Let’s start by exploring the essential ingredients that will make your loaves truly outstanding. From choosing the right flour types and ratios to understanding the role of yeast and proofing, we’ll cover all the basics. Plus, we’ll discover how you can enhance the flavors of your bread with delicious add-ins. Get ready to elevate your baking game and create bread that is truly unforgettable.
Bake with Style—Click Here For Our Collection and Start Creating
Flour Types and Ratios
Choose the right flour types and ratios to ensure the essential ingredients for homemade bread. The type of flour you use can greatly affect the texture, flavor, and rise of your bread. Here are four important factors to consider when comparing different types of flour and determining the right ratios for your recipe:
- Protein content: Flours with higher protein content, such as bread flour, form more gluten when mixed with water. This leads to a stronger structure and better rise in your bread.
- All-purpose flour: This versatile flour is a good choice for most bread recipes. It has a moderate protein content that allows for a balanced gluten formation and results in a tender loaf.
- Whole wheat flour: Adding whole wheat flour to your bread recipe adds a nutty flavor and extra fiber. However, it has a lower gluten-forming ability, so it’s often combined with bread flour or all-purpose flour to achieve a good rise.
- Ratios: Experimenting with different ratios of flours can help you achieve different results. For example, increasing the amount of bread flour in your recipe can result in a chewier, denser bread. Play around with ratios until you find the perfect balance for your desired texture and flavor.
Yeast and Proofing
Now that you have selected the right flour types and ratios, let’s dive into the essential ingredients for homemade bread: yeast and proofing. Yeast is a crucial ingredient in bread baking as it helps the dough rise and gives it a light and airy texture.
To activate the yeast, you need to dissolve it in warm water or milk and add a pinch of sugar. This will kickstart the fermentation process, where the yeast feeds on the sugar and releases carbon dioxide gas, causing the dough to expand. Proofing is the term used to describe the process of allowing the dough to rise after kneading. This step is important to develop the gluten and improve the flavor of the bread. During proofing, the yeast continues to ferment, creating pockets of air in the dough, resulting in a fluffy and well-risen loaf.
Bake with Style—Click Here For Our Collection and Start Creating
Enhancing Flavors With Add-Ins
To enhance the flavors of your homemade bread, consider incorporating add-ins. These ingredients can take your bread from ordinary to extraordinary, adding depth and complexity to every bite. Here are four essential add-ins to consider:
- Sweet Add-Ins: Add a touch of sweetness to your bread by including ingredients like dried fruits, such as raisins or cranberries, or even chocolate chips. These add-ins will bring bursts of flavor and a delightful sweetness to your loaf.
- Savory Add-Ins: For a more savory and robust flavor, consider adding ingredients like grated cheese, olives, or cooked bacon bits to your dough. These add-ins will give your bread a savory twist that is perfect for sandwiches or as a standalone treat.
- Herbs: Incorporating fresh or dried herbs into your bread can elevate its taste and aroma. Rosemary, thyme, or basil are great choices that will infuse your bread with a delightful herbal fragrance.
- Spices: Experiment with spices like cinnamon, nutmeg, or cardamom to add warmth and complexity to your bread. These spices can transform your loaf into a comforting treat that pairs perfectly with a cup of tea or coffee.
Understanding Different Types of Flour
Understanding the various types of flour is crucial for successful home bread baking. Different flour options can greatly affect the texture, flavor, and overall quality of your homemade bread. While all-purpose flour is the most common choice for bread baking, it’s important to know that there are other options available to you.
Whole wheat flour is a popular choice for those looking to add more nutrition to their bread. It contains the entire wheat kernel, including the bran, germ, and endosperm. This gives the flour a nutty flavor and a denser texture. However, since whole wheat flour absorbs more liquid than all-purpose flour, you may need to adjust the amount of liquid in your recipe.
Bread flour is another option that is specifically designed for bread baking. It has a higher protein content than all-purpose flour, which helps create a stronger gluten network. This results in a bread with a chewier texture and a higher rise.
If you don’t have a specific type of flour on hand, you can also make flour substitutions. For example, you can replace some of the all-purpose flour in a recipe with whole wheat flour to add a nutty flavor. You can also mix all-purpose flour with a small amount of vital wheat gluten to achieve similar results to bread flour.
Understanding the different types of flour and their characteristics will allow you to choose the right flour for your desired outcome. Whether you’re looking for a light and airy loaf or a hearty, whole wheat bread, knowing your flour options will take your home bread baking to the next level.
Bake with Style—Click Here For Our Collection and Start Creating
Step-by-Step Bread Baking Techniques
Start by preheating your oven to the desired baking temperature. Once your oven is preheated, it’s time to dive into the step-by-step bread baking techniques. Follow these simple yet essential steps to achieve a perfectly shaped and delicious loaf of bread.
- Shaping the dough: After your dough has gone through the initial rise, it’s time to shape it into the desired form. Gently deflate the dough and place it on a lightly floured surface. Use your hands to gently stretch and fold the dough, creating tension on the surface. This will ensure a nice, tight shape.
- Proofing the shaped dough: Once you have shaped your dough, it’s important to let it proof. This second rise allows the dough to develop more flavor and texture. Place the shaped dough on a baking sheet or in a proofing basket and cover it with a clean kitchen towel. Let it rise until it has doubled in size.
- Scoring the dough: Before placing your bread in the oven, it’s important to score the dough. This helps control the expansion of the bread, prevents it from bursting open, and creates a beautiful pattern on the crust. Use a sharp knife or a razor blade to make shallow cuts on the surface of the dough.
- Troubleshooting common dough issues: Sometimes, things don’t go as planned in the bread baking process. If your dough is too sticky, try adding a bit more flour during the kneading process. If it’s too dry, add a small amount of water. If your bread is not rising properly, check the temperature of your environment or the freshness of your yeast.

Tips for Perfecting Your Bread Dough
Once you have mastered the step-by-step bread baking techniques, it’s time to focus on perfecting your bread dough with these helpful tips. Perfecting kneading techniques is essential for achieving the ideal texture and structure in your bread. When kneading the dough, use the heel of your hand to push the dough away from you and then fold it back over itself. Repeat this process, adding a little flour if necessary, until the dough becomes smooth and elastic. This helps develop the gluten, which gives the bread its structure and chewiness.
Troubleshooting dough consistency is also crucial for making perfect bread. If your dough is too sticky, gradually add more flour, a tablespoon at a time, until it becomes easier to handle. On the other hand, if your dough is too dry and crumbly, add small amounts of water, also a tablespoon at a time, until the dough is hydrated enough. Be cautious not to add too much flour or water at once, as it can quickly alter the consistency of the dough.
Another tip for perfecting your bread dough is to allow it to rest and rise properly. After kneading, place the dough in a lightly oiled bowl and cover it with a clean kitchen towel or plastic wrap. Let it rise in a warm and draft-free area until it doubles in size. This process allows the yeast to ferment the dough and create air pockets, resulting in a light and fluffy bread.
Bake with Style—Click Here For Our Collection and Start Creating
Exploring Artisan Bread Styles
To truly understand the world of artisan bread, you need to regularly explore different styles and expand your baking repertoire. Artisan bread styles offer a wide range of flavors, textures, and techniques that can elevate your bread baking skills to new heights. Here are four key bread styles to explore, each with its own unique characteristics and challenges:
- Sourdough: Sourdough bread is a classic artisan style that is known for its tangy flavor and chewy texture. It is made using a natural fermentation process that involves capturing wild yeast and bacteria to create a starter. Mastering sourdough techniques, such as feeding and maintaining your starter, and understanding the intricacies of fermentation, will allow you to create delicious and complex loaves.
- Baguettes: A staple of French baking, baguettes are characterized by their long, slender shape and crispy crust. Achieving the perfect baguette requires mastering bread shaping techniques, such as proper scoring and shaping to create the signature elongated shape. The dough itself needs to be hydrated just right to achieve the desired texture and crumb.
- Ciabatta: Originating from Italy, ciabatta is a rustic bread with a soft and airy texture and a slightly chewy crust. The dough is typically wet and sticky, making it challenging to handle. Learning the art of shaping and handling high hydration dough is key to achieving the characteristic open crumb structure of ciabatta.
- Brioche: Brioche is a rich and buttery bread that is perfect for indulgent treats like French toast or decadent sandwiches. Its tender crumb and golden crust make it a favorite among pastry chefs. Mastering the technique of incorporating butter into the dough and achieving the perfect balance of richness and lightness is essential for baking brioche.
Troubleshooting Common Bread Baking Issues
If you encounter common issues while baking bread at home, here are four troubleshooting tips to help you overcome them. First, let’s talk about troubleshooting kneading techniques. Kneading is a crucial step in bread baking as it develops gluten, which gives the bread its structure and texture. If your bread turns out dense and heavy, it may be due to inadequate kneading. To fix this, make sure you knead the dough for the recommended amount of time. This will vary depending on the recipe, but a good rule of thumb is to knead until the dough becomes smooth and elastic.
Next, let’s address troubleshooting yeast activation. Yeast is responsible for the fermentation process that causes the bread to rise. If your bread doesn’t rise properly, it could be because your yeast isn’t activated. To troubleshoot this issue, check the expiration date on your yeast. If it’s expired, you’ll need to get a fresh batch. Additionally, make sure the water you’re using to activate the yeast is at the correct temperature. Too hot or too cold water can kill the yeast, so aim for a temperature between 100°F and 110°F.
Another common issue is bread that collapses during baking. This could be due to overproofing, which means that the dough has risen for too long. To avoid this, make sure to follow the recommended proofing times in the recipe. If your bread still collapses, try reducing the proofing time slightly.
Lastly, if you’re experiencing a tough crust, it may be because of insufficient steam in your oven. Steam helps to create a crispy crust, so try adding a pan of hot water to the oven during baking or spritzing the bread with water before putting it in the oven.
Bake with Style—Click Here For Our Collection and Start Creating
Enhancing Your Bread With Flavors and Additions
Add flavor and texture to your bread by incorporating a variety of ingredients and additions. By experimenting with flavorful additions and creative mix-ins, you can elevate your homemade bread to a whole new level. Here are four ideas to get you started:
- Herbs and Spices: Infuse your bread with aromatic herbs and spices to add depth and complexity to the flavor. Try adding rosemary, thyme, or oregano for a savory twist, or cinnamon and nutmeg for a touch of warmth and sweetness.
- Cheese: Who can resist the irresistible combination of bread and cheese? Incorporate grated or cubed cheese into your dough for a gooey and flavorful surprise in every bite. Cheddar, mozzarella, and Parmesan are all excellent choices.
- Nuts and Seeds: For added crunch and nuttiness, consider adding nuts and seeds to your bread. Walnuts, almonds, sunflower seeds, and flaxseeds are all great options. Not only do they enhance the texture, but they also provide a healthy dose of nutrients.
- Dried Fruits: If you crave a touch of sweetness in your bread, try adding dried fruits. Raisins, cranberries, apricots, or dates can add bursts of flavor and a pleasant chewiness. Soak the dried fruits in warm water or juice before incorporating them into the dough to prevent them from drying out during baking.
Guide to Home Bread Baking; Frequently Asked Questions
How Do I Store Homemade Bread to Keep It Fresh?
To keep your homemade bread fresh, follow these storage tips: first, let it cool completely. Then, wrap it in plastic wrap or place it in a bread box. This will help preserve its freshness for longer.
Can I Use Whole Wheat Flour Instead of All-Purpose Flour in Bread Baking?
Yes, you can use whole wheat flour instead of all-purpose flour in bread baking. Whole wheat flour adds a nutty flavor and extra fiber to your bread. Experiment with different types of flour to create unique and healthy bread recipes.
Can I Make Bread Without Using Yeast?
Yes, you can make bread without using yeast. There are alternative methods such as making no-knead bread recipes or using sourdough starters. These options provide delicious and unique flavors to your homemade bread.
How Long Does It Take for Bread Dough to Rise?
To speed up bread dough rising, it depends on the recipe and conditions. Generally, it takes 1-2 hours for dough to double in size. Warmth and humidity help, but be careful not to rush it too much or the bread won’t have the desired texture.
Can I Freeze Bread Dough for Later Use?
Yes, you can freeze bread dough for later use. Freezing bread dough is a great way to extend its shelf life and have fresh bread whenever you want. Properly wrap the dough and store it in the freezer for up to three months.
Conclusion
In conclusion, home bread baking is a delightful and rewarding experience that anyone can enjoy. By mastering the basics, understanding essential ingredients, and perfecting your techniques, you can create delicious bread right in your own kitchen. With a wide variety of artisan styles to explore and the ability to troubleshoot common issues, you have the freedom to experiment and enhance your bread with unique flavors and additions. So, grab your apron and get ready to embark on a journey of homemade bread baking bliss.