History And How To Make Peach Galette
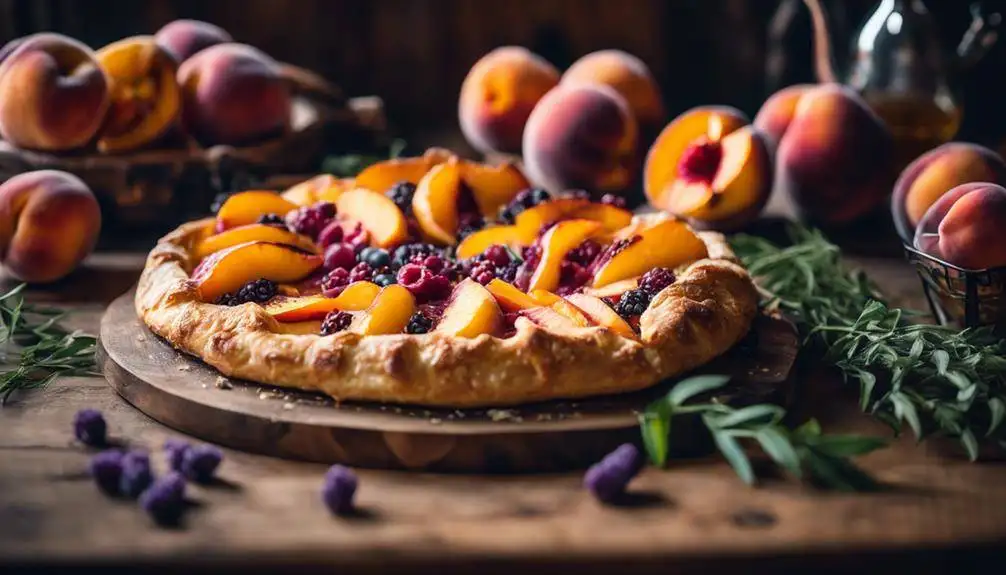
History And How To Make Peach Galette; Peach galette is a rustic French pastry that celebrates seasonal fruits, particularly ripe peaches. To create one, start by making a simple dough with flour, sugar, and cold butter. Roll it out into a circle, then layer sliced peaches on top, leaving a border. Fold the edges over the peaches and sprinkle with sugar. Bake until golden brown. The key is to select peaches that are sweet and slightly soft for the best flavor. This classic dish is not only easy to make but versatile too. Stick around to explore variations and tips for perfecting your galette!
Bake with Style—Click Here For Our Collection and Start Creating
Origins of Peach Galette
The peach galette, a rustic French pastry, has roots in traditional cooking that celebrates simple ingredients and seasonal fruits. You’ll find the history of peaches fascinating, as they date back thousands of years, originating in China before making their way to Europe. By the time they reached France, the peach had already gained popularity among bakers and home cooks, who loved its sweet, juicy flavor. This laid the groundwork for the peach galette, which marries the fruit’s vibrant taste with the simplicity of a free-form tart.
Galette variations can be traced back to the French countryside, where home bakers experimented with different fillings and crusts. While the classic peach galette features fresh, ripe peaches, you can easily adapt the recipe to include other seasonal fruits like apples, cherries, or berries. The beauty of the galette lies in its versatility; it doesn’t require precision, making it perfect for those who enjoy cooking without strict rules.
You might also appreciate how the galette reflects the principle of ‘cooking with the seasons.’ Using ripe peaches when they’re at their peak not only enhances the flavor but also connects you to the natural rhythm of the land. So, whether you’re savoring a slice on a warm summer evening or experimenting with various fruits, the peach galette stands as a symbol of the timeless tradition of celebrating ingredients that nature provides.
Traditional French Pastries

French pastries are renowned for their exquisite flavors and artistry, showcasing a rich tradition that complements rustic treats like the peach galette. When you explore the domain of French pastry, you uncover a dessert history that intertwines with culture and craftsmanship. Each pastry tells a story, reflecting the dedication and skill of the baker.
The classic French pastry range includes delicate croissants, buttery éclairs, and rich tarts, all of which have become symbols of culinary excellence. You might be familiar with the flaky layers of a mille-feuille or the smooth, creamy filling of a Paris-Brest. Each creation is a demonstration of the meticulous techniques honed over generations.
In the sphere of desserts, French pastry chefs have perfected the balance of flavors and textures. They use high-quality ingredients, transforming them into masterpieces that not only taste divine but also look stunning. This tradition emphasizes the importance of presentation, as a well-crafted pastry is as much a feast for the eyes as it is for the palate.
Understanding French pastries gives you a deeper appreciation for desserts like the peach galette, which combines rustic charm with artisanal finesse. The techniques and flavors found in traditional French pastry-making can inspire your own baking endeavors, encouraging you to explore and innovate. So, as you indulge in a peach galette, remember that it’s part of a much larger tapestry of dessert history, woven with passion and artistry.
Bake with Style—Click Here For Our Collection and Start Creating
Ingredients for Peach Galette
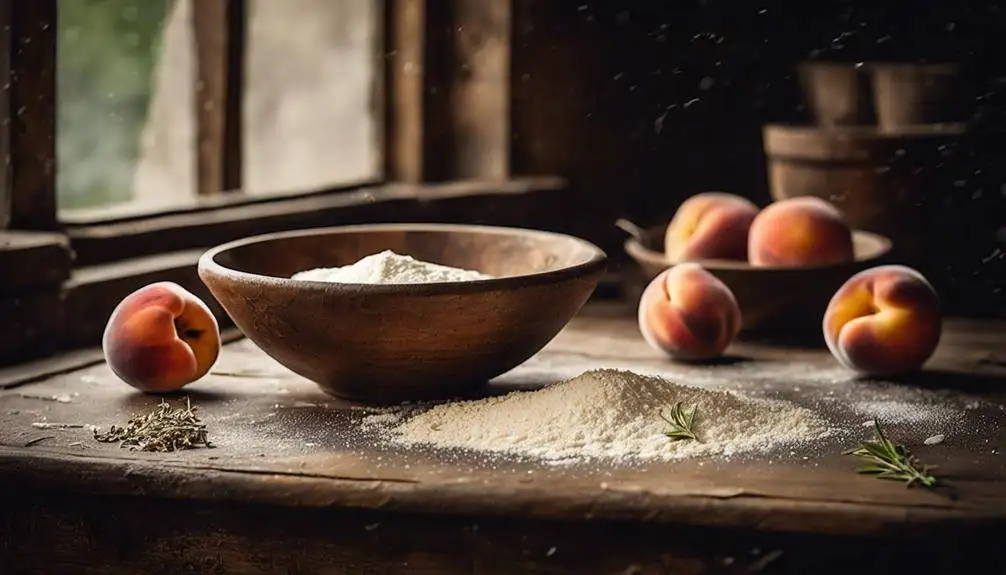
Gather fresh, ripe peaches, as they’re the star of your delicious peach galette. When choosing your peaches, consider different peach varieties like freestone or clingstone. Freestone peaches are easier to slice and mix, while clingstone peaches offer a sweeter flavor. Aim for about 4 to 5 medium-sized peaches to guarantee you have enough filling.
Next, you’ll need a simple dough for the galette crust. You can either make your own with all-purpose flour, cold butter, sugar, and a pinch of salt, or use store-bought pastry if you’re short on time. The crust should be flaky and golden, providing a perfect contrast to the juicy peaches.
For sweetness and flavor, you may want to add sugar, vanilla extract, or lemon juice to your peach filling. Sugar enhances the natural sweetness of the peaches, while vanilla and lemon juice add depth and brightness. Don’t forget to sprinkle a bit of cinnamon or nutmeg if you like a hint of spice.
When it comes to galette toppings, you can get creative! A sprinkle of coarse sugar adds a lovely crunch, or you might consider a drizzle of honey for an extra touch of sweetness. For a more indulgent option, add dollops of cream cheese or ricotta before folding the crust over, giving your galette a rich, creamy texture. Remember, the key is to balance the flavors while highlighting those beautiful peaches!
Essential Baking Tools
To successfully create your peach galette, you’ll want to have a few essential baking tools on hand. First, a sturdy mixing bowl is key for combining your ingredients. Choose one that’s large enough to allow for easy mixing without spills. A pastry cutter or fork will help you incorporate the butter into the flour for that perfect flaky crust. If you don’t have a pastry cutter, a simple fork will do the trick.
Next, a good-quality rolling pin is vital. It’ll make rolling out your dough easier and more uniform, which is essential for baking. Don’t forget parchment paper! Lining your baking sheet with it prevents sticking and makes cleanup a breeze. You’ll also need a sharp knife or a bench scraper to cut the fruit and trim the edges of your galette.
A baking sheet or a pizza stone works well for baking your galette, providing even heat distribution for a golden crust. Finally, a cooling rack helps your galette cool evenly after baking, preventing sogginess.
These baking tools are more than just kitchen essentials; they’ll enhance your baking experience and help you achieve that delicious, homemade taste. With the right tools at your fingertips, you’ll be well on your way to creating a stunning peach galette that impresses everyone at the table. Happy baking!
Preparing the Dough
Start by mixing the flour, sugar, and salt in your mixing bowl until well combined. This forms the dry base for your dough. Next, cut in cold butter using a pastry cutter or your fingertips. You want to achieve a crumbly texture, where the butter pieces are about the size of peas. This step is essential for a flaky crust, so don’t rush it.
Once the butter is incorporated, gradually add ice-cold water—start with about four tablespoons. Mix gently with a fork until the dough begins to come together. You’re aiming for a dough consistency that’s slightly tacky but not overly sticky. If it feels too dry, add a bit more water, a teaspoon at a time, until it holds together.
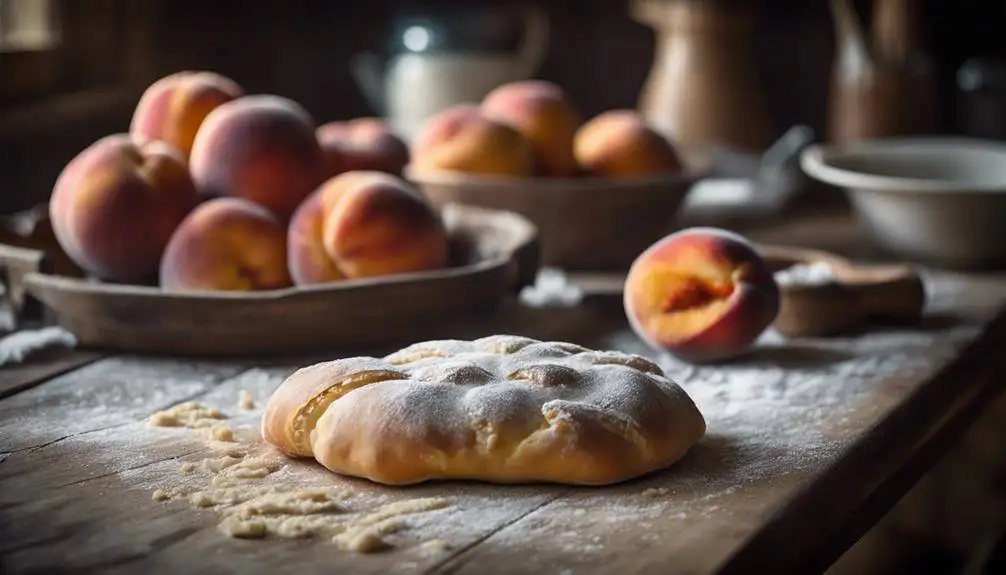
When the dough forms, avoid overworking it. Shape it into a disc, wrap it in plastic wrap, and let it rest in the refrigerator for at least 30 minutes. Dough resting is important; it allows the gluten to relax, ensuring your crust will be tender and easy to roll out later.
After the resting period, take the dough out and let it sit for a few minutes at room temperature. This will make it easier to roll. Dust your work surface with flour, and roll the dough into a circle about 12 inches in diameter. Now you’re ready to fill your galette with those delicious peaches you’ll choose shortly!
Bake with Style—Click Here For Our Collection and Start Creating
Selecting the Perfect Peaches
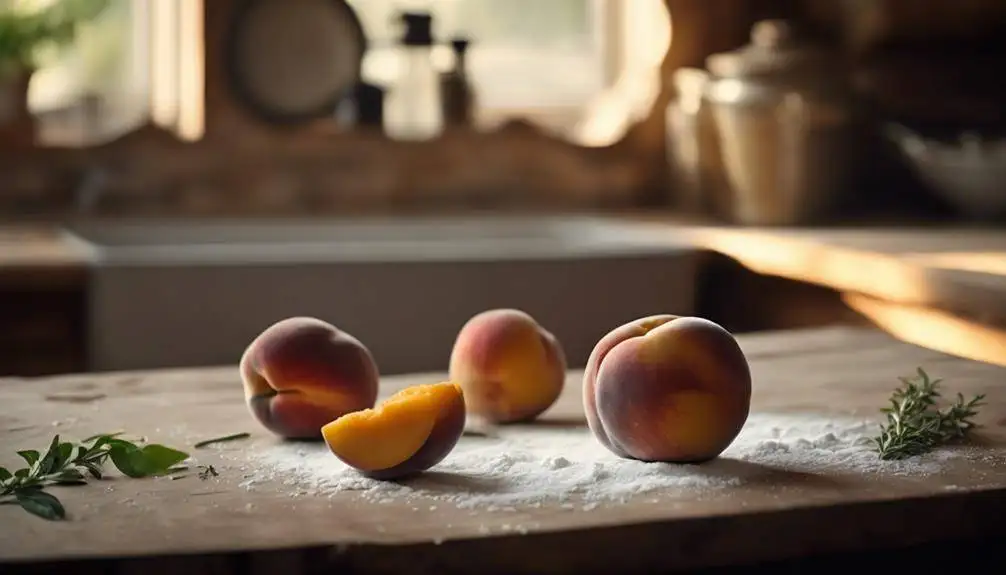
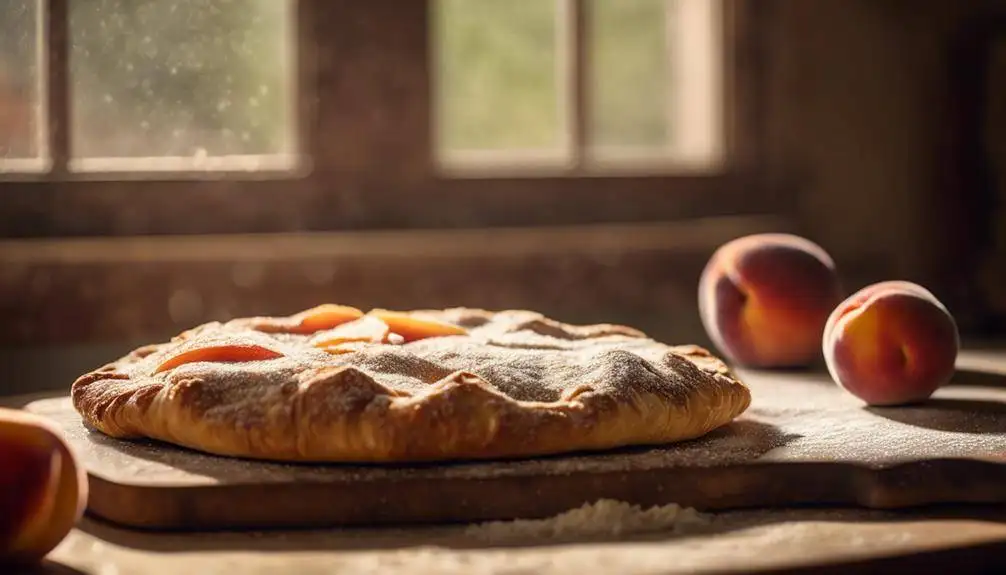
Choosing ripe, juicy peaches is essential for a delicious galette, so look for fruit that’s slightly soft to the touch and has a sweet aroma. When selecting peaches, focus on the ripeness indicators: a peach should yield gently to pressure and emit a fragrant scent. Avoid peaches with hard spots, as they’re likely under-ripe, while overly soft peaches may be overripe.
There are various peach varieties to take into account, each bringing its unique flavor profile to your galette. Yellow peaches are known for their classic sweetness, while white peaches offer a delicate, floral taste. If you can find them, try using freestone peaches, which are easier to slice and prepare since the pit separates easily from the flesh. Clingstone varieties, on the other hand, can be delicious but may require more effort to cut around the pit.
You might also want to think about the season when selecting your peaches. If it’s summer, farmers’ markets often showcase the freshest and ripest options. Ask the vendor for recommendations based on what’s in season. If you can’t find ripe peaches at your local store, don’t hesitate to choose slightly under-ripe fruit; you can let them ripen at home for a few days. Just place them in a paper bag at room temperature. By carefully selecting your peaches, you’ll guarantee your galette is bursting with flavor, making it a true showstopper for any gathering.
Bake with Style—Click Here For Our Collection and Start Creating

Peach Galette Recipe
Ingredients
- For the Crust:
- 1 1/4 cups all-purpose flour
- 1/2 teaspoon salt
- 1/2 teaspoon sugar
- 1/2 cup unsalted butter chilled and cut into small pieces
- 1/4 cup ice water
- For the Filling:
- 4-5 ripe peaches peeled, pitted, and sliced
- 1/4 cup granulated sugar
- 1 tablespoon lemon juice
- 1 teaspoon vanilla extract
- 1 tablespoon cornstarch
- 1/4 teaspoon ground cinnamon optional
- For Assembling:
- 1 egg beaten (for egg wash)
- 2 tablespoons turbinado sugar for sprinkling
Instructions
- Instructions:
- Make the Crust:
- In a large bowl, whisk together the flour, salt, and sugar.
- Add the chilled butter pieces and use a pastry cutter or your fingers to cut the butter into the flour mixture until it resembles coarse crumbs.
- Gradually add the ice water, one tablespoon at a time, mixing until the dough just comes together. Be careful not to overwork the dough.
- Form the dough into a disk, wrap it in plastic wrap, and refrigerate for at least 1 hour.
- Prepare the Filling:
- In a large bowl, combine the sliced peaches, sugar, lemon juice, vanilla extract, cornstarch, and cinnamon (if using). Gently toss to coat the peaches evenly. Let the mixture sit for about 10-15 minutes.
- Assemble the Galette:
- Preheat your oven to 400°F (200°C). Line a baking sheet with parchment paper.
- On a lightly floured surface, roll out the chilled dough into a rough circle about 12 inches in diameter. Transfer the dough to the prepared baking sheet.
- Arrange the peach mixture in the center of the dough, leaving a 2-inch border around the edges.
- Fold the edges of the dough over the peaches, pleating it as you go, to create a rustic crust. Brush the edges of the dough with the beaten egg and sprinkle with turbinado sugar.
- Bake the Galette:
- Bake in the preheated oven for 35-40 minutes, or until the crust is golden brown and the filling is bubbling.
- Remove from the oven and let the galette cool on the baking sheet for about 10 minutes. Transfer to a wire rack to cool completely.
- Serve:
- Serve the peach galette warm or at room temperature. It pairs wonderfully with a scoop of vanilla ice cream or a dollop of whipped cream.
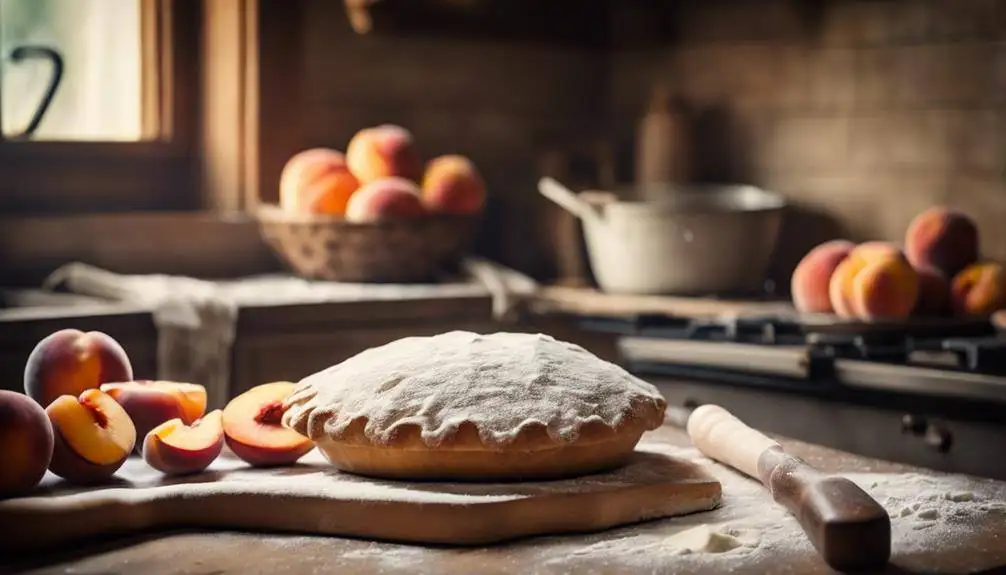
Assembling the Galette
Assemble your galette by rolling out the dough on a floured surface to achieve a rustic, free-form shape that will hold the juicy peaches beautifully. Aim for about 12 inches in diameter, ensuring it’s even and not too thin. Once you’ve got your shape, transfer the dough onto a parchment-lined baking sheet.
Now, let’s focus on the peach filling. Arrange your sliced peaches in the center of the dough, leaving about a 2-3 inch border. You can sprinkle a little sugar, cinnamon, or cornstarch to help absorb some of the juices and enhance the flavor.
Next comes the fun part: crust folding. Gently fold the edges of the dough over the peaches to create a lovely, rustic look. Don’t worry if it’s not perfect; the beauty of a galette lies in its imperfection. Make sure the crust is snug enough to hold the filling but loose enough to allow steam to escape.
For added flair, you might want to brush the crust with an egg wash made from beaten egg and a splash of water. This will give your galette a golden-brown finish once it’s baked.
Baking Techniques
Once your galette is assembled, the baking techniques you use will greatly influence its texture and flavor. Understanding some baking science will help you achieve a perfectly golden crust that’s both flaky and tender. Start by preheating your oven to a high temperature, typically around 400°F (200°C). This initial blast of heat will create steam, which helps puff up the pastry and gives it that desirable crunch.
When it comes to pastry techniques, using a cold baking surface can also help maintain the integrity of your crust. You might consider placing your galette on a preheated baking stone or a baking sheet that’s been chilling in the freezer. This method encourages even cooking while preventing the bottom from becoming soggy, especially with juicy peaches.
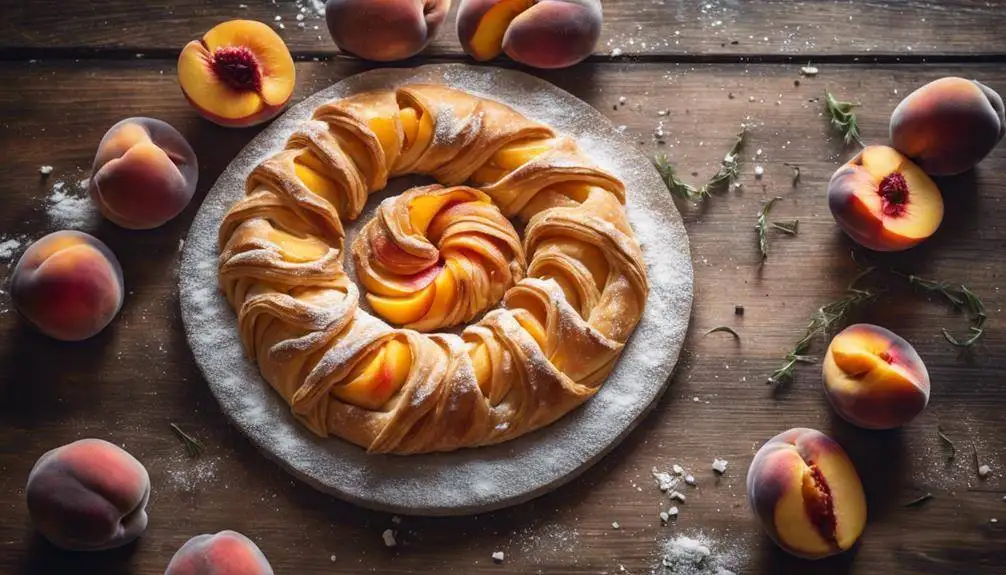
Don’t forget to brush the edges of your galette with an egg wash. This simple step not only enhances the color but also adds a layer of sheen that makes your dessert visually appealing. For added flavor, sprinkle a bit of coarse sugar on top before baking; it’ll caramelize and create a delightful texture.
Lastly, keep an eye on your galette as it bakes. Depending on your oven’s performance, it could take anywhere from 30 to 45 minutes. When the crust turns a deep golden brown and the peaches bubble, you’ll know it’s ready. Mastering these techniques will guarantee your peach galette is a delicious success every time!
Bake with Style—Click Here For Our Collection and Start Creating
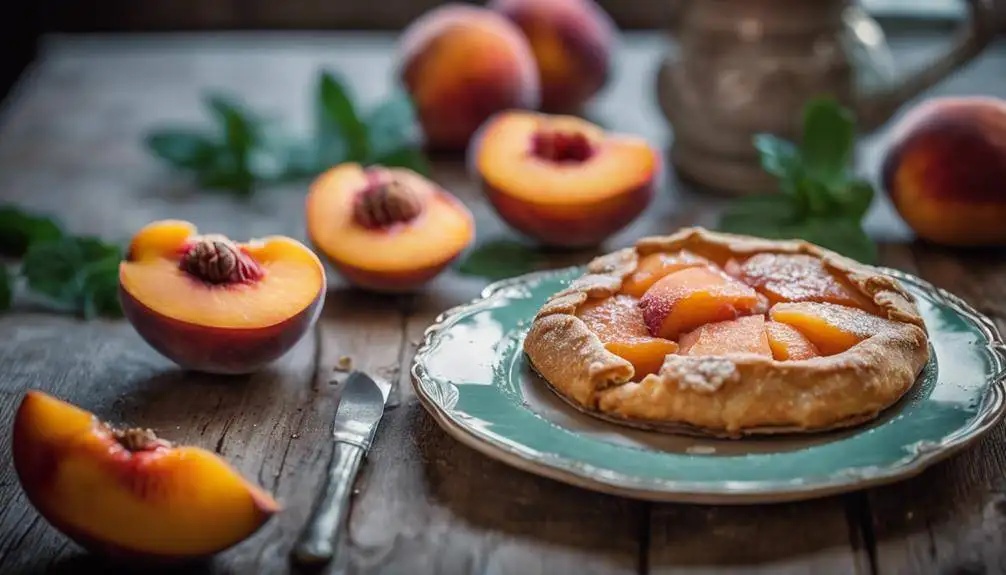
Serving Suggestions
Serving a peach galette is all about enhancing its rustic charm while complementing the sweet, juicy flavors of the fruit. When you present your galette, consider serving it warm right out of the oven or at room temperature. Both options allow the buttery crust and succulent peaches to shine.
To elevate the experience, think about peach pairings that can enhance the dish’s sweetness. A scoop of vanilla ice cream or a dollop of whipped cream on the side adds a creamy richness that balances the tartness of the peaches. If you prefer something a bit more sophisticated, try serving your galette with a drizzle of homemade caramel sauce or a sprinkle of toasted almonds for added texture.
For a more invigorating twist, you can accompany the galette with a scoop of peach sorbet or a side of fresh peach salsa. This will not only enhance the peach flavors but also bring a lightness to the dish.
In terms of serving styles, slice the galette into wedges and present it on a rustic wooden board. You might even want to garnish the platter with fresh mint leaves for a pop of color.
Whether you’re hosting a gathering or enjoying a quiet evening, these serving suggestions will help you make the most of your peach galette, turning it into a delightful centerpiece that your guests will adore. Enjoy the blend of flavors and textures that come together in this simple yet elegant dessert!
Variations and Twists

You can easily put your own spin on a classic peach galette by experimenting with different fruits, spices, and crust variations. Consider incorporating seasonal fruits like plums, cherries, or even blueberries alongside your peaches. These fruits not only enhance the galette’s color but also create delightful flavor combinations that elevate the dish. For example, mixing peaches with raspberries adds a tangy contrast that’s simply irresistible.
When it comes to spices, don’t hesitate to think outside the box. While cinnamon and nutmeg are traditional choices, you might find that a hint of cardamom or ginger brings a unique warmth and complexity to your galette. A sprinkle of fresh herbs like basil or thyme can also add an unexpected twist, making your dessert feel more sophisticated.
If you want to switch up the crust, consider using whole wheat or almond flour for a nuttier flavor and a slightly different texture. You could even try a savory version by incorporating cheese into the dough, giving your galette a rich, indulgent quality.
Don’t forget about the toppings! Drizzling a bit of honey or a balsamic reduction can add a sweet and tangy finish that complements the fruits beautifully. With these variations and twists, you can create a peach galette that truly reflects your personal taste, giving you endless opportunities to impress your family and friends.
Storing Leftovers
After enjoying your peach galette, you’ll want to store any leftovers properly. Start by cooling it down completely, then choose an airtight container to keep it fresh. Finally, I’ll share some reheating tips to guarantee it tastes just as delicious the next day.
Proper Cooling Techniques
How can you affirm your peach galette cools properly before storing leftovers? The key lies in effective temperature control. Once your galette finishes baking, remove it from the oven and place it on a cooling rack. This allows air to circulate around the pastry, preventing moisture buildup that can make it soggy. Avoid leaving it in the pan, as this can trap heat and hinder the cooling process.
Let your galette cool completely at room temperature, which usually takes about an hour. This step is vital; if you store it while it’s still warm, condensation will form, leading to undesirable texture changes. If you’re in a hurry, you can speed up the process by placing the cooling rack in a drafty area of your kitchen, but avoid direct sunlight or extreme cold.
Once cooled, you can confidently store your leftovers, knowing they’re in the best condition possible. Remember, proper cooling not only preserves the flavors but also guarantees your peach galette remains delightful for your next indulgence. By following these techniques, you’ll maintain the perfect crust and vibrant fruit filling for days to come.
Airtight Storage Options
Once your peach galette has cooled completely, choosing the right airtight storage options is key to keeping it fresh and flavorful. Start by cutting any leftovers into individual slices. This makes it easier to enjoy a piece whenever you crave it.
For short-term storage, you can use a food storage container with a tight-fitting lid. Simply place the slices inside, ensuring they’re snug but not squished. If you plan to keep the galette for longer, vacuum sealing is your best bet. Vacuum sealing removes air, which helps prevent freezer burn and keeps your dessert tasting great for weeks.
Alternatively, you can use freezer bags. Just make sure to remove as much air as possible before sealing. Lay the bag flat in the freezer for easier stacking and quick access later. When you’re ready to enjoy your galette again, you’ll thank yourself for taking these extra steps to preserve its deliciousness. Remember, the better you store your leftovers, the more satisfying your next slice will be!
Reheating Tips
To enjoy your peach galette at its best, reheating it properly can make all the difference in reviving its flaky crust and juicy filling. There are several reheating methods you can use, and each has its perks.
For ideal flavor preservation, the oven is your best friend. Preheat it to 350°F (175°C), then place your galette on a baking sheet. Cover it loosely with foil to prevent over-browning, and heat for about 10-15 minutes. This method keeps the crust crispy while warming the filling evenly.
If you’re short on time, the microwave can work in a pinch, but it may sacrifice some texture. Place a slice on a microwave-safe plate and cover it with a damp paper towel. Heat for 15-30 seconds, checking frequently to avoid sogginess.
Another option is the skillet method. Heat a non-stick skillet over low heat, add the galette, and cover it for about 5 minutes. This allows the crust to regain some crispness while warming the filling gently.
No matter which reheating method you choose, enjoy your peach galette like it’s fresh from the oven!
Bake with Style—Click Here For Our Collection and Start Creating
History And How To Make Peach Galette; Frequently Asked Questions
Can I Use Frozen Peaches for Peach Galette?
Yes, you can use frozen peaches for your galette! Just make sure to thaw them properly using techniques like leaving them in the fridge overnight or microwaving briefly to retain their flavor and texture.
How Long Does a Peach Galette Last in the Fridge?
A peach galette lasts about 3 to 5 days in the fridge. For ideal peach preservation, cover it tightly during galette storage to maintain flavor and texture. Enjoy your delicious dessert while it’s fresh!
What Is the Best Way to Slice Peaches?
To slice peaches effectively, use peach slicing techniques like cutting along the pit for freestone varieties or peeling for clingstone. Different peach variety differences can affect texture, so adjust your method accordingly for the best results.
Can I Make the Dough in Advance?
Yes, you can make the dough in advance! Store it in the fridge for a few days or freeze it for longer. Just remember to wrap it well to prevent freezer burn during dough storage.
Is Peach Galette Gluten-Free?
Peach galette isn’t naturally gluten-free, but you can easily make it that way. Try using gluten-free alternatives like almond flour or a gluten-free pastry mix for delicious variations that still taste amazing!

Conclusion
To sum up, making a peach galette is a delightful way to celebrate the sweet taste of summer. With its rustic charm and simple preparation, you can impress family and friends with this classic French pastry. Don’t hesitate to experiment with different fruits or spices to make it your own. Remember to savor each bite and enjoy the process of baking. Now, roll up your sleeves and create your own delicious masterpiece!