History And How To Make Canning Green Beans

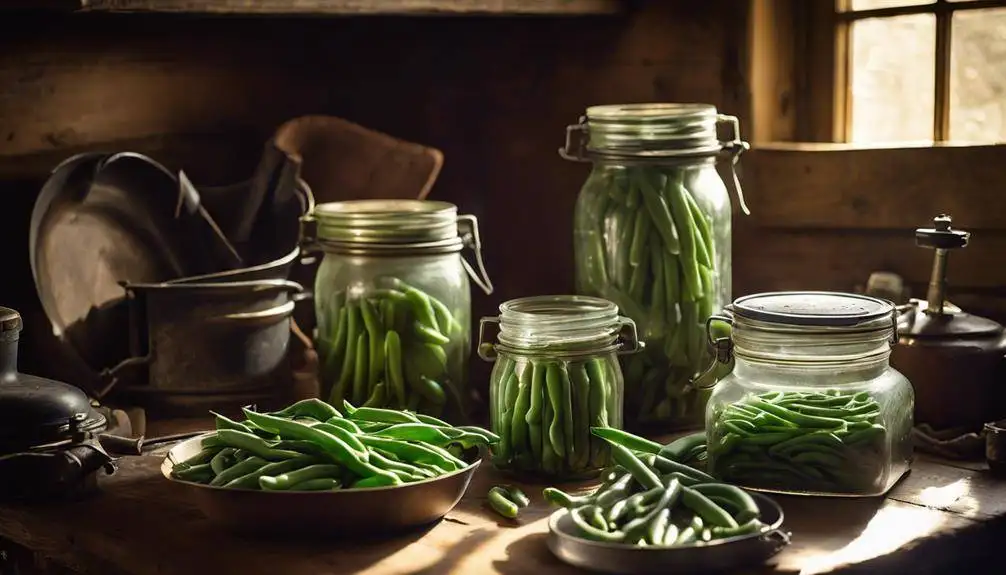
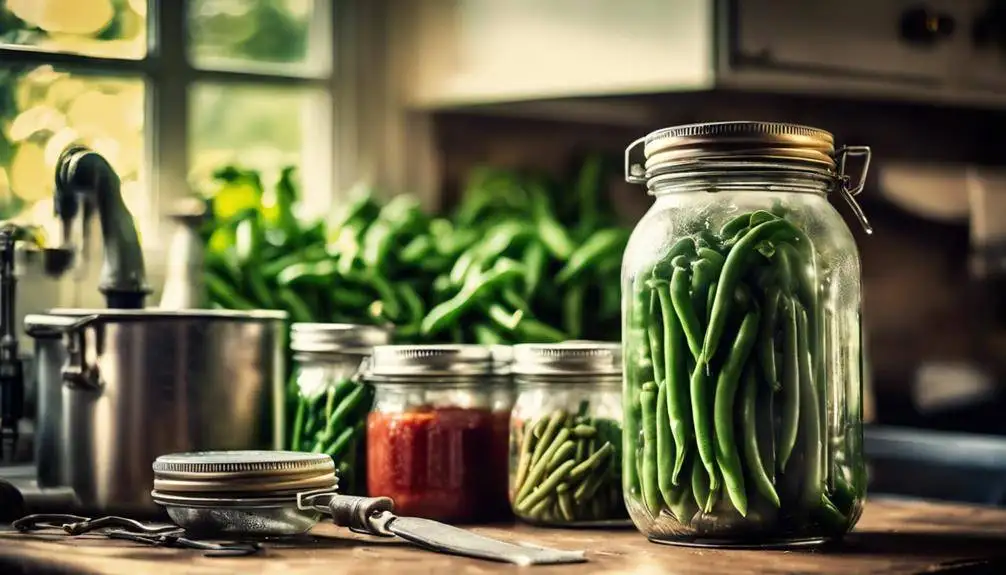
How To Make Canning Green Beans has a fascinating history that dates back to the early 19th century when it was developed as a method for preserving food during wartime. To make canned green beans, you start by selecting fresh, crisp beans, washing, and trimming them. Blanching helps retain their color and nutrients. Next, pack the beans into sterilized jars, leaving a one-inch headspace. Secure the lids and use a pressure canner to guarantee safety. This process allows you to enjoy seasonal flavors year-round. Keep going to discover essential tips and creative uses for your freshly canned green beans!
Don’t Miss Out—Click Here To Get Your Canning Essentials Now
Origins of Canning
Canning, a method that preserves food by sealing it in airtight containers, dates back to the early 19th century when it was first developed to feed soldiers during wartime. The historical significance of canning can’t be overstated; it revolutionized food storage and distribution, allowing for longer shelf life and reduced spoilage. As you explore the origins of canning, you’ll notice several canning milestones that marked its development.
In 1809, Nicolas Appert, a French chef, discovered that food could be preserved by placing it in jars and heating them. His groundbreaking work laid the foundation for modern canning techniques. Shortly after, in 1812, the British government recognized the potential of this preservation method and offered a reward for its use in feeding troops. This led to the mass production of canned goods, making them accessible to civilians as well.
By the mid-19th century, advancements continued with the introduction of tin cans, which provided a more durable and efficient means of preservation. This innovation expanded canning’s reach beyond military applications, paving the way for its popularity in households. The canning process evolved, and soon, fruits, vegetables, and meats became staples in many kitchens.
Understanding the origins of canning helps appreciate its impact on food preservation. From its military beginnings to household staples, canning milestones reflect not only technological progress but also a shift in how society approached food security. So, the next time you open a can of green beans, remember the rich history behind that simple act.
Importance of Preservation
Preserving food plays an essential role in guaranteeing that you can enjoy seasonal produce year-round while minimizing waste. By canning green beans and other vegetables, you’re not just extending their shelf life; you’re also taking control of your food supply. This practice allows you to savor the flavors of summer even during the chilly months.
One of the significant canning benefits is its contribution to food sustainability. When you preserve food, you reduce the need for mass-produced items that often come with excessive packaging and carbon footprints. You’re supporting local farmers and reducing transportation impacts by using fresh, in-season produce. This way, you contribute to a more sustainable food system while enjoying the freshest flavors.
Moreover, canning helps you save money. By purchasing in bulk during peak seasons and preserving what you can’t consume immediately, you avoid the higher prices of out-of-season produce. You’ll find your pantry stocked with nutritious options, making meal prep easier and more economical.
Additionally, canning empowers you to control ingredients. By making your own preserves, you can avoid additives and preservatives often found in store-bought products. This not only enhances your family’s health but also guarantees that you’re eating the way you prefer.
In short, the importance of preservation through canning extends beyond just keeping food. It fosters sustainability, reduces waste, and promotes healthier eating habits—making it a rewarding endeavor for you and the environment.
Early Canning Techniques
As you investigate the world of food preservation, it’s fascinating to look back at the early canning techniques that laid the groundwork for modern practices. In the early 19th century, canning emerged as a revolutionary method to store food for longer periods. These ancient methods were often rudimentary but effective, relying on glass jars and metal tins sealed tightly to create a vacuum.
One key figure in this development was Nicolas Appert, a French chef who, in 1809, demonstrated that food could be preserved by heating it in sealed containers. This marked a significant milestone in canning innovations, as it provided a scientific basis for food preservation. You’d fill containers with fruits, vegetables, or meats, then heat them to kill bacteria, ensuring they’d remain safe to eat for months or even years.
In those early days, preservation was a trial-and-error process. Methods varied widely, and many home canners had to rely on their instincts and local knowledge. They experimented with different ingredients, cooking times, and sealing techniques to find what worked best for their needs.
As you explore these early canning techniques, you’ll see how the combination of creativity and necessity drove innovation. The progress made in those years paved the way for the sophisticated canning processes we use today, making it possible for you to enjoy delicious green beans and other preserved foods year-round with confidence and ease.
Evolution of Canning Equipment
Over the years, advancements in canning equipment have transformed the process, making it safer and more efficient for home canners. Historical innovations in canning technology have paved the way for the modern tools you use today. Early canning relied heavily on glass jars and simple lids, but now you have access to a variety of specialized equipment designed to streamline your canning experience.
One of the most significant developments is the pressure canner. This invention allows you to safely preserve low-acid foods, like green beans, by reaching higher temperatures than boiling water alone can provide. You’ll also find that modern pressure canners come with safety features that prevent accidents, giving you peace of mind while you work.
Another important advancement is the introduction of jar lifters and magnetic lid lifters, which minimize the risk of burns and streamline the sealing process. These tools make it easier to handle hot jars and lids, allowing you to focus on the quality of your preserved goods. Additionally, vacuum sealers have gained popularity, providing an alternative to traditional canning methods for those who prefer food storage without the hassle of jars.
The evolution of canning equipment continues to enhance your experience, combining historical innovations with cutting-edge technology. With these advancements at your fingertips, you can confidently preserve your harvest, knowing that you’re equipped with the best tools available.
Home Canning in America
When you think about home canning in America, you might picture the early techniques that laid the groundwork for today’s methods. The popularity of home gardens has made canning a cherished activity for many families. Let’s explore how these practices evolved and adapted over time.
Don’t Miss Out—Click Here To Get Your Canning Essentials Now
Early Canning Techniques
Early canning techniques in America revolutionized food preservation, allowing families to enjoy seasonal harvests year-round. You might be surprised to learn that these methods date back to the early 19th century when preserving food became vital for survival, especially during harsh winters. People turned to traditional methods like glass jars and wax seals to keep their fruits and vegetables fresh.
The cultural significance of canning can’t be understated. It became a way for families to bond over food, sharing recipes and techniques passed down through generations. You’d find mothers teaching daughters the art of canning, ensuring that these essential skills remained alive. As you explore early canning, consider how these practices not only provided sustenance but also fostered community connections.
In your own canning journey, you can draw inspiration from these early techniques. Embrace the legacy of preserving food and the joy that comes with it. By understanding the roots of canning, you’ll appreciate the process even more. Whether you’re using a pressure canner or a water bath method, you’re continuing a tradition that has deep roots in American history.
Popularity in Home Gardens
Home gardens have become increasingly popular for growing fresh produce, making home canning a go-to method for preserving the bounty. You might find joy in cultivating various green bean varieties, from classic Blue Lake to the crisp French Haricot Vert. Home gardening allows you to control the quality of your crops, ensuring you harvest beans at their peak freshness.
As more people embrace sustainable living, the trend of growing your own food has skyrocketed. You’ll discover that home canning not only extends the shelf life of your green beans but also captures the flavors of summer for colder months. This practice encourages self-sufficiency and reduces reliance on store-bought canned goods, which often contain preservatives.
Canning your homegrown green beans is satisfying, knowing exactly what’s in each jar. Plus, it’s a great way to share your gardening success with friends and family. By experimenting with different green bean varieties, you can create unique flavors and textures in your canned goods, making every jar a delicious reminder of your hard work. Embrace home gardening and canning, and you’ll enjoy the fruits of your labor all year round.
Modern Preservation Methods
Canning has evolved into a modern preservation method that allows you to enjoy your garden’s green beans long after the harvest season ends. Today, home canning isn’t just about saving food; it’s also about embracing sustainable practices that reduce waste and promote self-sufficiency. You can preserve the freshness of your harvest while minimizing your carbon footprint.
With modern techniques like pressure canning and water bath canning, you can guarantee your green beans are safe to eat and bursting with flavor. Pressure canning is particularly effective for low-acid foods, which means your beans will retain their nutrients and taste. Plus, advancements in equipment make the process easier than ever. You can find user-friendly canners and jars designed for safety and efficiency.
Incorporating sustainable practices into your canning routine not only helps you enjoy seasonal produce year-round but also supports your local economy. By preserving your own food, you contribute to a healthier planet and a more resilient community. So, gather your green beans and embrace these modern preservation methods—you’ll love the satisfaction of enjoying your homegrown harvest all year long!
Don’t Miss Out—Click Here To Get Your Canning Essentials Now
Canned Green Beans Recipe
Equipment
- Equipment:
- Pressure canner
- Mason jars with lids and bands (pint or quart size)
- Jar lifter
- Canning funnel
- Bubble remover tool or wooden stick
- Large pot for boiling water
- Towels or a cloth
Ingredients
- Ingredients:
- Fresh green beans about 1 pound per pint jar
- Water
- Canning salt optional, about 1/2 teaspoon per pint jar
Instructions
- Prepare the Green Beans:
- Wash the green beans thoroughly under cold running water.
- Trim the ends and cut the beans into 1-2 inch pieces, or leave them whole if preferred.
- Sterilize the Jars:
- Wash your jars, lids, and bands with hot, soapy water. Rinse well.
- Sterilize the jars by placing them in a large pot of boiling water for 10 minutes, or use your dishwasher’s sterilize cycle.
- Keep the jars warm until you’re ready to use them to prevent cracking when adding hot contents.
- Pack the Jars:
- There are two methods for canning green beans: hot pack and raw pack.
- Hot Pack Method:
- Blanch the prepared green beans in boiling water for 5 minutes.
- Drain and immediately pack the hot beans into the warm jars, leaving about 1 inch of headspace at the top.
- Add 1/2 teaspoon of canning salt to each pint jar, if using.
- Pour boiling water over the beans, covering them completely, but still leaving 1 inch of headspace.
- Raw Pack Method:
- Pack the raw, prepared green beans tightly into the warm jars, leaving 1 inch of headspace.
- Add 1/2 teaspoon of canning salt to each pint jar, if using.
- Pour boiling water over the beans, covering them completely, but still leaving 1 inch of headspace.
- Remove Air Bubbles:
- Use a bubble remover tool or a wooden stick to remove any air bubbles trapped in the jars. Slide the tool around the inside edges of the jar.
- Seal the Jars:
- Wipe the rims of the jars with a clean, damp cloth to remove any residue.
- Place the lids on the jars, then screw the bands on until they are fingertip tight.
- Prepare the Pressure Canner:
- Add a few inches of water to your pressure canner, following the manufacturer’s instructions.
- Place the filled jars into the canner, using a jar lifter.
- Process the Jars:
- Secure the lid on the pressure canner and turn the heat to high. Allow the canner to vent steam for 10 minutes before closing the vent.
- Process the jars at 10 pounds of pressure (adjust for altitude if necessary) for the following times:
- Pint jars: 20 minutes
- Quart jars: 25 minutes
- Cool the Jars:
- Once the processing time is complete, turn off the heat and let the pressure canner cool down naturally. Do not open the canner until the pressure has dropped completely.
- Carefully remove the jars from the canner using a jar lifter and place them on a towel or cloth, leaving space between them. Allow the jars to cool undisturbed for 12-24 hours.
- Check the Seals:
- After the jars have cooled, check the seals by pressing down on the center of each lid. If the lid doesn’t pop back, the jar is sealed. If any jars did not seal properly, refrigerate them and use within a few days.
- Store the Jars:
- Label the jars with the date and contents.
- Store the sealed jars in a cool, dark place. Properly canned green beans can last up to a year.
Nutritional Benefits of Green Beans
Green beans pack a punch when it comes to nutrition, offering a wealth of vitamins, minerals, and fiber that can boost your overall health. These vibrant veggies are low in calories yet high in essential nutrients like vitamin C, vitamin K, and folate. Incorporating them into your diet can provide significant health benefits, helping you maintain a balanced lifestyle.
One of the standout features of green beans is their impressive antioxidant properties. They contain flavonoids and carotenoids, which help combat oxidative stress in your body. This means they can protect your cells from damage caused by free radicals, potentially lowering your risk of chronic diseases. Eating green beans regularly can contribute to better heart health, as their fiber content helps regulate cholesterol levels and supports healthy blood pressure.
Moreover, the fiber found in green beans can aid in digestion, promoting a healthy gut. When you increase your fiber intake, you can experience improved bowel regularity, which is essential for overall digestive health. Green beans’ combination of water and fiber also helps keep you feeling full, making them a great addition to weight management plans.
Lastly, these beans are versatile and easy to prepare, allowing you to enjoy their nutritional benefits in various dishes. So whether you’re canning them for later or cooking them fresh, make sure to include green beans in your meals for a tasty and nutritious boost!
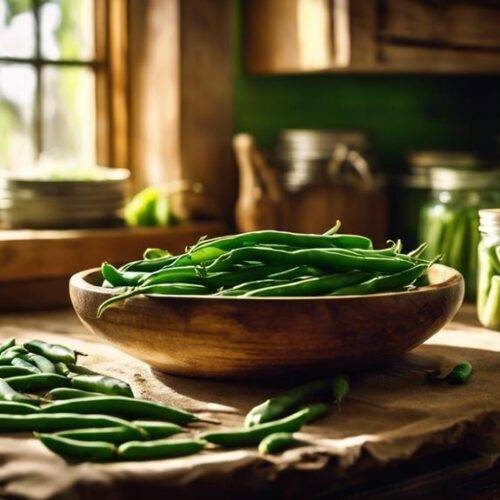
Selecting the Right Green Beans
When you’re at the market, look for green beans that are vibrant in color and firm to the touch. Freshness indicators are essential in selecting the right beans for canning. You want to avoid any that are wilted, discolored, or have blemishes. These signs often indicate that the beans are past their prime and may not hold up well during the canning process.
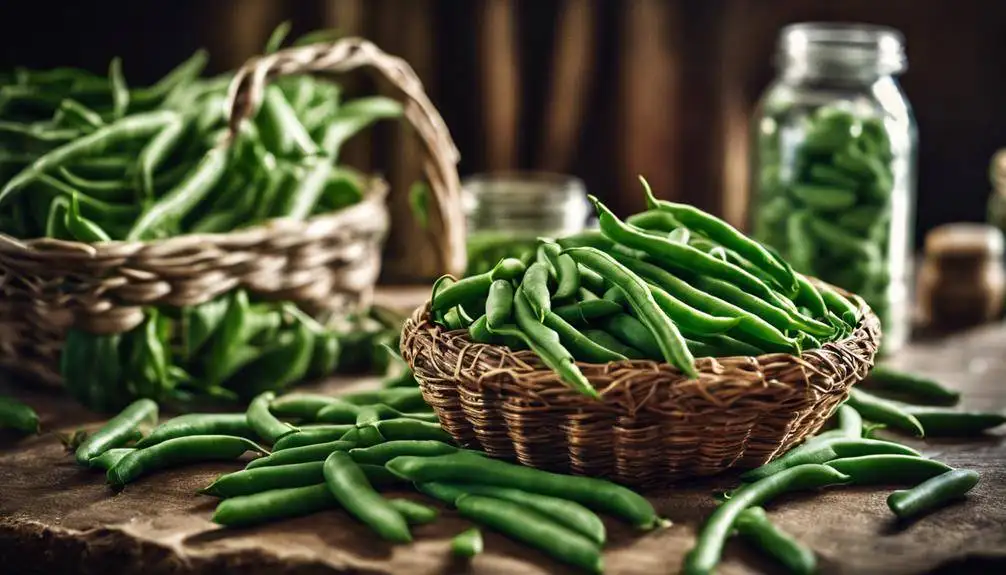
Pay attention to the varieties selection as well. There are several types of green beans, including snap beans and string beans. Snap beans are typically preferred for canning due to their tender texture and sweet flavor. If possible, choose smaller beans as they tend to be more tender and flavorful.
Another freshness indicator is the sound: when you snap a green bean, it should break cleanly with a crisp sound. This indicates that the beans are fresh and have the right moisture content. Additionally, check the length of the beans; shorter beans are often younger and more desirable for canning.
If you’re unsure about the beans’ freshness, don’t hesitate to ask the vendor. They can provide insights on the best varieties and the freshest options available that day. Ultimately, selecting the right green beans is an important step in the canning process, ensuring that you end up with delicious results that you can enjoy long after the harvest season.
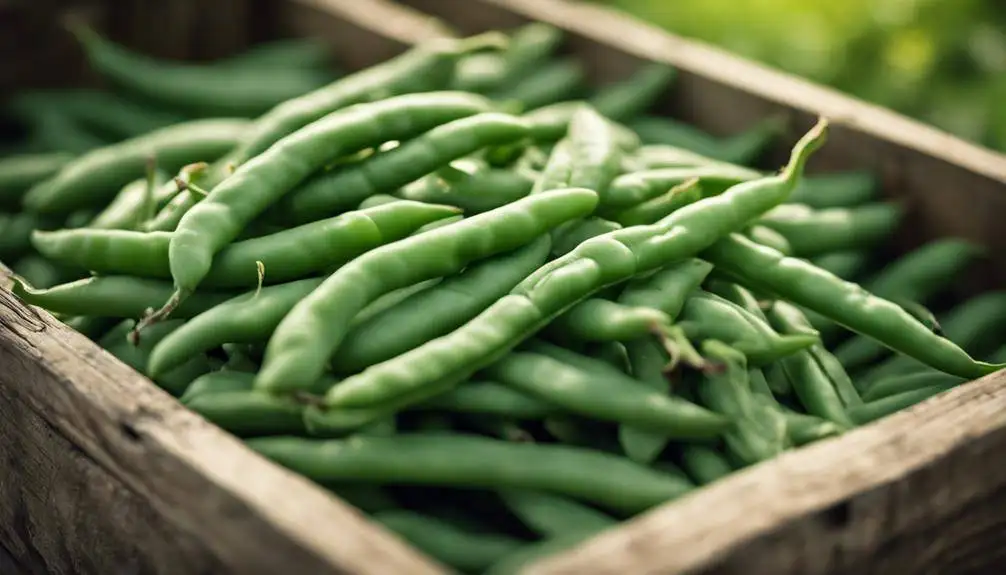
Preparing Green Beans for Canning
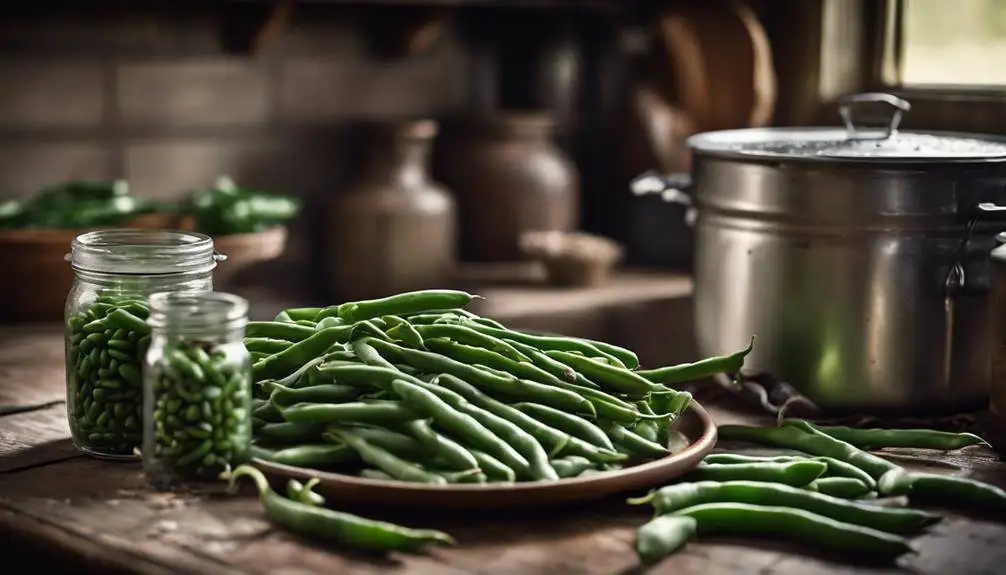
Start by washing the green beans thoroughly to remove any dirt or debris before preparing them for canning. This step is essential, especially after seasonal harvesting, to guarantee your beans are clean and safe to eat. Once washed, trim both ends of the beans, cutting off any tough or damaged parts. You can choose to leave them whole or cut them into smaller pieces based on your preference.
Next, you’ll want to employ blanching techniques to preserve the color, texture, and nutritional value of the green beans. Blanching involves briefly boiling the beans for about 3 minutes, followed by an immediate plunge into ice water. This stops the cooking process and locks in that vibrant green color. Make sure you have a large bowl filled with ice water ready before you begin blanching.
After blanching, drain the beans well and pat them dry with a clean kitchen towel. This step helps prevent excess water from compromising the canning process. If you’re canning in jars, make sure they’re also clean and dry. You can now pack the beans into canning jars, leaving appropriate headspace as per your canning method.
With the green beans prepared, you’re one step closer to enjoying that fresh taste of summer all year round. Remember, proper preparation makes all the difference in your canning success!
Necessary Canning Supplies
When you’re ready to can green beans, having the right supplies is vital. You’ll need essential equipment to guarantee a safe and successful process. Let’s go over what you’ll need and some safety tips to keep in mind.
Essential Equipment Needed
What essential equipment do you need to guarantee a successful canning process for your green beans? First, you’ll want high-quality canning jars. These jars come in various sizes, but pint or quart jars are ideal for green beans. Make certain they’re specifically designed for canning to ascertain safety and durability.
Next, you’ll need a pressure cooker. This is vital for low-acid foods like green beans, as it helps maintain the correct temperature and pressure during the canning process. Using a pressure cooker assures that harmful bacteria are eliminated, making your beans safe to eat.
Additionally, invest in a canning funnel. This handy tool helps you fill jars without spilling, making the process cleaner and more efficient. Don’t forget about a jar lifter; it allows you to safely remove hot jars from the pressure cooker without risking burns.
Lastly, you’ll need a bubble remover or a spatula to eliminate air bubbles from your jars before sealing. With these essential pieces of equipment, you’ll be well on your way to canning delicious green beans that can last for months!
Safety Considerations and Tips
Ensuring safety during the canning process is just as important as having the right equipment, so keep these tips in mind to protect yourself and your food. First, always use a pressure canner for low-acid foods like green beans. This method meets canning regulations and helps prevent botulism, a serious foodborne illness.
Make sure your jars, lids, and equipment are sterile to avoid contamination. You can sterilize jars by boiling them for 10 minutes or placing them in a dishwasher on a hot cycle. Check for any cracks or chips in your jars before use, as damaged jars can lead to seal failures.
While packing your green beans, leave appropriate headspace as specified in your canning recipe. This step is essential for creating a proper seal and ensuring safety. After sealing, process your jars according to the recommended times and pressures for your altitude.
Step-by-Step Canning Process
Follow these essential steps to can green beans safely and effectively. First, gather your materials: fresh green beans, a canner, jars, lids, and a jar lifter. It’s best to use seasonal varieties for the best flavor and texture. Rinse your green beans thoroughly and trim the ends, then cut them into manageable pieces.
Next, fill your canner with water and bring it to a boil. While it heats, prepare your jars by sterilizing them in hot water. Pack the green beans tightly into the jars, leaving about an inch of headspace. You can add salt for flavor, but it’s optional. Pour boiling water over the beans, making certain they’re fully submerged, and again maintain that one-inch headspace.
Once your jars are filled, wipe the rims clean to guarantee a proper seal, then place the lids on top. Screw the bands on just until they’re fingertip-tight. Place the jars in the canner, making certain they’re covered by at least an inch of water. Bring the water back to a boil and process the jars according to your canning method.
After processing, turn off the heat and allow the canner to cool down. Once it’s safe to open, use a jar lifter to remove the jars and place them on a clean towel to cool completely. This canning tradition preserves your green beans for future meals, allowing you to enjoy their seasonal variety long after harvest.
When it comes to canning green beans, you’ll face a choice between pressure canning and water bath methods. Each method has its own safety and preservation techniques that can affect the quality of your beans. Understanding the differences in equipment and process will help you decide which method suits your needs best.
Safety and Preservation Methods
Which method, pressure canning or water bath, offers the safest way to preserve green beans while maintaining their flavor and texture? When it comes to preservation techniques, pressure canning is generally the safer option for low-acid foods like green beans. This method reaches higher temperatures than water bath canning, effectively killing harmful bacteria, including botulism spores.
You’ve got to prioritize safety standards when canning. Water bath canning is suitable for high-acid foods, such as fruits and pickles, but it doesn’t achieve the necessary temperature to safely process beans. If you try to preserve green beans using a water bath, you risk spoilage and foodborne illness.
In short, if you’re looking to preserve green beans safely and effectively, pressure canning is the way to go. It guarantees that your beans not only remain safe to eat but also retain their vibrant flavor and crisp texture. So, when you’re ready to can, remember to choose the method that assures safety and quality in every jar.
Equipment and Process Differences
Understanding the equipment and process differences between pressure canning and water bath canning is essential for achieving safe and effective results in preserving green beans. Each method employs distinct canning techniques that cater to different types of foods.
Pressure canning uses a specialized pressure canner, which raises the temperature above boiling to effectively kill bacteria, molds, and yeast. This method is vital for low-acid foods like green beans, ensuring safety and longevity. In contrast, water bath canning utilizes a large pot of boiling water to process high-acid foods. This method won’t reach the necessary temperatures to safely preserve low-acid foods, making it unsuitable for green beans.
When selecting your equipment types, consider your specific needs. If you’re only canning high-acid foods, a water bath canner might suffice. However, if you plan to preserve a variety of foods—including low-acid options—investing in a pressure canner is a smart choice. Understanding these differences will help you choose the right equipment and process for your canning projects, ensuring your green beans are safe and delicious for months to come.
Common Canning Mistakes
Avoiding common canning mistakes can make the difference between a safe, delicious batch of green beans and a potentially hazardous one. One of the most prevalent errors is not using a pressure canner for low-acid foods like green beans. Many people still believe that boiling water canning is sufficient, but that’s a dangerous myth. You need the high temperatures achieved by pressure canning to eliminate harmful bacteria, such as botulism.
Another common error is not following a tested canning recipe. Some folks think they can improvise with ingredients or processing times, but that can lead to spoilage or unsafe food. Stick to trusted sources like the USDA or your local extension office for reliable recipes.
Overfilling jars is another mistake you should avoid. Leave the recommended headspace to allow for proper sealing and expansion during processing. If you don’t, you risk jars not sealing correctly, leading to spoilage.
Also, don’t forget to check for any broken jars before you start. Using damaged jars can compromise the safety of your canned goods. Finally, some people mistakenly skip the step of removing air bubbles before sealing. This can trap air, affecting the seal and the quality of your beans.
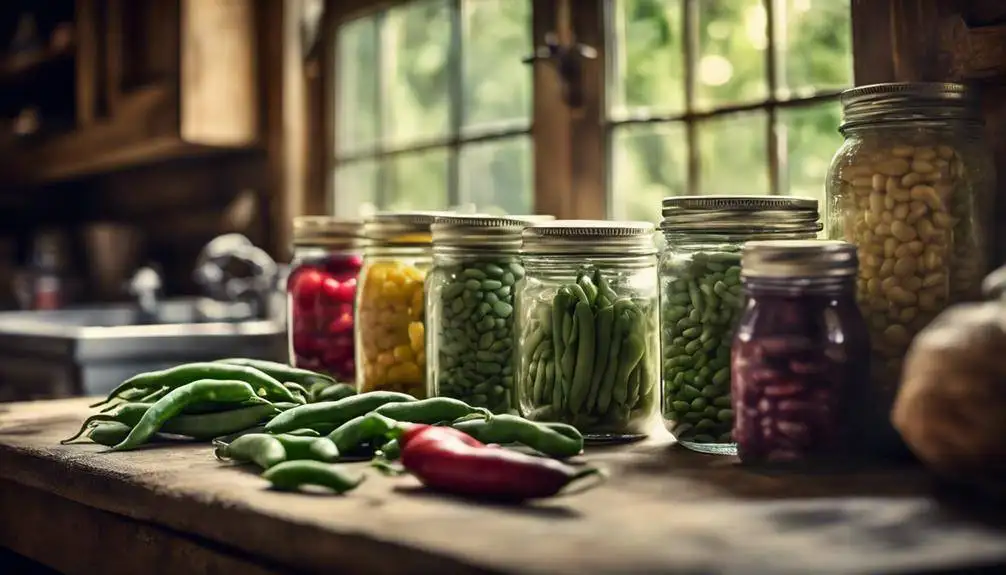
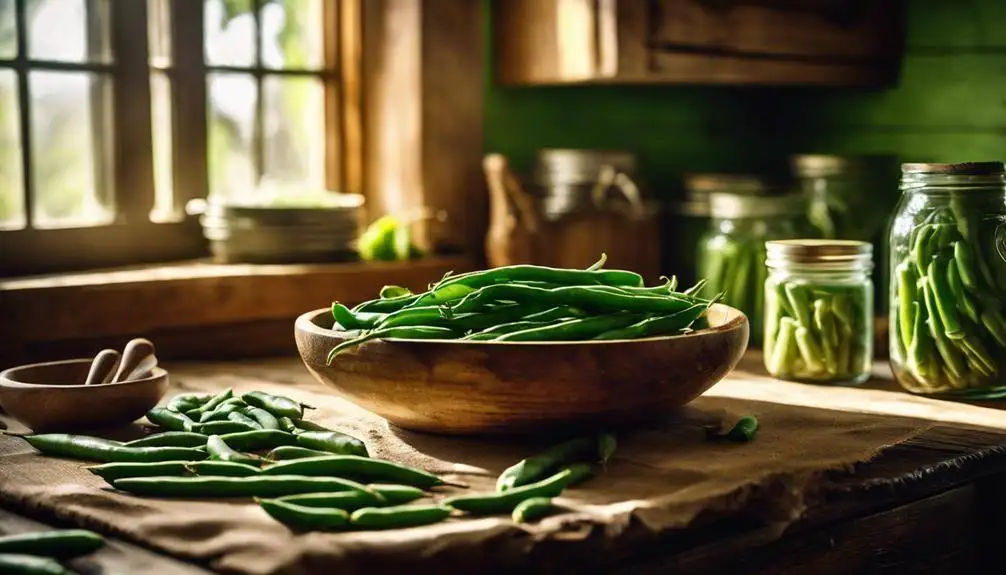
Storing Canned Green Beans
To keep your canned green beans fresh and safe, store them in a cool, dark place away from direct sunlight. The ideal storage conditions help guarantee the quality and flavor of your beans for longer. A pantry or cellar with a stable temperature is perfect for this purpose. Aim to keep the temperature below 75°F (24°C) to promote long-term preservation.
When organizing your storage space, make certain to keep the jars off the floor and away from damp areas like basements or garages. Humidity can lead to rust on the lids, which could compromise the seal and affect the safety of the contents. Additionally, avoid stacking jars too high to prevent breakage.
It’s crucial to label your jars with the date of canning. This way, you can easily track how long they’ve been stored. Generally, canned green beans can last for up to 3 years if stored properly. However, for the best taste and texture, try to use them within the first year.
If you notice any signs of spoilage, like bulging lids or unusual smells, it’s vital to discard the jar immediately. Safety is the priority. Remember, proper storage not only enhances the quality of your canned green beans but also guarantees that they remain safe to eat over time. So, when you’re done canning, take a moment to set up your ideal storage space and enjoy your green beans whenever you like!
Creative Recipes With Canned Beans
You can whip up some delicious meals using canned green beans that don’t just sit on the shelf. Try creating flavorful bean salads or hearty soups that are perfect for any occasion. Let’s explore some tasty ideas to make the most of your canned beans!
Flavorful Bean Salad Ideas
Discovering new ways to enjoy canned green beans can lead to vibrant and delicious salads that elevate any meal. You can create a revitalizing bean salad by combining canned green beans with diced cucumbers, cherry tomatoes, and red onion. Drizzle a simple dressing made of olive oil, lemon juice, salt, and pepper for a delightful flavor combination.
For a heartier option, mix canned green beans with canned chickpeas, diced bell peppers, and parsley. Add a touch of cumin and a squeeze of lime juice to bring out the flavors. This protein-packed salad is perfect for lunch or as a side dish.
If you’re in the mood for something with a kick, consider a spicy bean salad. Toss together canned green beans, black beans, corn, and jalapeños. A zesty dressing of lime juice, cilantro, and chili powder will add an exciting twist.
Don’t forget to experiment! You can swap ingredients based on what you have or your taste preferences. With these flavorful bean salad ideas, you’ll discover endless possibilities that make the most of your canned green beans. Enjoy the burst of flavors in every bite!
Hearty Soup Variations
Using canned green beans can also elevate your soup game, adding heartiness and flavor to a variety of creative recipes. Start with a base of sautéed onions and garlic, then toss in your canned green beans along with other soup ingredients like diced tomatoes, carrots, and potatoes. This combination will create a rich, comforting soup.
For a different flavor profile, try a spicy Southwestern twist. Combine your green beans with black beans, corn, and bell peppers. Season it with cumin, chili powder, and a touch of lime juice to awaken your taste buds.
If you’re in the mood for something creamy, blend your canned green beans with vegetable or chicken broth and add a splash of cream. Then, stir in some cooked chicken or turkey, along with herbs like thyme or rosemary for an aromatic finish.
You could also consider a hearty minestrone. Mix in pasta, kidney beans, and a variety of vegetables, letting the flavors meld together for a nutritious meal. With these variations, you’re sure to find a soup that fits your cravings while showcasing the versatility of canned green beans!
Canning Safety Tips
Guaranteeing food safety is crucial when canning green beans to prevent contamination and preserve quality. You need to follow established safety standards to guarantee that your canned goods are safe to eat. One common canning myth is that you can safely use boiling water to can green beans. This isn’t true! Due to their low acidity, green beans must be processed in a pressure canner to eliminate harmful bacteria.
Before you start, always inspect your canning jars and lids for any cracks or imperfections. They should be clean and sterilized, so wash them in hot, soapy water and keep them warm until you’re ready to fill them. Avoid using old lids, as they may not seal properly, which can lead to spoilage.
When packing your jars, leave the recommended headspace to allow for expansion during processing. Make sure to remove air bubbles by running a non-metal tool around the inside of the jar. Finally, wipe the rims clean before placing the lids on to guarantee a good seal.
After processing, always check the seals once the jars have cooled. If a lid pops back when pressed, it hasn’t sealed properly, and you should refrigerate that jar and use it within a few days. By debunking canning myths and adhering to safety standards, you can enjoy delicious, home-canned green beans while keeping your family safe. Happy canning!
How To Make Canning Green Beans; Frequently Asked Questions
Can I Can Green Beans Without a Pressure Cooker?
You can’t safely can green beans without a pressure cooker, as water bath canning methods aren’t suitable for low-acid foods. Consider alternative preservation techniques like freezing to keep your green beans fresh and safe.
How Long Do Canned Green Beans Last?
Canned green beans typically last 3 to 5 years when stored properly. To maximize their shelf life, keep them in a cool, dark place. Preserving green beans correctly guarantees you enjoy them for years.
What Can I Do With Leftover Green Bean Scraps?
You can compost your green bean scraps to enrich your garden soil. Alternatively, try incorporating them into green bean recipes, like stir-fries or soups, for added flavor and nutrition without wasting any part of your harvest.
Are There Any Beans I Shouldn’t Can?
When canning, avoid certain bean types like kidney beans due to safety concerns. They contain toxins that need proper cooking to eliminate. Stick to safe options like green beans for a worry-free canning experience.
Can I Can Green Beans With Other Vegetables?
You can can green beans with other vegetables using proper canning techniques. Just guarantee the combinations are compatible in flavor and texture, and adjust processing times as needed for safe preservation. Experiment and enjoy your creations!

Conclusion
To sum up, canning green beans is a rewarding way to preserve their freshness and flavor while connecting with a rich history of food preservation. By following the right techniques and safety tips, you can avoid common mistakes and enjoy delicious home-canned beans for months to come. Experiment with creative recipes to make the most of your harvest. So grab your canning supplies, and start preserving those vibrant green beans today!