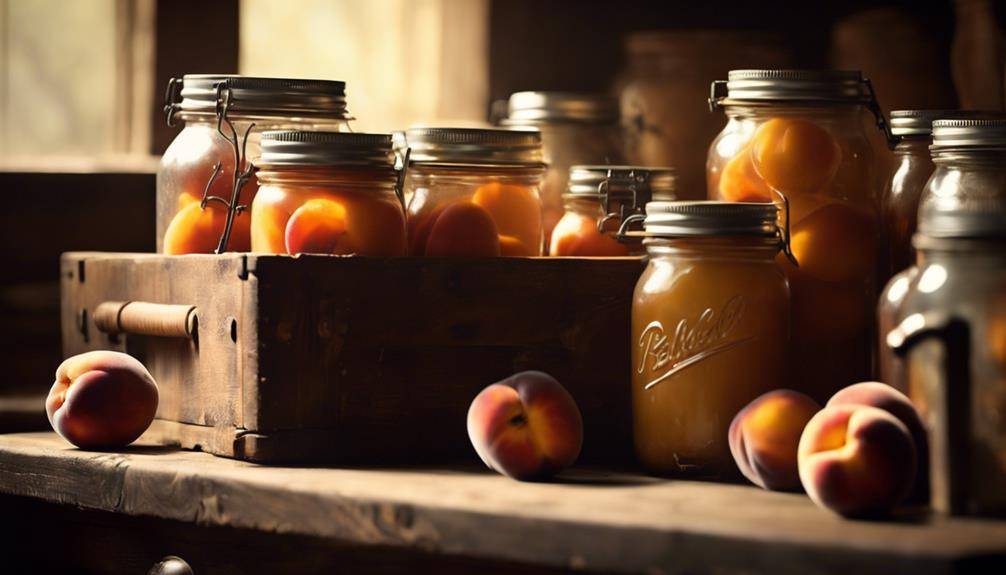
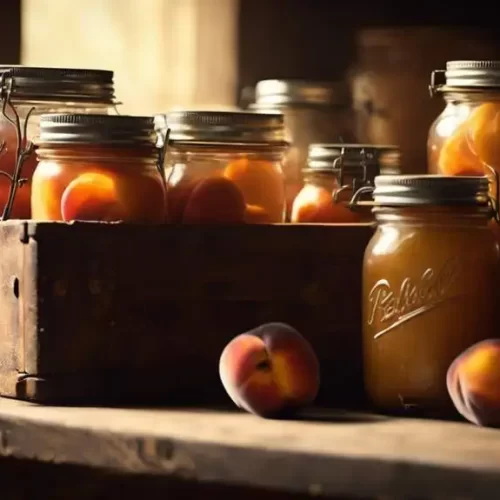
History And How To Make Canning Peaches
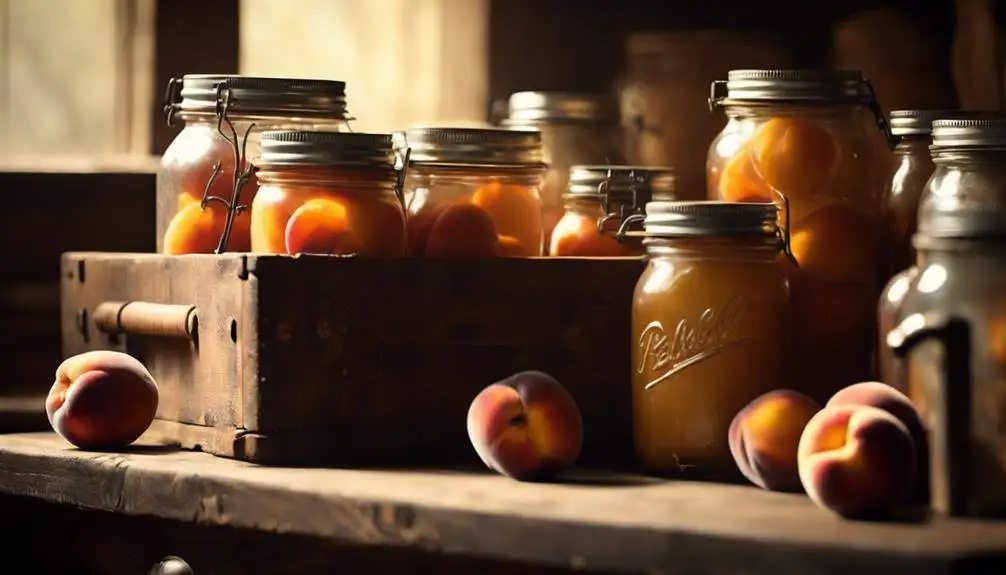
How To Make Canning Peaches has its roots in the early 19th century, a method developed to preserve summer’s bounty for cooler months. To make canned peaches, start by selecting ripe yellow or white peaches, wash them, and then blanch for easy peeling. Pit and slice the peaches before packing them into sterilized jars with syrup. Leave half an inch of headspace, clean the rims, and seal with sterilized lids. Process the jars in a boiling water bath to guarantee safety. Once you’ve mastered the basics, you’ll discover tips to enhance your canning experience and avoid common pitfalls.
Preserve the Flavor of Every Season! Stock Up on Your Canning Supplies Today and Start Making Homemade Jams, Jellies, and Pickles Like a Pro. Don’t Miss Out—
Get Your Canning Essentials Now
Origins of Canning Peaches
Canning peaches has its roots in the early 19th century when home cooks sought ways to preserve the fruit‘s sweet, juicy goodness for year-round enjoyment. During this time, peach cultivation was booming, particularly in the southern United States, where the warm climate fostered the perfect conditions for growing these beloved fruits. The desire to enjoy peaches beyond their harvest season led to innovative preservation techniques, with canning emerging as a popular method.
The historical significance of canning peaches can’t be understated. It allowed families to stock their pantries with delicious fruit, ensuring they had access to nutrition during the colder months. This practice wasn’t just about food preservation; it represented a shift in how people viewed their food supply. Canning peaches became a way to celebrate the bountiful harvest and share the fruits of labor with loved ones. As you immerse yourself in this tradition, you’re participating in a time-honored activity that connects you with generations of home cooks.
You’ll find that the techniques and recipes for canning peaches have evolved over the years, but the essence remains the same. By understanding the origins of canning, you can appreciate the process even more. Whether you’re using Grandma’s old recipe or trying your hand at a modern twist, you’re not just preserving peaches; you’re preserving a piece of history. So, grab those ripe peaches and get ready to experience the delicious legacy of canning!
Historical Preservation Methods
Before canning became popular, people relied on various historical preservation methods to keep their peaches fresh and flavorful throughout the year. One of the most common methods was drying. By removing moisture from the peaches, they could be stored for long periods without spoiling. You might’ve seen or even tried hanging peach slices in the sun or using a dehydrator to achieve this.
Another technique was fermentation. This method not only preserved the fruit but also added unique flavors. Fermentation techniques involved submerging peaches in a brine solution, allowing natural bacteria to break down sugars and create a tangy taste. This was a traditional preservation method that enhanced the fruit’s longevity while introducing a completely different culinary experience.
Additionally, people often relied on sugar to preserve peaches. Making jams or jellies was a favorite way to capture the peach’s sweetness, allowing families to enjoy the fruit in a spreadable form all year long. The high sugar content acted as a natural preservative, preventing spoilage.
You’d also find that some households utilized cold storage, keeping their peaches in cool, dark places to slow down the ripening process. This method wasn’t foolproof, but it extended the fruit’s life for a short while.
These historical preservation methods showcase the creativity and resourcefulness of our ancestors. They found ways to enjoy their peaches long after the harvest, ensuring that the fruit remained a staple in their diets year-round.
Evolution of Canning Techniques
As preservation methods evolved, canning emerged as a revolutionary technique that allowed people to store peaches for extended periods while retaining their flavor and nutritional value. In the early days, canning was a labor-intensive process, but it laid the groundwork for what would become a staple of modern preservation. You may be surprised to learn that the basic concept hasn’t changed much; however, the innovations in canning techniques have made the process more efficient and accessible.
Canning innovations began in the early 19th century, when Nicolas Appert discovered that sealing food in jars and heating them could prevent spoilage. This discovery paved the way for advancements like pressure canning and the development of modern glass jars with airtight lids. These innovations not only improved the safety and longevity of canned peaches but also made it easier for home canners to achieve consistent results.
Today, you can take advantage of these modern preservation techniques. You’ll find a variety of methods available, from water bath canning to pressure canning, each designed to meet different needs and preferences. With the rise of technology, there are even smart canning devices that monitor temperature and pressure, ensuring peak results every time.
Equipment Needed for Canning
To successfully can peaches, you’ll need a few essential pieces of equipment that guarantee both safety and efficiency. First, invest in a reliable canner. A water bath canner is great for high-acid foods like peaches, while a pressure canner is necessary for low-acid options. Whichever you choose, make sure it’s large enough to hold your jars.
Next, gather your canning supplies. You’ll need glass canning jars with lids and bands. Make certain to select jars specifically designed for canning, as they can withstand high temperatures. Don’t forget a jar lifter; this handy tool helps you safely remove hot jars from the canner without risking burns.
You’ll also want a funnel to aid in filling jars without spills, and a bubble remover or a spatula to eliminate air bubbles in your jars. This step is vital for proper sealing and preservation. For measuring ingredients, have a set of measuring cups and spoons on hand.
Lastly, consider investing in preservation equipment like a magnetic lid lifter or a timer for keeping track of processing times. These tools can make your canning process smoother and more efficient.
With the right equipment, you’ll not only make certain your peaches are safely preserved but also enjoy the process of canning them. So, gather your supplies and prepare to create delicious jars of peach goodness that you can savor long after the harvest!
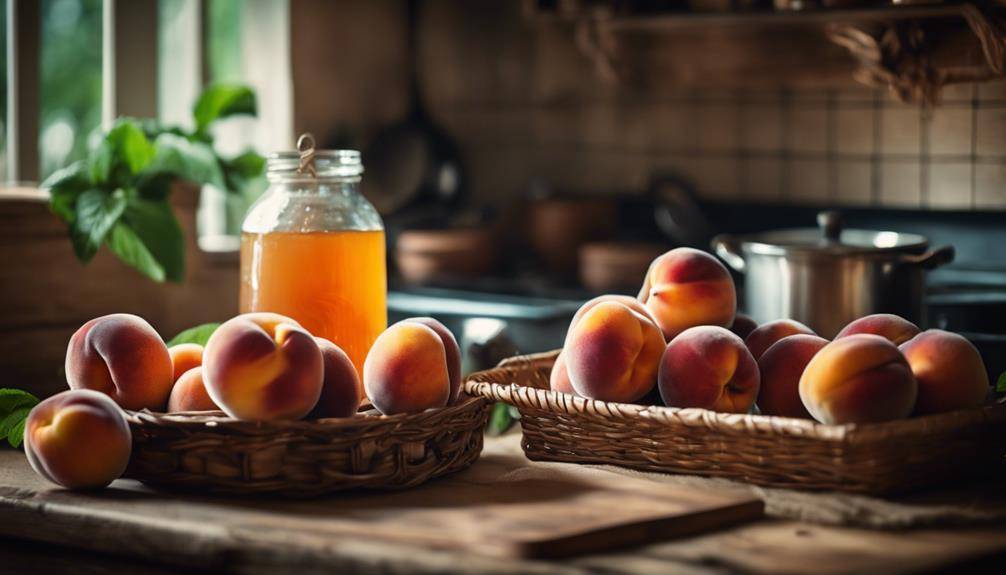
Selecting the Right Peaches
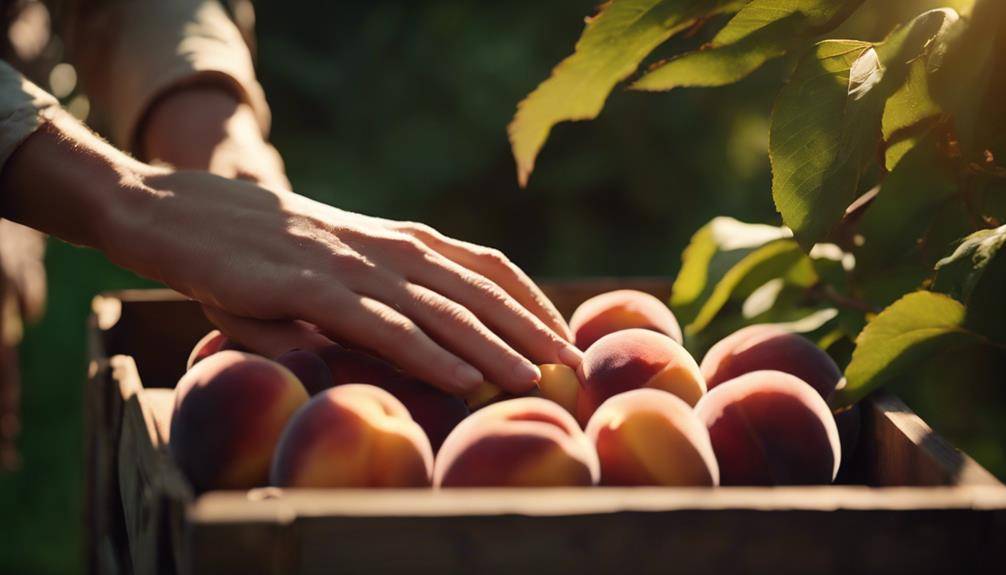
When you’re selecting peaches for canning, it’s essential to choose the right varieties that hold up well during the process. You’ll want to pay attention to their ripeness and firmness, as these factors greatly affect the quality of your final product. Let’s explore what makes the perfect peach for canning.
Ideal Peach Varieties
Choosing the right peach variety is essential for achieving the best flavor and texture in your canned peaches. You’ll want to reflect on both yellow peaches and white peaches, as each offers unique characteristics. Yellow peaches are known for their vibrant color and rich, tangy flavor, making them a popular choice for canning. They typically have a firmer texture, which helps them hold up well during the canning process, ensuring that they maintain their shape and flavor.
On the other hand, white peaches are sweeter and have a more delicate flavor profile. Their softer flesh can create a luscious, syrupy result in your canned peaches, appealing to those who prefer a sweeter taste. However, be mindful that their texture may not hold up as well during canning, so you may need to adjust your canning method accordingly.
Ultimately, the choice between yellow and white peaches depends on your personal preference and the flavor profile you want to achieve. Experimenting with both varieties can lead to delightful results, so don’t hesitate to try mixing them for a unique twist in your canned peach creations!
Ripeness and Firmness
Selecting peaches at the right stage of ripeness and firmness is essential for guaranteeing your canned peaches turn out flavorful and well-preserved. When you’re at the market, look for key ripeness indicators. A ripe peach should have a vibrant color with little to no green spots. The aroma is another telltale sign; a sweet, fruity scent suggests the peach is ready for canning.
To guarantee the peaches are firm yet tender, you can perform firmness tests. Gently squeeze the peach; it should yield slightly to pressure but not feel mushy. If it feels hard, it’s likely not ripe enough, and if it’s too soft, it’s overripe.
Also, check the skin for a slight give; a perfect peach will have smooth skin with a slight indentation when you press it. Remember, the right balance of ripeness and firmness will not only enhance the flavor but also help maintain the texture during the canning process. So, take your time to select the best peaches, and your canned peaches will be a delicious treat to enjoy year-round!
Preserve the Flavor of Every Season! Stock Up on Your Canning Supplies Today and Start Making Homemade Jams, Jellies, and Pickles Like a Pro. Don’t Miss Out—
Get Your Canning Essentials Now
Canned Peaches Recipe
Equipment
- Equipment:
- Large pot (for blanching peaches)
- Canning pot or large stockpot with a rack
- Canning jars with lids and bands (pint or quart size)
- Jar lifter
- Canning funnel
- Bubble remover tool or wooden stick
- Clean kitchen towels
- Large bowl of ice water
Ingredients
- Ingredients:
- 8-10 pounds ripe peaches about 17-20 medium peaches for a quart jar
- 2 cups granulated sugar adjust based on syrup preference
- 4 cups water
- 1/4 cup lemon juice or ascorbic acid to prevent browning
- Optional: spices like cinnamon sticks or vanilla beans for added flavor
Instructions
- Instructions:
- Prepare the Jars:
- Wash your jars, lids, and bands in hot, soapy water, then rinse thoroughly.
- Sterilize the jars by boiling them in a large pot of water for 10 minutes or running them through the dishwasher on the sterilize cycle. Keep the jars warm until ready to use.
- Blanch and Peel the Peaches:
- Bring a large pot of water to a boil. Score a small “X” on the bottom of each peach with a knife.
- Carefully lower the peaches into the boiling water and blanch for 30-60 seconds.
- Immediately transfer the peaches to a large bowl of ice water to stop the cooking process. The skins should peel off easily.
- Peel, halve, and pit the peaches. You can leave the peaches in halves or slice them into quarters or eighths, depending on your preference.
- Prepare the Syrup:
- In a large saucepan, combine 4 cups of water with 2 cups of sugar to make a light syrup. You can adjust the sugar quantity to make a medium or heavy syrup if preferred.
- Heat the mixture over medium heat, stirring until the sugar is completely dissolved. Keep the syrup warm.
- Prevent Browning:
- As you prepare the peaches, place them in a bowl of water mixed with lemon juice or ascorbic acid to prevent browning.
- Pack the Jars:
- Using a canning funnel, pack the peach halves or slices into the sterilized jars, leaving 1/2 inch of headspace at the top.
- Optional: Add a cinnamon stick, vanilla bean, or other spices to the jars for extra flavor.
- Pour the hot syrup over the peaches, ensuring they are completely covered, still leaving 1/2 inch of headspace.
- Use a bubble remover tool or wooden stick to remove air bubbles by gently sliding it around the inside edges of the jar.
- Wipe the rims of the jars with a clean, damp cloth to remove any residue.
- Seal the Jars:
- Place the lids on the jars and screw the bands on until they are fingertip tight.
- Process the Jars:
- Place the jars in a canning pot or large stockpot with a rack at the bottom. Ensure that the jars are covered by at least 1-2 inches of water.
- Bring the water to a boil and process the jars:
- Pint jars: 20 minutes
- Quart jars: 25 minutes
- Adjust processing time based on your altitude (longer for higher altitudes).
- Cool the Jars:
- After processing, carefully remove the jars from the pot using a jar lifter and place them on a towel or cooling rack. Allow the jars to cool undisturbed for 12-24 hours.
- Check the Seals:
- Once the jars have cooled, check the seals by pressing down on the center of each lid. If the lid doesn’t pop back, the jar is sealed. If any jars did not seal properly, refrigerate and use them within a week.
- Store the Jars:
- Label the jars with the date and contents.
- Store the sealed jars in a cool, dark place. Properly canned peaches can last up to a year.
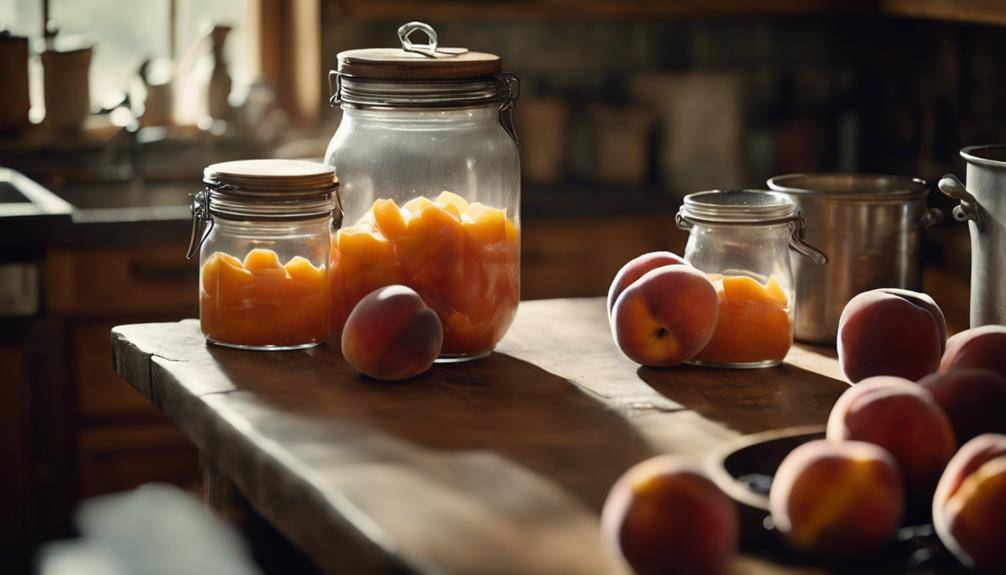
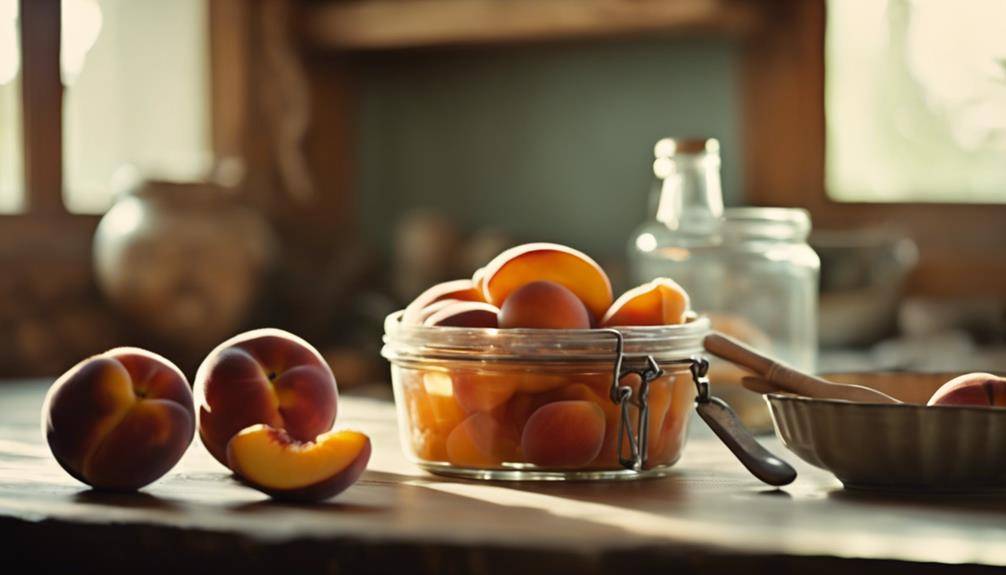
Preparing Peaches for Canning
To prepare peaches for canning, start by washing them thoroughly to remove any dirt or residues. Selecting the right peach varieties is essential at this stage. You might prefer freestone peaches because they’re easier to pit, but clingstone varieties can also work if you don’t mind a little extra effort. Once you’ve selected your peaches, check for any blemishes or soft spots; discard any that aren’t in good condition.
Next, you’ll want to blanch the peaches. To do this, bring a pot of water to a boil and prepare a bowl of ice water. Place the peaches in the boiling water for about 30 to 60 seconds, then transfer them to the ice water. This process loosens the skin, making it easier to peel. After they’ve cooled, you can easily slip the skins off with your fingers or a small knife.
Now it’s time to pit the peaches. Cut them in half and twist to separate the halves, removing the stone. Depending on your canning methods—whether you’re using a water bath or pressure canning—you may want to slice the peaches into smaller pieces. This will make packing them into jars simpler and help guarantee even processing.
Once prepared, you can pack the peaches into sterilized jars, ready for the next steps in the canning process. Remember, the quality of the peaches will greatly influence the final result, so take care in your selection and preparation.
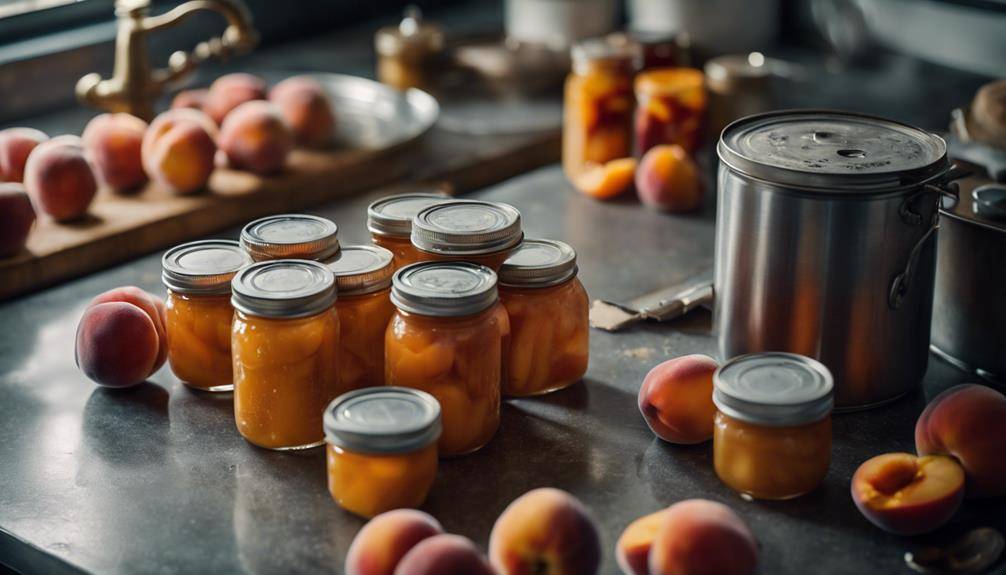
Step-by-Step Canning Process
Once you’ve packed the prepared peaches into sterilized jars, it’s time to fill them with the syrup or juice of your choice. You can opt for light, medium, or heavy syrup, or even use fruit juice as a canning alternative. Pour the syrup or juice over the peaches, leaving about half an inch of headspace at the top of each jar. This space is essential for expansion during the canning process.
Next, wipe the rims of the jars with a clean, damp cloth to remove any residue that might prevent a proper seal. Place the sterilized lids on the jars and screw on the metal bands until they’re fingertip-tight. Don’t over-tighten, as this can interfere with the sealing process.
Now, it’s time to process the jars in a boiling water bath. Be certain to follow the safety guidelines for canning: confirm the water covers the jars by at least an inch, and maintain a rolling boil for the recommended time, typically around 20 to 30 minutes depending on your altitude.
Once the processing time is up, carefully remove the jars using a jar lifter and let them cool on a clean towel or rack. As they cool, you’ll hear the satisfying “pop” of the lids sealing. After 24 hours, check the seals by pressing down in the center of each lid; if it doesn’t pop back, it’s sealed. If not, consider refrigerating those jars and consuming them sooner. Enjoy your delicious canned peaches!
Common Canning Mistakes
Even with the best intentions, mistakes can happen during the canning process that might compromise the quality and safety of your canned peaches. One of the most common misconceptions is that you can use any jar or lid you have on hand. It’s essential to use proper canning jars and new, manufacturer-approved lids to guarantee a good seal and prevent spoilage.
Another frequent error is not following tested recipes. You might think you can adjust the sugar or acidity levels to suit your taste, but doing so can impact canning safety. Always stick to approved recipes from reliable sources to maintain the right balance needed for safe preservation.
Improper processing time is also a significant mistake. If you’re canning peaches, make sure to adhere to the recommended processing times for your altitude. Under-processing can lead to unsafe food, while over-processing can result in mushy fruit.
It’s easy to overlook the importance of cleaning your equipment, but using unclean tools can introduce bacteria into your jars. Always wash and sterilize your jars, lids, and utensils before starting the canning process.
Lastly, be cautious about skipping the water bath or pressure canning step. Each method serves a specific purpose in guaranteeing the safety of your canned goods. By avoiding these common mistakes and understanding canning safety better, you’ll increase your chances of successfully preserving delicious peaches for future enjoyment.
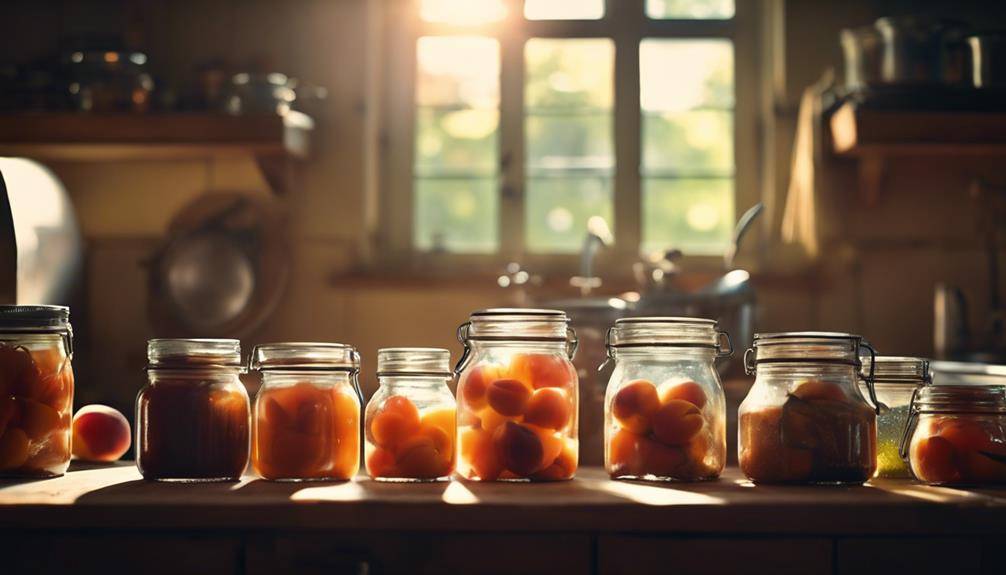
Storing Canned Peaches
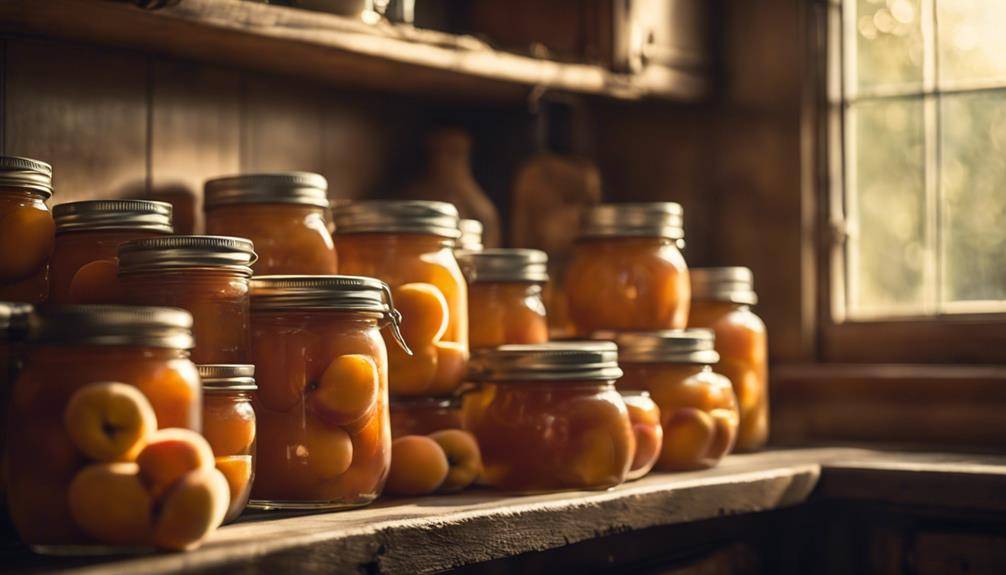
Properly storing your canned peaches is essential for maintaining their flavor and safety over time. Once you’ve mastered your preserving techniques, you’ll want to make certain your hard work doesn’t go to waste. Start by finding a cool, dark place for your jars, as exposure to light and heat can degrade the quality of your peaches. A pantry or cupboard away from heat sources is ideal.
Make sure the jars are sealed tightly. You’ll know they’re sealed properly if the lids are concave and don’t pop when pressed. If you notice any signs of spoilage—such as bulging lids or off smells—don’t risk it; discard those jars immediately.
It’s a good idea to label your jars with the date you canned them. Canned peaches can typically last for a year if stored correctly, but for the best taste, use them within six months. As you enjoy your canned peaches, consider experimenting with different canned peach recipes. You can use them in desserts, salads, or even savory dishes, adding a burst of flavor to your meals.
Remember to check your storage area periodically, making sure the environment remains ideal for your canned goods. By following these guidelines, you’ll keep your canned peaches safe and delicious, ready to be enjoyed whenever the craving strikes. Your efforts in canning will truly shine when you store them right!
Enjoying Your Canned Peaches
Now that you’ve canned your peaches, it’s time to enjoy them in various dishes. Whether you’re adding them to desserts or savoring them straight from the jar, knowing how to store them properly guarantees they stay fresh longer. Let’s explore some delicious culinary uses and tips for maximizing their shelf life.
Culinary Uses for Peaches
Canned peaches are perfect for adding a burst of sweetness to both sweet and savory dishes. You can whip up delightful peach desserts by layering them in parfaits with yogurt and granola or baking them into a warm cobbler topped with ice cream. Their natural sweetness enhances flavors, making them a great addition to fruit salads or as a topping for pancakes and waffles.
If you’re in the mood for a invigorating drink, try blending canned peaches into peach smoothies. Just toss in some yogurt, a splash of milk, and a handful of spinach for a nutritious boost. You’ll enjoy a creamy, fruity drink that’s perfect for breakfast or a midday snack.
For savory options, consider adding canned peaches to a salad with mixed greens, feta cheese, and walnuts. The sweet and salty combination will elevate your dish to the next level. You can also use them in salsas, pairing the peaches with jalapeños and red onion for a zesty topping on grilled chicken or fish. The versatility of canned peaches in your kitchen is truly endless!
Storage and Shelf Life
To enjoy your canned peaches at their best, it’s essential to understand their storage and shelf life. Once you’ve sealed your jars, store them in a cool, dark place. Ideal storage conditions are between 50°F and 70°F, which helps maintain their flavor and texture. Pay attention to shelf considerations; keeping your jars off the floor and away from direct sunlight can prolong their life.
Generally, properly canned peaches can last up to a year on the shelf, but for best taste, aim to consume them within six to eight months. Always check for canning safety before using them. If you notice any bulging lids, leaks, or unusual odors, discard the jars immediately.
Once opened, refrigerate your canned peaches and consume them within a week for the best flavor. You might also want to transfer any leftovers to a clean container to maintain freshness. Remember, proper storage isn’t just about longevity; it’s about ensuring the delicious taste you worked hard to preserve. Keep these tips in mind, and enjoy your delightful canned peaches throughout the year!
How To Make Canning Peaches; Frequently Asked Questions
Can I Use Frozen Peaches for Canning?
Yes, you can use frozen peaches for canning! Just thaw them using suitable thawing techniques, prepare them properly, and then follow your canning recipe for delicious results. Enjoy your homemade preserves!
How Long Do Canned Peaches Last?
Canned peaches last about one to two years when stored properly. For ideal canned peach storage, keep them in a cool, dark place. Always check for signs of spoilage to guarantee peach canning safety before consuming.
Can I Can Peaches Without Sugar?
Yes, you can can peaches without sugar. Using sugar alternatives can enhance flavor while providing health benefits, helping you enjoy the fruit’s natural sweetness without the added calories or blood sugar spikes.
What Is the Best Time to Can Peaches?
The best time to can peaches is during peak season, usually late summer. Choose ripe peach varieties and gather your canning supplies. This guarantees ideal flavor and texture for your preserved peaches. Happy canning!
Can I Reuse Canning Jars?
Yes, you can reuse canning jars if they’re in good condition. Just verify proper canning jar safety and use effective jar sterilization methods before reusing them to maintain food safety and quality.

Conclusion
Canning peaches is a rewarding way to preserve their deliciousness and enjoy them year-round. By understanding the history and techniques behind canning, you can create your own sweet jars of sunshine. Remember to choose ripe peaches and follow the steps carefully to avoid common mistakes. Once you’ve mastered the process, you’ll savor the taste of summer long after the season ends. So grab those peaches and start canning—you won’t regret it!