The Best Essential Kitchen Tools For Perfect Pastry Making
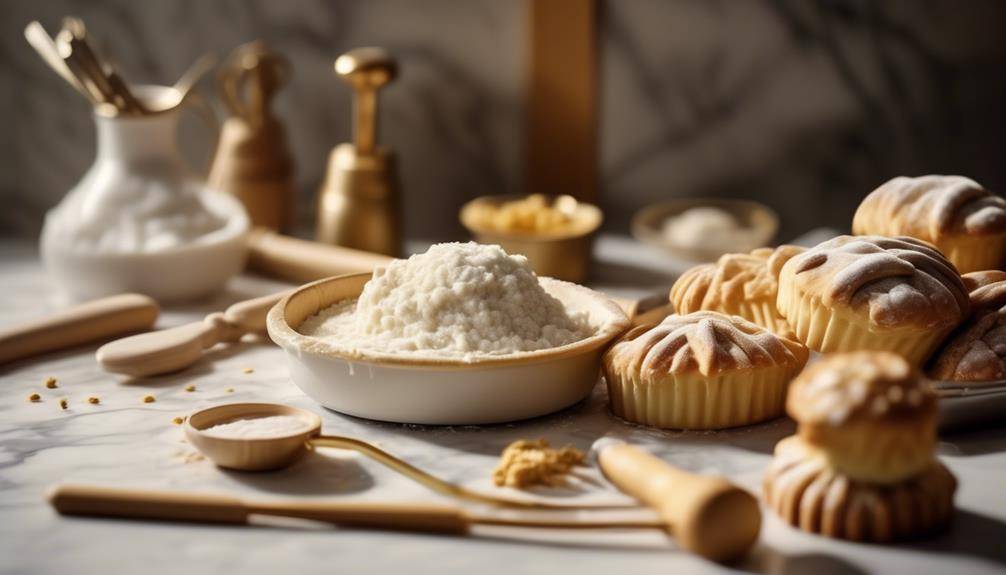
Kitchen Tools For Perfect Pastry; Are you tired of struggling to achieve that perfect flaky pastry crust? Look no further, because we have just the tools you need to elevate your pastry-making game. Picture this: you’re preparing to make a delectable apple pie from scratch, but you realize you don’t have the right tools to achieve that buttery, melt-in-your-mouth crust. Stay tuned, as we reveal the essential kitchen tools that will take your pastry-making skills to the next level.
Measuring Cups and Spoons
To ensure precise measurements in your pastry making endeavors, equip yourself with a set of high-quality measuring cups and spoons. These essential tools are the foundation of accurate baking and will help you achieve consistent results every time.
When it comes to measuring techniques, accuracy is key. Begin by spooning dry ingredients into the measuring cup, then level it off with a straight edge. Avoid tapping or packing the ingredients, as this can lead to inaccurate measurements. For liquids, place the measuring cup on a flat surface and fill it to the desired level, ensuring that your eye is level with the marking on the cup for precise measurements.
Recipe conversions are often necessary when scaling up or down a recipe. Measuring cups and spoons with clear markings in both metric and imperial measurements can simplify this process. For example, if you need to convert a recipe from cups to grams, you can easily refer to the markings on your measuring cups to determine the equivalent weight.
Investing in high-quality measuring cups and spoons will not only ensure accuracy but also enhance the artistic aspect of your pastry making. Look for stainless steel or heat-resistant plastic options that are durable and easy to clean. Opt for sets that include a variety of sizes, allowing you to measure both large and small quantities with precision.
Pastry Blender
For precision and artistry in your pastry making, a must-have tool is the pastry blender. This tool is essential for achieving the perfect texture and consistency in your dough. It allows you to blend ingredients together while keeping them cool, which is crucial for creating flaky pastries. Here are some important details about the pastry blender and its role in pastry making:
- The pastry blender consists of a handle and several wire blades. The blades are curved and spaced evenly to effectively cut and blend the ingredients.
- Blending techniques: To use the pastry blender, simply hold the handle firmly and press the blades into the dough. Use a rocking motion to cut the butter or shortening into the flour, creating small pea-sized crumbs. This technique ensures that the fat is evenly distributed throughout the dough, resulting in a tender and flaky texture.
- Alternative tools: While the pastry blender is the ideal tool for blending dough, there are some alternative tools you can use if you don’t have one on hand. A fork can be used to cut the fat into the flour, although it may take longer and require more effort. Another option is to use your hands, but be careful not to overwork the dough and melt the fat.
Rolling Pin
The rolling pin, a timeless tool in the art of pastry making, brings precision and finesse to your dough preparation. Proper technique is crucial when using a rolling pin, as it can make a significant difference in the final outcome of your baked goods. To begin, lightly dust your work surface and rolling pin with flour to prevent sticking. Place your dough in the center and apply equal pressure as you roll from the center outward. This ensures an even thickness throughout.
There are various types of rolling pins available, each with its own advantages. The traditional wooden rolling pin is a classic choice, offering a sturdy and reliable option. Its weight helps to flatten dough effortlessly, and the smooth surface prevents sticking. For those who prefer a more lightweight option, a French-style rolling pin made of tapered wood is ideal. Its lack of handles allows for greater control, allowing you to feel the texture of the dough as you roll.
Another popular option is the silicone rolling pin, which offers a non-stick surface, making it easy to work with sticky doughs. It is also heat-resistant, making it suitable for rolling out fondant or other delicate pastries. The marble rolling pin provides a cool surface that helps keep the dough from becoming too warm, which is especially important for butter-based pastries like puff pastry.
Choosing the right rolling pin for your needs is essential in achieving perfect pastry results. Consider the type of dough you will be working with, as well as your personal preferences, to select the rolling pin that best suits your needs. With proper technique and the right tool, you will be able to create beautifully rolled doughs for all your pastry creations.
Baking Mat or Parchment Paper
When it comes to creating perfect pastries, having a non-stick surface for baking is crucial. A baking mat or parchment paper provides just that, allowing your dough to easily release without sticking to the surface. Not only does this ensure a smooth and flawless baking process, but it also makes cleanup a breeze, saving you time and effort in the kitchen.
Non-Stick Surface for Baking
To achieve flawless pastries, ensure a non-stick surface for baking by utilizing either a baking mat or parchment paper. These two options provide excellent alternatives to traditional greasing methods, offering numerous benefits that enhance your baking experience.
Benefits of using a non-stick surface:
- Easy release: A non-stick surface prevents your pastries from sticking to the baking sheet, allowing for effortless removal without any damage.
- Even browning: Baking mats and parchment paper distribute heat evenly, resulting in perfectly golden and evenly baked pastries.
- Time-saving: With a non-stick surface, there is no need to spend extra time greasing pans or worrying about scrubbing off stubborn residue.
- Healthier option: By reducing the need for excessive greasing, non-stick surfaces promote healthier baking without compromising taste or texture.
Whether you choose a baking mat or parchment paper, rest assured that your pastries will effortlessly slide off the surface, leaving you with delicious treats and a stress-free baking experience.
Easy Cleanup Option
Enhance your baking experience with an easy cleanup option that will leave your kitchen spotless and your pastries perfectly baked. When it comes to easy cleanup hacks and alternative baking surfaces, two popular options are baking mats and parchment paper. Baking mats, made from food-grade silicone, provide a non-stick surface that eliminates the need for greasing pans and prevents your pastries from sticking. They are reusable, easy to clean, and can withstand high temperatures.
Simply place the mat on your baking sheet and enjoy hassle-free baking. On the other hand, parchment paper is a disposable option that offers similar benefits. It provides a non-stick surface, prevents burning, and makes cleanup a breeze. Whether you choose a baking mat or parchment paper, you can enjoy the convenience of easy cleanup while achieving perfectly baked pastries.
Pastry Brush
When it comes to pastry making, the pastry brush is an essential tool that allows you to brush butter evenly onto your dough, ensuring a deliciously golden and flaky crust. It also comes in handy for applying an egg wash, giving your pastries that beautiful, glossy finish. Furthermore, a pastry brush is perfect for glazing your baked goods with syrup, adding a touch of sweetness and enhancing their overall appeal.
Brushing Butter Evenly
For a precise and artistic touch, achieve even distribution of butter on your pastries with the use of a high-quality pastry brush. The butter application technique plays a crucial role in creating mouthwatering pastries. Here are some key points to keep in mind when brushing butter evenly:
- Butter Application Techniques:
- *Melting and Brushing*: Melt the butter and brush it onto the pastry surface for a smooth and glossy finish.
- *Layering and Folding*: Apply thin layers of chilled butter between the dough layers to create flaky and buttery pastry.
- Alternative Butter Substitutes:
- *Vegan Butter*: Opt for plant-based butter substitutes like coconut oil or margarine for a dairy-free option.
- *Olive Oil*: Brushing olive oil on your pastries can add a unique flavor and a lighter touch.
Applying Egg Wash
Achieve a beautiful and glossy finish on your pastries by expertly applying an egg wash with the precision of a high-quality pastry brush. The egg wash, made by whisking together eggs and a small amount of liquid, is a versatile glazing technique that adds a lovely sheen and golden color to your baked goods. To apply the egg wash, dip the pastry brush into the mixture and gently brush it onto the surface of the pastry. Make sure to coat the entire surface evenly, paying attention to the edges and corners.
The bristles of a high-quality pastry brush will ensure precise and controlled application, resulting in a professional-looking finish. While egg wash is the traditional choice, there are alternative glazing methods such as using milk, cream, or even melted butter to achieve different effects. Experiment with different techniques to find the one that suits your desired outcome.
Glazing With Syrup
To achieve a lustrous and flavorful glaze on your pastries, expertly apply syrup with the precision of a high-quality pastry brush. The sugar glaze will add a delightful sweetness and shine to your baked creations. Here’s how to perfect your syrup application:
- Choose the right brush: Opt for a pastry brush with soft, natural bristles that will evenly distribute the syrup without leaving any streaks or clumps.
- Temperature matters: Ensure that your syrup is warm, but not hot, to allow for smooth application and absorption.
- Test the consistency: Dip the brush into the syrup and observe how it flows. It should coat the brush evenly without dripping excessively.
- Apply with finesse: Gently brush the syrup onto the surface of the pastry, using even strokes to ensure thorough coverage.
Pastry Wheel or Cutter
Enhance your pastry-making prowess with the versatile and indispensable tool that is the pastry wheel or cutter. This tool is a game-changer when it comes to creating perfectly shaped pastries and adding intricate designs to your baked goods. Mastering pastry wheel techniques and choosing the right pastry cutter are essential for achieving professional-looking results.
When it comes to pastry wheel techniques, there are a few key methods to keep in mind. The first is the classic straight line cut, which is perfect for creating clean edges on pie crusts or cutting strips of dough for lattice designs. Another technique is the fluted edge, which adds a decorative touch to tarts and quiches. Simply run the pastry wheel along the edge of the dough, creating even, scalloped edges that are both visually appealing and functional.
Choosing the right pastry cutter is crucial for achieving precise and consistent results. There are several types to choose from, including a standard pastry wheel with a straight edge, a fluted pastry wheel, and a lattice pastry cutter. Consider the type of design you want to create and the thickness of the dough you’ll be working with. A straight-edged pastry wheel is great for basic cuts, while a fluted wheel adds a touch of elegance. The lattice cutter is perfect for creating intricate lattice patterns for pies and tarts.
With the right pastry wheel or cutter in hand, you can take your pastry-making skills to new heights. Whether you’re creating pies, tarts, or other sweet treats, this versatile tool will help you achieve professional-looking results with ease. So don’t hesitate to invest in a quality pastry wheel or cutter and start creating bakery-worthy pastries today.
Pie Weights or Beans
Now, let’s explore the essential tool for achieving perfectly baked pastries: pie weights or beans. When blind baking a pie crust, it’s important to prevent it from puffing up or shrinking. This is where pie weights (also known as baking beans) come in handy. Here are two alternatives to using pie weights:
- Baking Beans: These are small ceramic or metal beads specifically designed for the purpose of weighing down pastry dough during blind baking. They distribute heat evenly and ensure that the crust bakes evenly.
- Rice: If you don’t have pie weights or baking beans on hand, rice can be a great substitute. Simply line the pie crust with parchment paper or aluminum foil, then fill it with uncooked rice. The rice will hold down the crust and prevent it from rising or shrinking.
Using rice as a pie weight substitute is a cost-effective and easily accessible option. However, it’s important to note that once you use rice as a pie weight, it should not be used for cooking purposes as it absorbs moisture during the baking process.
Whether you choose to invest in pie weights or use rice as a substitute, both methods will help you achieve a perfectly baked pie crust. The key is to ensure that the weight is evenly distributed and covers the entire surface of the crust. So, the next time you’re making a delicious pie, don’t forget to grab your pie weights or beans, or reach for that bag of rice in your pantry. Your pastry will thank you for it.
Cooling Rack
When it comes to achieving perfectly baked pastries, a must-have tool in your kitchen arsenal is a cooling rack. This simple yet essential equipment plays a crucial role in the final stages of the baking process. As its name suggests, a cooling rack is used to cool your freshly baked treats, allowing air to circulate around them and preventing condensation from forming. This ensures that your pastries cool evenly and maintain their desired texture.
But the uses of a cooling rack don’t end there. It can also serve as a versatile tool for other culinary tasks. For instance, you can use it to elevate your ingredients when breading or coating them, allowing excess moisture or oil to drain away and ensuring a crispier result. Additionally, a cooling rack can be used as a convenient drying rack for freshly washed fruits, vegetables, or herbs.
When choosing the right cooling rack, there are a few factors to consider. Firstly, look for a rack with a sturdy construction that can support the weight of your pastries without bending or warping. Stainless steel racks are a popular choice due to their durability and resistance to rust. Secondly, consider the size of the rack. It should be large enough to accommodate your baking sheets or pans, allowing ample space for air to circulate around your pastries. Finally, opt for a cooling rack with a grid pattern that is close enough together to prevent your baked goods from sagging or falling through, while still allowing for proper airflow.
Kitchen Tools For Perfect Pastry ; Frequently Asked Questions
How Can I Clean My Pastry Brush Effectively to Avoid Cross-Contamination of Flavors?
To clean your pastry brush effectively and prevent flavor cross-contamination, start by rinsing it under warm water to remove excess food. Then, use a mild dish soap and gently scrub the bristles. Rinse thoroughly and allow it to air dry before using again.
Can I Substitute a Regular Knife for a Pastry Wheel or Cutter?
Using a regular knife instead of a pastry wheel or cutter has its pros and cons. While it can get the job done, it may not give you the precise and artistic results that a dedicated pastry tool can provide.
What Is the Purpose of Using Pie Weights or Beans When Baking a Pie Crust?
When baking a pie crust, it’s important to use pie weights or beans to prevent it from puffing up. This ensures an even and flaky crust. Alternative pie weights, like ceramic beads, can also be used. Experiment with different recipes for the best results.
Can I Use Aluminum Foil Instead of a Baking Mat or Parchment Paper?
Yes, you can use aluminum foil instead of a baking mat or parchment paper. However, using a baking mat offers more benefits for perfect pastry making such as even heat distribution and non-stick surface.
How Do I Properly Store My Rolling Pin to Ensure Its Longevity?
To ensure your rolling pin’s longevity, store it properly by cleaning it thoroughly with warm soapy water, drying it completely, and applying a light coat of food-safe oil. This will protect it from moisture and prevent warping.

Conclusion
In conclusion, when it comes to perfect pastry making, having the right tools is essential. Measuring cups and spoons ensure accurate measurements, while a pastry blender helps achieve the perfect texture. A rolling pin allows for even dough thickness, and a baking mat or parchment paper prevents sticking. A pastry brush ensures a beautiful glaze, and a pastry wheel or cutter creates intricate designs. Pie weights or beans ensure a perfectly baked crust, and a cooling rack guarantees a deliciously crisp finish.