How To Master Grilling Chicken
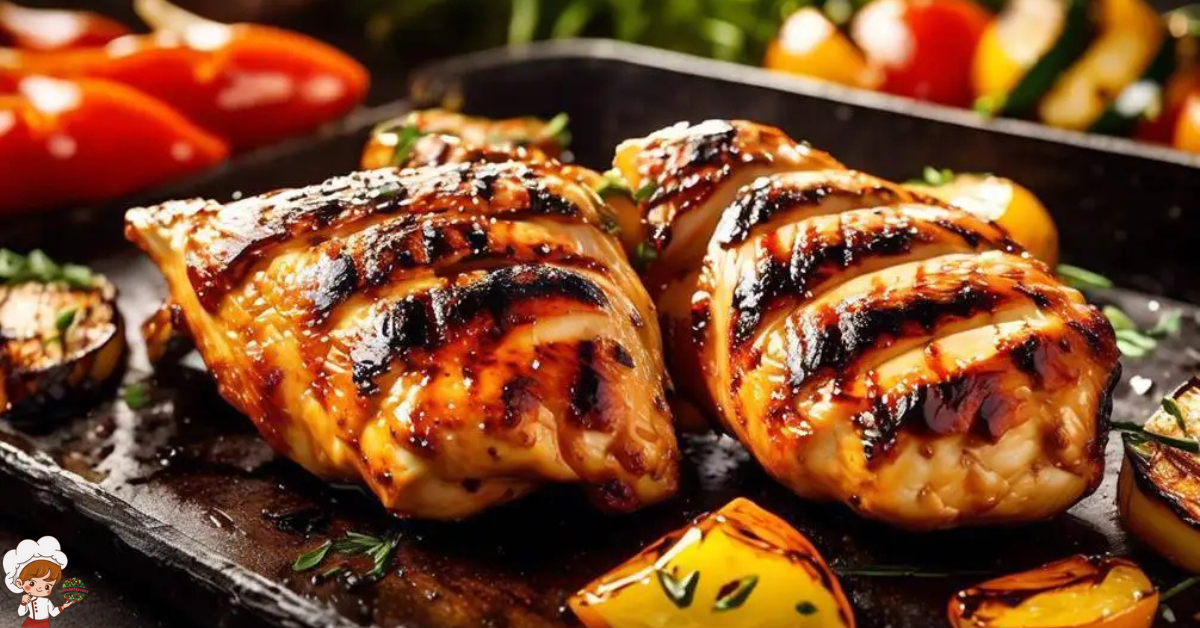
Master Grilling Chicken, have you ever wondered why some people seem to effortlessly grill the most succulent and flavorful chicken, while others struggle to achieve the perfect balance of tenderness and char? Well, the truth is, mastering the art of grilling chicken is not as elusive as it may seem. In fact, with a few key techniques and a little bit of practice, you too can become a grill master extraordinaire. So, if you’re ready to elevate your grilling game and impress your friends and family with perfectly grilled chicken every time, keep reading to uncover the secrets that will take your grilling skills to the next level.
Choosing the Right Chicken Cuts
When it comes to grilling chicken, it is essential to choose the right cuts to ensure a delicious and satisfying meal. The cooking techniques and grilling tips you employ will largely depend on the type of chicken cut you select. Here are a few key considerations to keep in mind when choosing the perfect chicken cuts for grilling.
Firstly, boneless, skinless chicken breasts are a popular choice for grilling. They are lean and cook relatively quickly, making them suitable for those who prefer a healthier option. To ensure juicy and tender meat, marinating the chicken breasts beforehand is highly recommended. This not only enhances the flavor but also helps to prevent the meat from drying out during the grilling process.
If you prefer darker meat, chicken thighs are an excellent choice. They have more fat and connective tissue, which means they are more forgiving when it comes to cooking time. Chicken thighs benefit from a slightly longer cooking time on the grill, allowing the fat to render and infuse the meat with flavor. To achieve a crispy and charred skin, place the chicken thighs skin-side down on a preheated grill and resist the temptation to flip them too soon.
Another option for grilling is chicken drumsticks. They are perfect for outdoor barbecues and picnics due to their handheld size and easy eating. Drumsticks can be marinated or seasoned with dry rubs before being cooked on the grill. To ensure even cooking, it is recommended to grill drumsticks over indirect heat, turning them occasionally to avoid burning.
Prepping and Seasoning the Chicken
To ensure maximum flavor and tenderness, properly prepping and seasoning the chicken is crucial before grilling. One effective method to enhance the juiciness and flavor of the chicken is brining. Brining involves soaking the chicken in a saltwater solution for a period of time, allowing the meat to absorb moisture and become more tender. The salt in the brine also helps to season the chicken from within. Not only does brining add flavor and tenderness, but it also helps to prevent the chicken from drying out during grilling.
When it comes to seasoning the chicken, there are numerous options to choose from. One classic and simple option is to use a dry rub. A dry rub consists of a mixture of herbs, spices, and seasonings that are applied to the chicken before grilling. It adds a burst of flavor to the meat and creates a delicious crust on the outside. Popular dry rub ingredients include paprika, garlic powder, onion powder, black pepper, and cayenne pepper.
Another option is to marinate the chicken. Marinating involves soaking the chicken in a flavorful liquid mixture for a period of time to infuse it with taste. This can be done using ingredients such as soy sauce, lemon juice, vinegar, herbs, and spices. Marinating not only adds flavor but also helps to tenderize the meat, resulting in juicy and flavorful grilled chicken.
Marinating Techniques for Flavorful Results
Now that you have properly prepped and seasoned your chicken, let’s explore the various marinating techniques that will take your grilled chicken to the next level of flavor and juiciness. Marinating is a great way to infuse flavors into the chicken and keep it moist during grilling. Here are some grilling tips for juicy chicken and how to achieve flavorful results with marinades.
Firstly, when marinating chicken, it is important to choose the right marinade. A marinade typically consists of a mixture of oil, acid (such as vinegar or citrus juice), herbs, spices, and other flavorings. The acid helps tenderize the meat while the oil prevents it from drying out during cooking. You can experiment with different combinations of ingredients to create your own unique marinade or use pre-made marinades available in stores.
To marinate the chicken, place it in a resealable plastic bag or a shallow dish and pour the marinade over it. Make sure the chicken is fully coated and then seal the bag or cover the dish with plastic wrap. Allow the chicken to marinate in the refrigerator for at least 30 minutes, but preferably overnight. The longer you marinate, the more flavorful and tender the chicken will become.
When it comes to grilling the marinated chicken, make sure to preheat the grill to medium-high heat. This will help create those beautiful grill marks and seal in the juices. Before placing the chicken on the grill, remove it from the marinade and let any excess drip off. Discard the leftover marinade to avoid cross-contamination.
Grill the chicken for about 6-8 minutes per side, or until the internal temperature reaches 165°F (74°C). Avoid constantly flipping the chicken as it can cause the marinade to drip and flare-ups on the grill. Let the chicken rest for a few minutes before serving to allow the juices to redistribute and the flavors to fully develop.
Mastering the Grill Temperature
To master the grill temperature, it is essential to understand the importance of controlling heat levels and creating the perfect cooking environment for your chicken. Maintaining the proper grill temperature is crucial for achieving juicy and tender chicken without overcooking or undercooking it. To ensure consistent results, it’s important to perform regular grill maintenance and follow grilling safety guidelines.
Start by cleaning your grill thoroughly before each use. Remove any leftover ashes, grease, or debris that may affect the heat distribution. This will help prevent flare-ups and ensure even cooking. Additionally, check the gas or charcoal supply to ensure you have enough fuel to maintain the desired temperature throughout the cooking process.
When preheating the grill, aim for a medium-high heat, around 375-450°F (190-230°C). This temperature range allows for proper searing and browning of the chicken while ensuring the inside cooks evenly. If you’re using a gas grill, preheat it with all burners on high for around 10-15 minutes. For charcoal grills, allow the coals to burn until they’re covered with white ash before placing the chicken on the grill.
During cooking, it’s important to monitor the temperature and make adjustments as needed. Use a grill thermometer to accurately measure the heat. If the temperature is too high, reduce it by partially closing the vents or turning down the burners. If the temperature is too low, increase it by opening the vents wider or turning up the burners.
Remember to always prioritize grilling safety. Keep a close eye on the grill at all times and use long-handled tongs or spatulas to avoid burns. Avoid overcrowding the grill, as it can lead to uneven cooking and temperature fluctuations. Finally, allow the chicken to rest for a few minutes after grilling to allow the juices to redistribute before serving.
Timing and Turning for Even Cooking
For even cooking, it is important to time and turn your chicken on the grill correctly. Timing is crucial when grilling chicken to ensure that it is cooked thoroughly without drying it out. The size and thickness of the chicken pieces will determine the cooking time. Larger pieces, such as bone-in chicken breasts, will take longer to cook compared to smaller pieces like chicken tenders. It is recommended to preheat the grill to medium-high heat before placing the chicken on it.
To achieve those coveted grill marks, use the technique of turning the chicken only once during the cooking process. Place the chicken on the grill with the skin side down and allow it to cook for about 5 to 7 minutes. This will create those beautiful sear marks. Then, using tongs, carefully flip the chicken over to the other side and continue cooking until it reaches the desired internal temperature. Avoid constantly flipping the chicken as it can prevent the grill marks from forming and disrupt the even cooking process.
Basting the chicken with flavorful marinades or sauces is another great way to enhance its taste and juiciness. Basting involves brushing the chicken with a sauce or marinade mixture using a basting brush. To prevent cross-contamination, make sure to discard any leftover marinade that has come into contact with raw chicken. As you baste the chicken, do it sparingly and towards the end of the cooking process to avoid burning the sauce or marinade.
Checking for Doneness and Resting the Chicken
To ensure your grilled chicken is cooked to perfection, it’s important to know the indicators of doneness. Look for clear juices and an internal temperature of 165°F (74°C) to ensure the chicken is fully cooked. Once the chicken is done, allow it to rest for a few minutes before serving. This resting time allows the juices to redistribute, resulting in a juicier and more flavorful chicken.
Doneness Indicators
Check the doneness of your grilled chicken by using these indicators and allow it to rest before serving. Checking for moisture is one way to determine if your chicken is cooked properly. Take a sharp knife and make a small slit in the thickest part of the chicken. If the juices run clear and there is no pinkness, then your chicken is likely done. Another method is to use visual cues.
The chicken should be golden brown on the outside and have a slightly charred appearance. Additionally, the internal temperature should reach 165°F (74°C) when measured with a meat thermometer. Once you have confirmed the doneness, let the chicken rest for a few minutes before cutting into it. This allows the juices to redistribute, resulting in a moist and flavorful chicken.
Resting Time Importance
Resting the chicken after it has reached the desired doneness is crucial for ensuring a moist and flavorful final result. The resting time allows the juices to redistribute within the meat, resulting in a more tender and succulent chicken. Additionally, it gives the internal temperature a chance to rise a few more degrees, ensuring that the chicken is cooked to perfection.
To further enhance the juiciness of the chicken, consider brining it beforehand. Brining involves soaking the chicken in a saltwater solution, which helps to lock in moisture and enhance the flavor. This step is especially beneficial for lean cuts of chicken, such as chicken breasts, which tend to dry out easily during cooking.
To accurately determine the doneness of the chicken, it is essential to use a meat thermometer. This handy tool allows you to measure the internal temperature of the chicken, ensuring that it has reached the safe minimum temperature of 165°F (74°C). By using a meat thermometer, you can avoid overcooking or undercooking the chicken, resulting in perfectly cooked and safe-to-eat poultry.
Testing Chicken’s Temperature
After allowing the chicken to rest and ensuring it has reached the desired doneness, the next step is to test its temperature to confirm it is cooked perfectly. Measuring doneness by appearance alone can be unreliable, so using a meat thermometer is essential. Insert the thermometer into the thickest part of the chicken, making sure not to touch the bone. For bone-in chicken, aim for a temperature of 165°F (74°C), while boneless chicken should reach 160°F (71°C). By checking the temperature, you can be sure that the chicken is cooked through and safe to eat. Remember to clean the thermometer after each use to prevent cross-contamination. With a meat thermometer in hand, you’ll have perfectly cooked chicken every time.
Master Grilling Chicken; Frequently Asked Questions
Can I Use Frozen Chicken for Grilling?
Yes, you can use frozen chicken for grilling. The pros are convenience and longer shelf life. However, thawing before grilling ensures even cooking. Alternative methods include using a grill pan or baking in the oven.
What Is the Best Type of Oil to Use for Seasoning the Chicken?
For the best flavor without using oil, there are a few methods to consider. Season your chicken with herbs, spices, and marinades to enhance the taste. Grilling on a well-preheated grill and using indirect heat can also help retain moisture.
How Long Should I Marinate the Chicken for Maximum Flavor?
To maximize flavor, marinate the chicken for at least 2 hours. Properly season the chicken for grilling by using a combination of salt, pepper, garlic powder, and any other desired spices. Achieve a crispy skin by preheating the grill and cooking over medium-high heat.
Can I Use a Gas Grill Instead of a Charcoal Grill?
You can definitely use a gas grill instead of a charcoal grill for grilling chicken. The advantage of a gas grill is that it is easier to control the temperature, but some argue that charcoal grilling gives a smokier flavor.
How Can I Tell if the Chicken Is Cooked Through Without Cutting Into It?
To check if your chicken is cooked through without cutting into it, use a meat thermometer. Insert it into the thickest part of the meat, and if it reads 165°F, your chicken is done.
Conclusion
In conclusion, mastering the art of grilling chicken requires careful selection of chicken cuts, proper prepping and seasoning techniques, and effective marinating methods. It is essential to maintain the right grill temperature and ensure even cooking by timing and turning the chicken. Lastly, checking for doneness and allowing the chicken to rest before serving are crucial steps for achieving flavorful and perfectly grilled chicken. With practice and attention to detail, you can become a grilling expert and impress your guests with deliciously cooked chicken every time.


