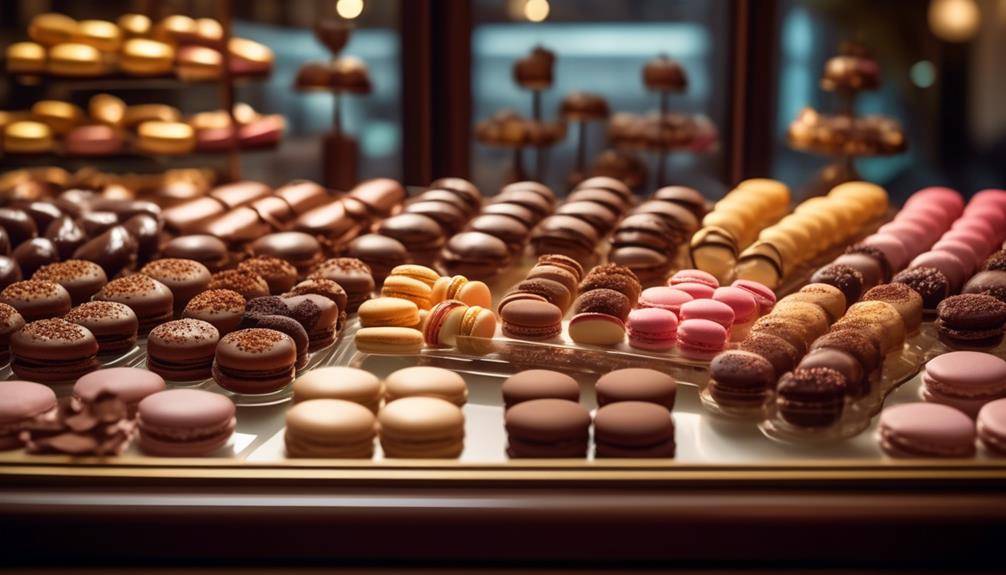
The Best Steps To Follow For Making Chocolate Pastries
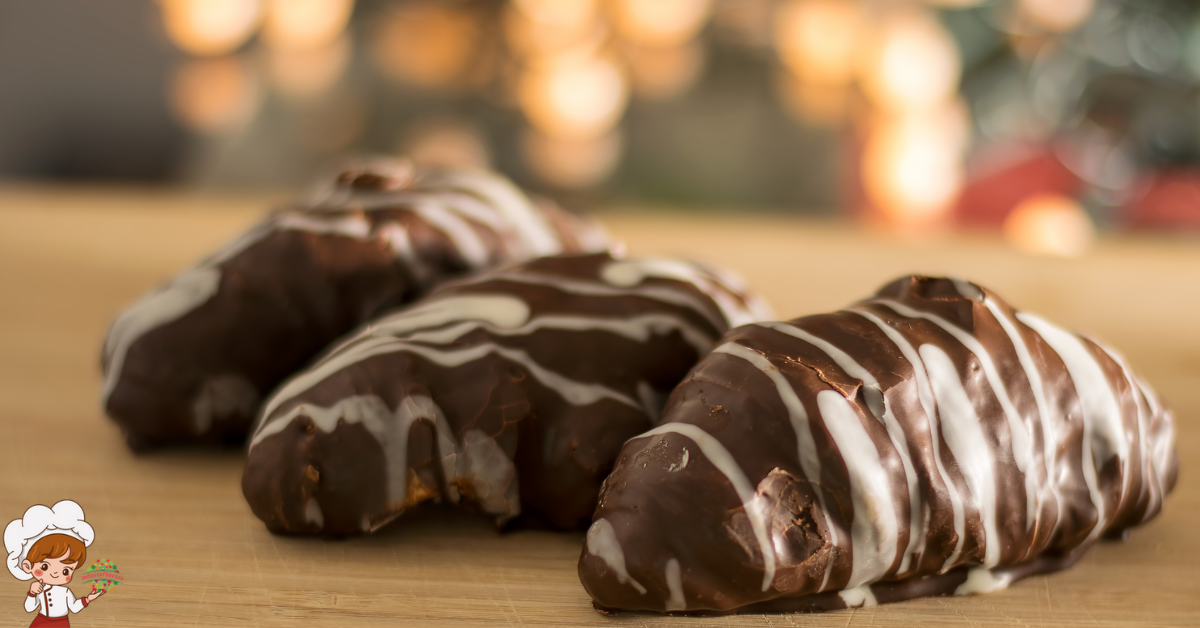
Steps To Follow For Making Chocolate Pastries; Imagine yourself on a journey, whisking through the world of chocolate pastries, each step leading you closer to a sweet and decadent creation. But where do you begin? How do you transform simple ingredients into a mouthwatering treat that will leave everyone craving for more? Well, my friend, fear not, for I am here to guide you through the process of making these delightful delights. So, put on your apron, tie up your hair, and let’s dive into the art of crafting chocolate pastries that will make your taste buds sing.
Gathering the Ingredients
First, gather all the essential ingredients for creating delectable chocolate pastries. Storing the ingredients properly is crucial to maintain their freshness and flavor. Begin by checking the expiration dates on your cocoa powder, flour, sugar, and baking powder. Store them in a cool, dry place, away from direct sunlight, to prevent them from spoiling or absorbing moisture. Transfer your chocolate chips or chunks into an airtight container to keep them from melting or becoming stale.
Once your ingredients are safely stored, it’s time to measure them accurately. Precision is key to achieving the perfect balance of flavors in your chocolate pastries. Use a kitchen scale to weigh your dry ingredients, such as flour and sugar, for precise measurements. If you don’t have a scale, use measuring cups and spoons, leveling off each ingredient with a straight edge to ensure accuracy. When measuring cocoa powder, lightly spoon it into the measuring cup and level it off with a knife.
Remember to measure your liquids, such as milk or cream, using liquid measuring cups with clear markings. Pour the liquid into the cup, making sure to bend down to check if the bottom of the meniscus aligns with the desired measurement. This ensures that you add the right amount of liquid to achieve the perfect consistency in your chocolate pastry dough.
Preparing the Chocolate Dough
To begin preparing the chocolate dough, combine the dry ingredients in a large mixing bowl. This step is crucial as it ensures that all the flavors are evenly distributed throughout the dough. Mixing the ingredients together allows the cocoa powder, flour, sugar, and salt to blend harmoniously, creating a rich and decadent base for the pastries.
Once the dry ingredients are combined, it’s time to incorporate the wet ingredients. Pour in the melted butter and the beaten eggs, gradually mixing them into the dry mixture. This helps to bind the dough together and gives it a smooth and velvety texture. As you mix, you’ll notice the aroma of chocolate filling the air, tempting your taste buds.
Next, it’s time to knead the dough. Sprinkle a clean surface with flour and transfer the dough onto it. Kneading involves folding the dough over itself and pressing it down with the heel of your hand. This process helps to develop the gluten in the flour, resulting in a chewy and tender pastry. Knead the dough for about 5 minutes, or until it becomes smooth and elastic.
As you knead, you’ll feel the dough transform beneath your hands, becoming more pliable and malleable. It’s a satisfying and therapeutic process, allowing you to connect with the ingredients and shape them into something delicious. Once the dough is kneaded to perfection, wrap it in plastic wrap and refrigerate for at least 30 minutes to allow it to rest and firm up.
Preparing the chocolate dough is a crucial step in creating delectable chocolate pastries. By mixing the ingredients and kneading the dough, you’re ensuring that the flavors are well-balanced and the texture is just right. So roll up your sleeves, get your mixing bowl ready, and let the magic of chocolate unfold in your kitchen.
Shaping the Pastries
Now that the chocolate dough is perfectly kneaded and rested, it’s time to unleash your creativity and transform it into beautifully shaped pastries that will impress both the eyes and the taste buds. Shaping the pastries is where you can truly showcase your artistic skills. Get ready to make some stunning, mouth-watering treats!
There are endless possibilities when it comes to creative pastry designs. You can go for classic shapes like circles, squares, or triangles, or you can experiment with more intricate designs. How about making heart-shaped pastries for a romantic touch? Or perhaps you want to try your hand at making floral shapes to add a touch of elegance. Don’t be afraid to think outside the box and let your imagination run wild!
To further enhance the visual appeal of your pastries, consider using edible decorations. Sprinkle some powdered sugar on top for a simple and elegant look. Or, if you want to add a pop of color, use colorful sprinkles or edible glitter. You can also pipe some chocolate ganache or whipped cream on top and finish it off with a drizzle of melted chocolate. The possibilities are endless!
Baking and Cooling
Once you have beautifully shaped your chocolate pastries, it’s time to move on to the next crucial step: baking and cooling. This step is essential to ensure that your pastries are cooked to perfection and have the right texture and flavor. Here are three key factors to consider during the baking and cooling process:
- Temperature Control: Maintaining the right temperature is crucial for baking chocolate pastries. Preheat your oven to the specified temperature mentioned in the recipe and make sure it is accurate by using an oven thermometer. This ensures that your pastries are evenly baked and have a crisp exterior with a soft, moist interior.
- Flavor Variations: Baking and cooling also offer an opportunity to explore different flavor variations for your chocolate pastries. You can experiment with adding different ingredients such as nuts, fruits, or even a hint of spice to enhance the overall taste. Additionally, you can play with different glazes or drizzles to add an extra layer of flavor and visual appeal.
- Cooling Process: Once your pastries are baked to perfection, it’s important to allow them to cool properly. This helps to set the structure and ensures that the flavors meld together. Place the pastries on a wire rack to cool, allowing air to circulate around them. Avoid stacking or covering them while they are still warm, as this can cause condensation and make them lose their crispness.
Adding the Final Touches
After carefully baking and cooling your chocolate pastries to perfection, it’s time to add the final touches that will elevate them to a whole new level of deliciousness. The way your pastries are presented can make a significant difference in how they are perceived and enjoyed. To make your chocolate pastries truly stand out, it’s important to consider the various decorating techniques and presentation ideas that will make your creations look as good as they taste.
When it comes to decorating techniques, there are plenty of options to choose from. One classic technique is drizzling melted chocolate over the pastries in an elegant and artistic manner. You can also use a piping bag to create intricate designs or patterns with whipped cream or frosting. Another option is to sprinkle powdered sugar or cocoa powder on top for a simple yet sophisticated touch. Additionally, you could garnish your pastries with fresh berries, mint leaves, or edible flowers to add a pop of color and freshness.
In terms of presentation ideas, think about how you can showcase your chocolate pastries in an appealing way. Consider serving them on a decorative platter or cake stand to create a visually pleasing display. You could also use individual dessert plates or bowls to give each pastry its own spotlight. Don’t forget to include some garnishes around the pastries for an extra touch of elegance. And if you want to take it a step further, you could even create a dessert table with a variety of chocolate pastries and other sweet treats for a stunning and indulgent spread.
Steps To Follow For Making Chocolate Pastries; Frequently Asked Questions
How Long Can Chocolate Pastries Be Stored For?
Chocolate pastries can be stored for up to five days. To ensure their freshness, it is recommended to store them in an airtight container at room temperature. This will maximize their shelf life and maintain their delectable flavor.
Can I Substitute the Chocolate With White Chocolate in This Recipe?
Yes, you can substitute the chocolate with white chocolate in this recipe. Just make sure to use the same amount of white chocolate as the original recipe calls for. To properly store chocolate pastries, keep them in an airtight container in a cool, dry place.
What Is the Nutritional Information for These Chocolate Pastries?
The nutritional information for these chocolate pastries includes a rich dose of antioxidants from the cocoa. Portion sizes matter, so be mindful of indulging too much. Enjoy the delicious taste and the nutritional benefits in moderation!
Can I Freeze the Chocolate Dough for Later Use?
Yes, you can freeze the chocolate dough for later use. Freezing dough is a great way to extend its shelf life and have it ready whenever you want to make some delicious chocolate pastries.
Can I Use a Different Type of Flour in the Recipe, Such as Almond Flour?
You can definitely use almond flour in your chocolate pastries for a gluten-free option. However, if you don’t have almond flour, there are other alternatives like rice flour or coconut flour that work well too.
Conclusion
Now that you have learned the steps to make delectable chocolate pastries, it’s time to put your newfound knowledge into practice. Gather the ingredients, prepare the chocolate dough with precision, shape the pastries with expert hands, bake them to perfection, and let them cool. Finally, add the final touches to elevate your pastries to a whole new level of deliciousness. Get ready to indulge in a mouthwatering treat that will surely impress. Enjoy the delightful journey of creating your own chocolate masterpieces!


