The Best Way To Freeze Corn On The Cob
The Best Way To Freeze Corn On The Cob, start by selecting fresh, sweet corn with bright green husks. Remove the husks and silks, then blanch the corn in boiling water for 4-6 minutes. After blanching, quickly plunge it into an ice bath to maintain its color and texture. Once cooled, dry the corn thoroughly to prevent freezer burn. Package the cobs in airtight containers or vacuum-sealed bags, labeling them with the date. Store in the freezer at 0°F (-18°C) or lower. Follow these steps for delicious corn all year round, and you’ll discover even more helpful tips.
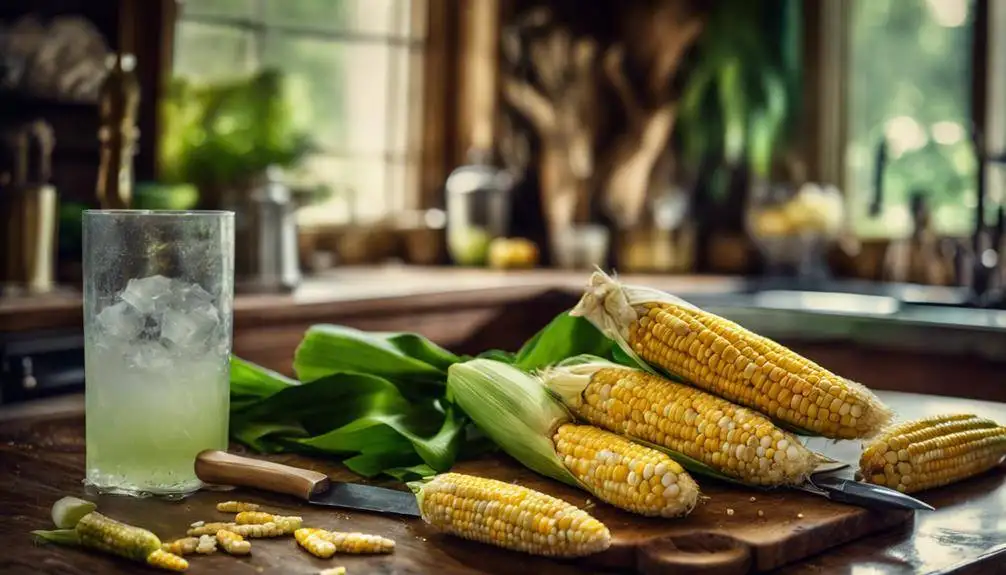
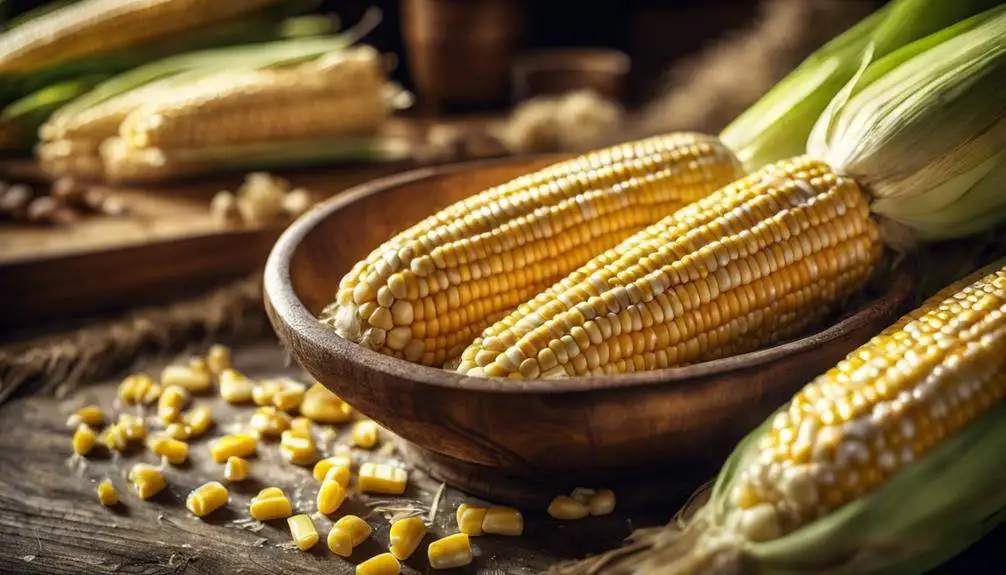
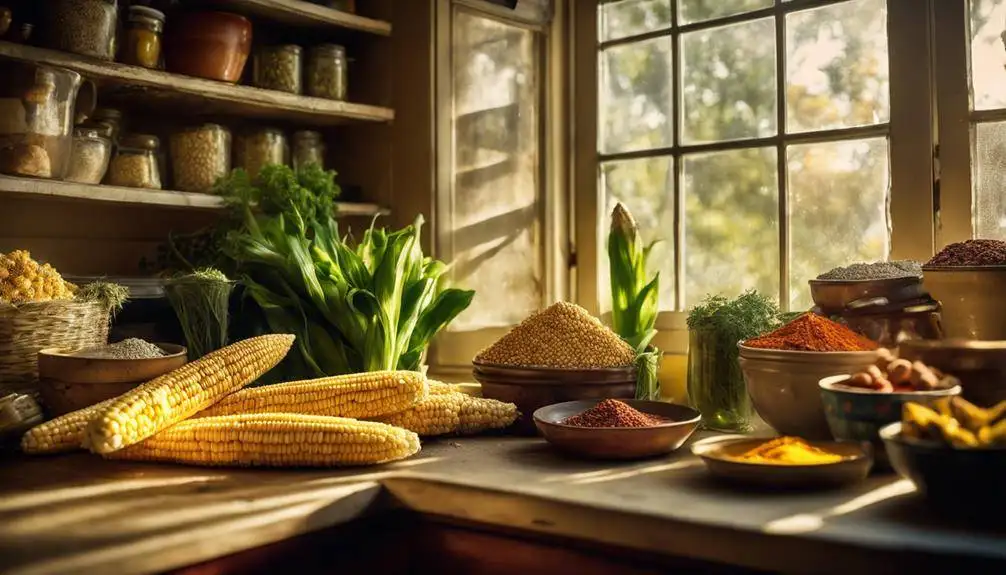
Choosing Fresh Corn
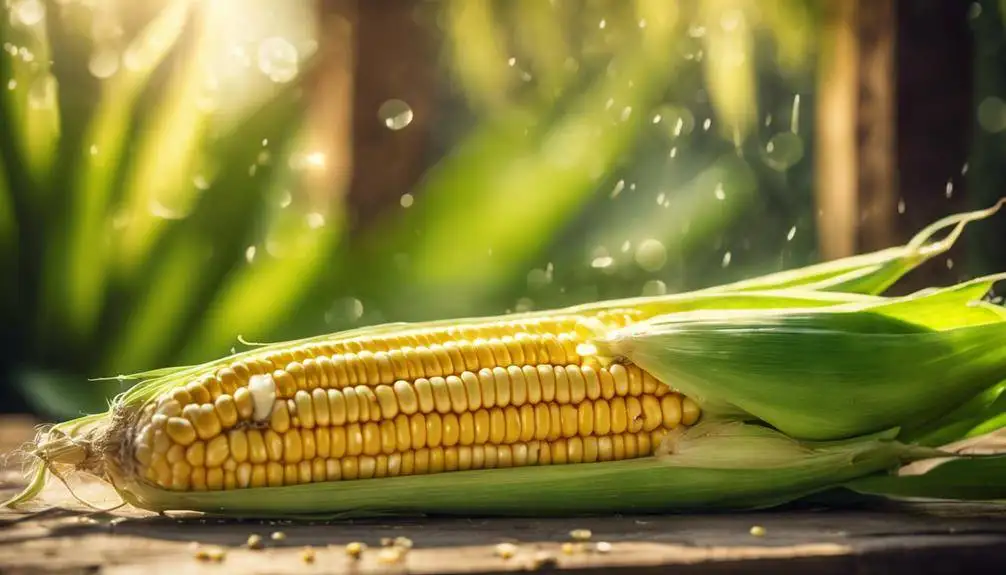
When selecting fresh corn, look for ears with bright green husks and plump kernels for the best flavor and sweetness. The husk should be tightly wrapped around the kernels, free from brown spots or wilting. You’ll want to check the silk at the top; it should be moist and golden, indicating freshness.
There’s a wide range of corn varieties available, each with unique characteristics. Sweet corn is the most popular, known for its sugary taste, while other types like flint corn or dent corn have different uses, such as for grinding into flour. Choose sweet corn for freezing, as it retains its sweetness best.
Timing is essential when it comes to corn’s peak season. In many regions, sweet corn is typically at its best during the summer months. Buying during this time guarantees you get the freshest and most flavorful ears. If you’re unsure, ask local farmers or vendors about their harvest times.
Remember to inspect each ear closely. Gently peel back the husk slightly to check the kernels—plump, evenly spaced kernels mean you’re in for a treat. If you notice any gaps or shriveled kernels, it’s best to move on. After all, you want to freeze corn that’s bursting with flavor. By taking the time to choose the right ears, you’re setting yourself up for delicious corn on the cob later on.
Preparing the Corn
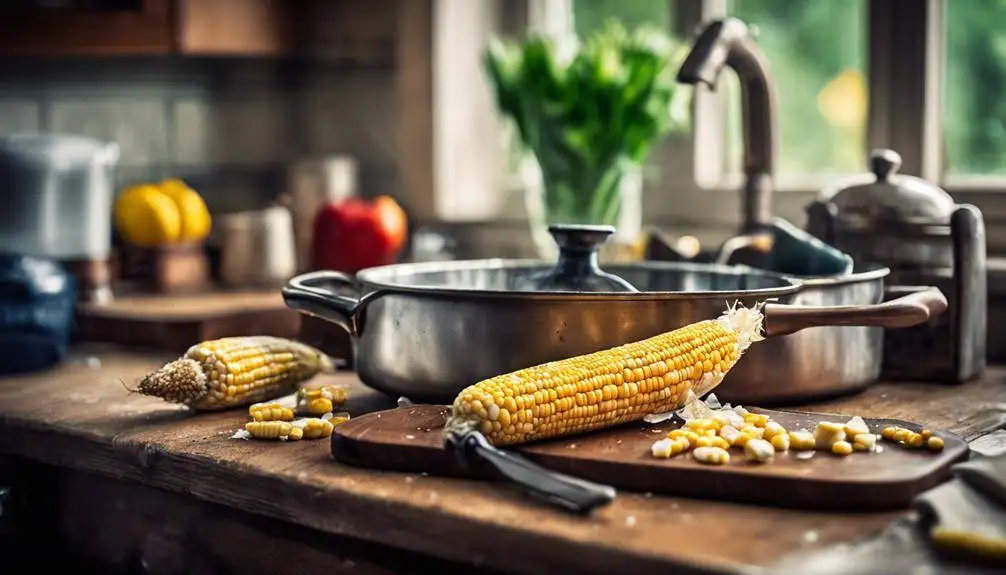
Once you’ve selected the freshest sweet corn, it’s time to prepare it for freezing by removing the husks and silks. Start by laying the ears of corn on a clean surface. Grasp the top of the ear and pull down the husks in a firm motion, removing them entirely. You’ll want to discard any damaged or discolored husks as you go. After that, take a moment to remove the silks, which are the thin threads clinging to the cob. You can do this by hand, but a vegetable brush can also help in getting them off quickly.
Once the corn is husked and cleaned, you’ll need to decide on your cob preparation methods. If you prefer to freeze whole cobs, simply trim the ends to guarantee they fit easily in your freezer bags. Alternatively, if you want to cut the kernels off, stand the cob upright in a bowl and slice downwards with a sharp knife to collect the kernels. This method is great for saving space in your freezer.
Essential Tools Needed
To successfully freeze corn on the cob, you’ll need a few vital tools that make the process quick and efficient. First and foremost, a large pot is important for blanching the corn. Choose one that can accommodate multiple ears at once, ensuring you can process your corn in batches if needed.
Next, get yourself a slotted spoon or a pair of tongs. These corn freezing tools will help you safely lift the hot cobs from boiling water to an ice bath. An ice bath is another must-have; a large bowl filled with ice and water will cool the corn rapidly, preserving its color and flavor.
Don’t forget about cutting tools! A sharp knife is necessary for slicing the kernels off the cob after blanching if you prefer to freeze them that way. Additionally, a cutting board will provide a stable surface for this task.
Finally, invest in some quality freezer bags or airtight containers. These important kitchen gadgets will keep your corn fresh and safe from freezer burn. Make sure to label each bag with the date and contents so you can easily keep track of your frozen goodies.
With these important tools at your side, you’ll streamline your corn freezing process and enjoy delicious, home-frozen corn all year long!
Blanching Process Explained
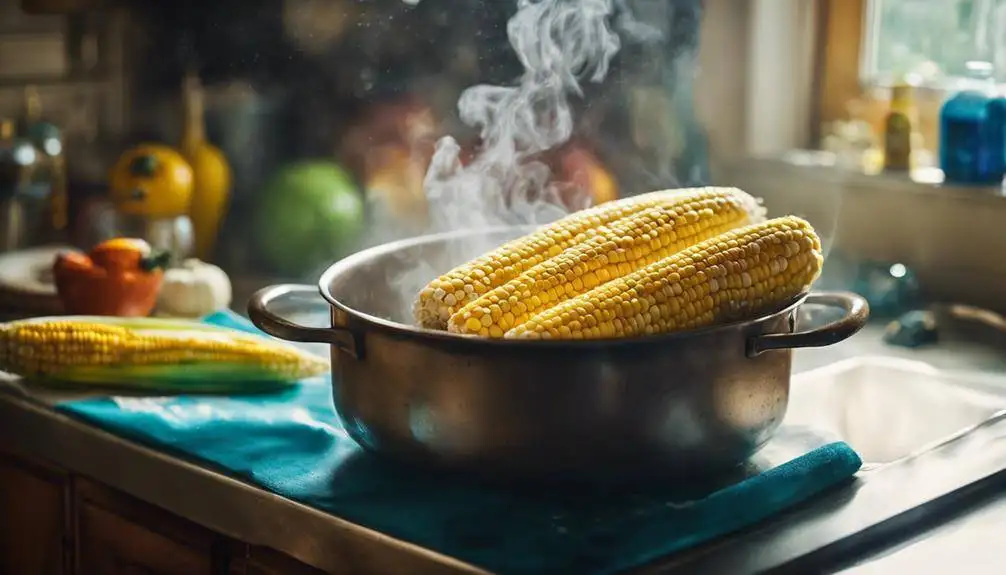
Blanching corn on the cob is an important step that helps preserve its vibrant color and sweet flavor before freezing. This process involves briefly cooking the corn in boiling water, which halts enzyme actions that can cause loss of flavor, color, and texture. To start, fill a large pot with water and bring it to a rolling boil. Once the water is boiling, carefully add your ears of corn.
The blanching duration is essential. For corn on the cob, you’ll want to blanch it for about 4-6 minutes, depending on the size and freshness of the corn. If you blanch for too short a time, you’ll risk not fully stopping the enzymes, which can lead to a decline in quality during storage. Conversely, blanching for too long can cause the corn to become mushy and lose some of its sweetness.
After the blanching duration is complete, you can remove the corn and prepare it for freezing. This step is crucial for nutrient retention, ensuring that the corn maintains its nutritional value even after being frozen. Remember, proper blanching not only enhances the taste but also helps in keeping the corn looking appealing when you finally take it out for use. Once you’ve finished blanching, you’re ready to move on to the next steps in the freezing process.
Ice Bath Techniques
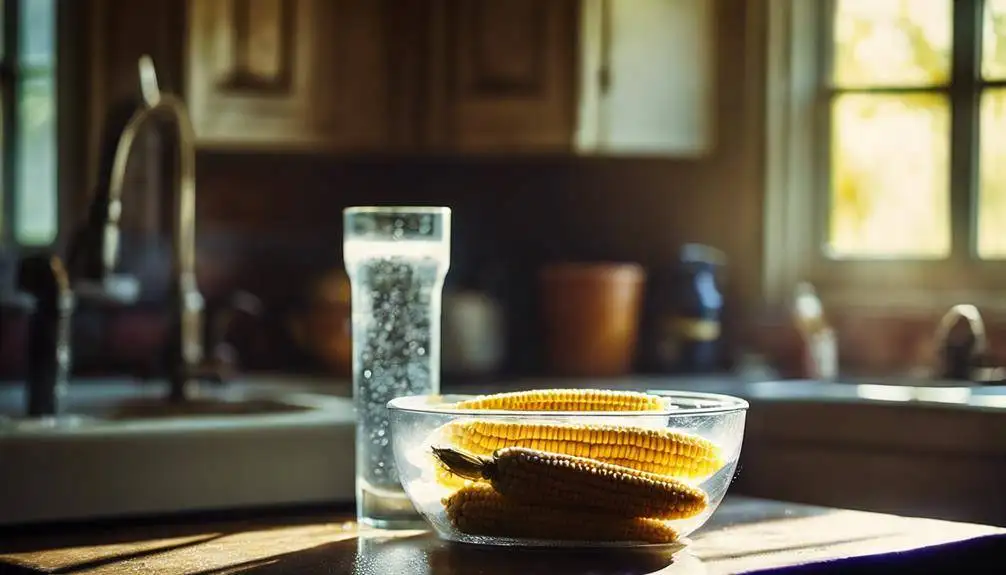
An ice bath is vital for stopping the cooking process after blanching corn on the cob, guaranteeing it retains its crisp texture and vibrant color. This quick cooling technique not only halts cooking but also locks in nutrients and flavor. You’ll want to prepare your ice bath while blanching the corn, so everything’s ready when you need it.
To create an effective ice bath, fill a large bowl with cold water and ice. The ratio of ice to water is essential; you want enough ice to keep the water icy cold. Once you’ve blanched the corn for the recommended time, immediately transfer the cobs to the ice bath using tongs or a slotted spoon. Make sure to submerge them fully to maximize the cooling effect.
The ice bath benefits go beyond just halting the cooking process. By cooling the corn quickly, you help preserve its bright yellow color and crunchy texture, making it more appealing when you eventually serve it. Additionally, this step helps prevent overcooking, which can lead to mushiness.
Keep the corn in the ice bath for about the same amount of time you blanched it. Afterward, you’ll be ready to move on to drying the corn, but remember that skipping the ice bath can result in less-than-ideal frozen corn. By incorporating this cooling technique, you guarantee your corn on the cob is perfectly preserved for future meals.
Drying the Corn
After the ice bath, drying the corn is essential to prevent ice crystals from forming during freezing. If you skip this step, you might end up with mushy corn once it’s thawed. There are several effective corn drying methods you can use, and the right choice can make a significant difference in the quality of your frozen corn.
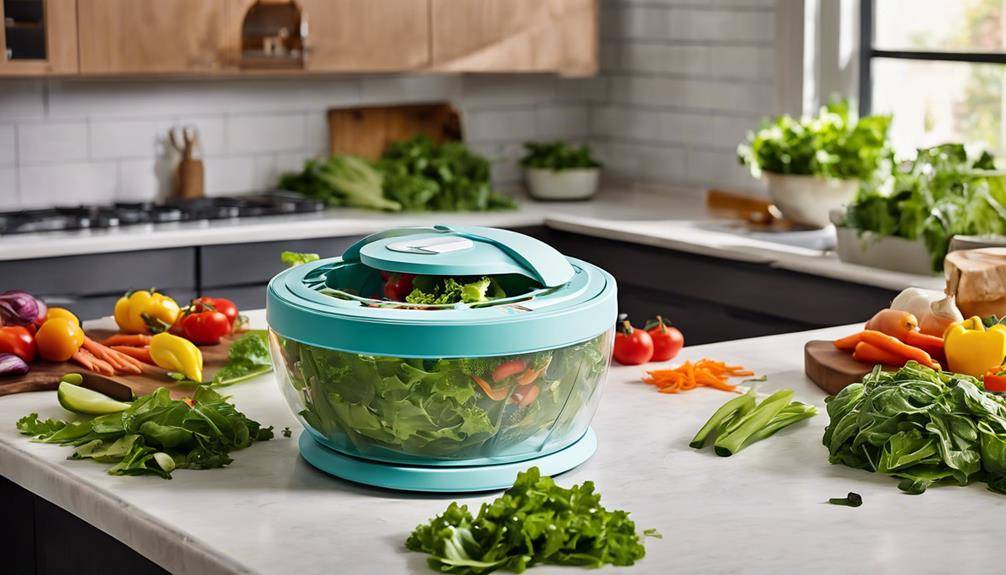
One common method is to use a clean kitchen towel. Simply spread the corn cobs on the towel and gently pat them dry. This method works well, but it can take a bit of time. If you’re in a hurry, you might opt for a salad spinner. Place the corn in the spinner, and give it a few whirls to remove excess moisture quickly.
For those who prefer a more hands-off approach, using a fan can also be effective. Set your corn in a well-ventilated area and let the fan circulate air around it. This method not only dries the corn but also helps maintain its fresh flavor.
The benefits of drying corn before freezing are undeniable. It helps preserve the texture and taste, ensuring that your corn stays sweet and crunchy when you’re ready to enjoy it. Plus, by reducing moisture content, you minimize the risk of freezer burn, which can ruin the flavor and nutrition of your corn. So, take the time to dry your corn properly, and you’ll be rewarded with delicious, high-quality frozen corn.
Packaging Options
Choosing the right packaging for your frozen corn on the cob is vital to maintaining its flavor and texture during storage. One of the best options you can use is vacuum sealing. This method removes air from the packaging, preventing freezer burn and preserving the sweet taste of your corn. If you have a vacuum sealer, simply place your cooled corn on the cob inside the vacuum bags, seal them tightly, and you’re all set.
If you don’t have a vacuum sealer, don’t worry; freezer bags are a great alternative. Make certain to select high-quality freezer bags designed for long-term storage. When using freezer bags, you’ll want to remove as much air as possible before sealing. To do this, you can gently press the bag while sealing to push out excess air. This helps reduce the chance of freezer burn as well.
Regardless of which method you choose, it’s vital to confirm your corn is completely cooled and dried before packaging. This helps prevent ice crystals from forming, which can affect both texture and flavor. You can pack your corn on the cob whole or cut it into smaller pieces, depending on your preference and how you plan to use it later. Proper packaging will extend the life of your corn and confirm you can enjoy its delicious taste whenever you’re ready.
Labeling and Dating
Label your packages of frozen corn on the cob with the date and contents to keep track of their freshness and guarantee you use them within a reasonable time. Proper labeling is essential for maintaining the quality of your corn. Use simple labeling methods that are easy to read, like permanent markers or adhesive labels. When applying the labels, include both the date you froze the corn and a brief description of the contents.
Choosing the right date formats helps you quickly understand how long the corn’s been in the freezer. You could use formats like MM/DD/YYYY or simply write out the month for clarity, such as ‘October 15, 2023.’ This way, you won’t have to guess or calculate the date when you pull it out later.
Make sure to check your freezer’s temperature settings regularly, as this can impact how long your corn stays fresh. By labeling each package this way, you can easily identify which ones you should use first, ensuring you enjoy your corn at its best.
Additionally, consider grouping your packages by the date you froze them, making it easier to rotate through your stock. If you have multiple batches, using different colored labels can also be helpful. This simple practice of labeling and dating not only prevents waste but also enhances your meal planning by ensuring you always have fresh corn on hand.
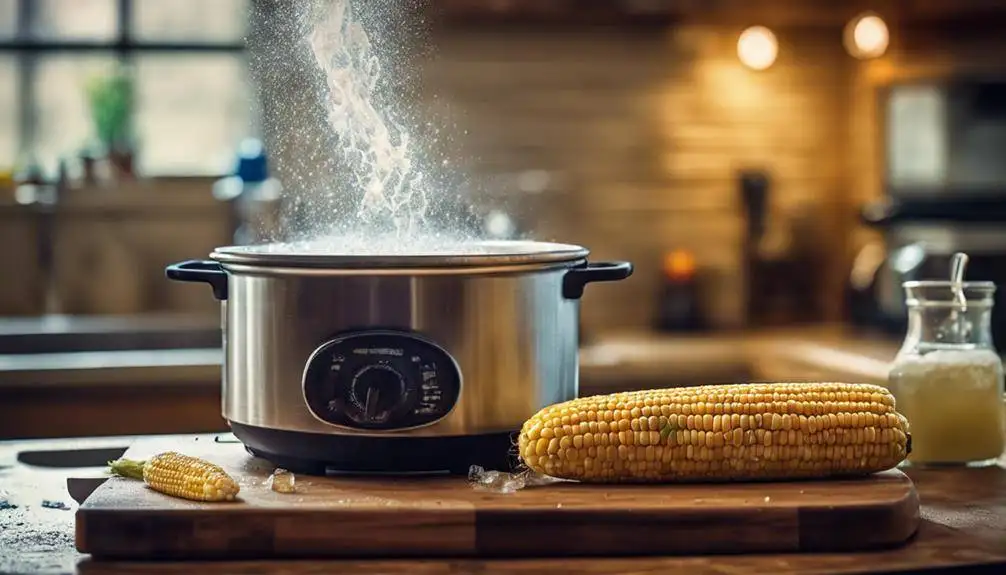
Freezing Techniques
Once you’ve labeled and dated your packages, it’s time to explore the best freezing techniques to preserve the flavor and texture of your corn on the cob. The key is to blanch your corn before freezing. Start by bringing a large pot of water to a rolling boil. For the best results, use fresh corn varieties, such as sweet corn or silver queen, as they freeze particularly well.
Once your water is boiling, add the corn cobs and blanch them for about 4-6 minutes, depending on their size. This process helps to lock in that sweet flavor and vibrant color. After blanching, quickly transfer the cobs to an ice bath to stop the cooking process. Let them chill for the same amount of time you blanched—around 4-6 minutes.
Next, drain the corn thoroughly and pat them dry with a clean towel. This step is essential as excess moisture can lead to freezer burn and affect the taste. Now, wrap each cob in plastic wrap or aluminum foil before placing them in your labeled freezer bags. Squeeze out as much air as possible to minimize freezer burn.
When stored properly, corn on the cob can last up to 12 months in the freezer. Just remember the freezing duration, as the longer you store it, the more it may lose its quality. Now you’re ready to enjoy your corn even in the off-season!
Storing Frozen Corn
Once you’ve frozen your corn on the cob, storing it properly is key to maintaining its quality. You’ll want to choose perfect containers, label and date them, and keep an eye on the best storage temperature. These simple steps guarantee your corn stays fresh for whenever you’re ready to enjoy it.
Ideal Freezing Containers
Choosing the right containers is vital for preserving the freshness and flavor of your frozen corn on the cob. You have a few great options to contemplate. Vacuum sealing is one of the best methods for keeping your corn in top condition. By removing air from the packaging, you considerably reduce the risk of freezer burn and maintain your corn’s taste and texture. If you don’t have a vacuum sealer, don’t worry! You can still use reusable bags.
When using reusable bags, make certain to press out as much air as possible before sealing. This method is convenient and eco-friendly, allowing you to store your corn without creating unnecessary waste. Just be cautious to choose bags that are freezer-safe to guarantee they withstand low temperatures.
If you prefer more rigid storage, think about using airtight containers. These can help protect your corn from absorbing odors from other frozen foods. Ultimately, the choice of container depends on your preference and available resources. Regardless of the option you choose, securing a tight seal will help you enjoy your sweet corn throughout the year!
Labeling and Dating
To keep your frozen corn organized and easy to identify, labeling and dating your containers is a smart practice. When you freeze corn on the cob, you want to make sure that you easily find and use it later. Start by using clear labeling techniques. You can use freezer tape or permanent markers to write the contents and date on each bag or container. Be specific—note whether it’s sweet corn, yellow corn, or any other variety.
Implementing a dating system helps you track how long your corn has been frozen. Write the month and year on your labels, so you know when it’s time to use it up. Ideally, frozen corn should be consumed within 8 to 12 months for the best flavor and quality.
When you organize your frozen corn this way, you’ll avoid the frustration of rummaging through containers and potentially wasting food. Plus, you’ll always know exactly what you have on hand. So, take a few moments to label and date your frozen corn; it’ll save you time and effort in the long run!
Optimal Storage Temperature
Maintaining a consistent temperature of 0°F (-18°C) or lower is crucial for preserving the quality of your frozen corn on the cob. This ideal freezing temperature prevents ice crystals from forming, which can compromise the texture and flavor of your corn. To achieve effective temperature control, make certain your freezer is running efficiently and check its temperature regularly with a thermometer.
You should also avoid overloading your freezer, as this can hinder proper airflow and lead to temperature fluctuations. If you’ve just added a large quantity of corn, try to keep the door closed for several hours to allow the temperature to stabilize.
It’s also wise to store your corn in airtight packaging to minimize exposure to moisture and air. Vacuum-sealing is an excellent option if you want to maximize the shelf life and maintain ideal quality.
Remember to organize your freezer, placing the corn in a spot where it won’t be frequently disturbed. By following these tips on temperature control, you’ll guarantee that your frozen corn on the cob stays fresh and delicious for many months to come.
Thawing Methods
When it comes to thawing your frozen corn on the cob, you’ve got a couple of great options. You can use the refrigerator thawing technique for a gradual approach or opt for the quick microwave method if you’re short on time. Let’s explore these methods to find what works best for you.
Refrigerator Thawing Technique
Thawing corn on the cob in the refrigerator is a reliable method that preserves its flavor and texture. This technique allows you to gradually bring the corn to a safe temperature, which helps maintain its quality. To use refrigerator thawing effectively, simply transfer your frozen corn on the cob from the freezer to the fridge. It’s best to do this a day before you plan to cook it, as the thawing duration typically takes about 12 to 24 hours, depending on the size and quantity of the corn cobs.
Make certain to place the corn in a bowl or on a plate to catch any condensation that might form as it thaws. This prevents any moisture from leaking onto other foods in your refrigerator. Once the corn has fully thawed, you can cook it as you normally would, whether by boiling, grilling, or roasting. Remember, the key to successful refrigerator thawing is planning ahead. By allowing enough time for the corn to thaw slowly, you’ll guarantee that it retains its delicious taste and crunch, making your meal even more enjoyable.
Quick Microwave Method
If you’re short on time, the quick microwave method is a fast way to thaw corn on the cob while still preserving its flavor. Start by removing the corn from its packaging and placing it on a microwave-safe plate. You can leave the husk on for added moisture, or remove it if you prefer.
Next, cover the corn with a damp paper towel to help maintain its corn texture during microwaving. Set your microwave to medium power and use microwave timing to guarantee even thawing. Generally, about 4 to 6 minutes should suffice for a few ears, but you might need to adjust based on your microwave’s wattage.
After thawing, check the corn for doneness by gently squeezing it; it should feel pliable but not cooked. If you need more time, do so in 30-second intervals to prevent overcooking. This method allows you to enjoy your frozen corn quickly while keeping its delicious flavor intact. Plus, the corn texture will remain close to fresh, giving you a delightful taste in your dishes. Enjoy your perfectly thawed corn on the cob!
Cooking Frozen Corn
Cooking frozen corn is a quick and easy way to enjoy fresh flavors any time of the year. Whether you’re in a hurry or just looking for a simple side dish, you’ve got several cooking methods at your disposal. One of the quickest methods is boiling. Just bring a pot of water to a boil, add your corn, and simmer for about 4-6 minutes until heated through. If you prefer a bit more flavor, steaming is another great option. It retains more nutrients and gives the corn a slightly sweeter taste.
You can also sauté frozen corn in a skillet. Heat a little oil or butter over medium heat, add the corn, and cook for about 5-7 minutes, stirring occasionally. This method allows you to add your favorite seasonings or even toss in some chopped onions or bell peppers for extra flavor.
Don’t forget about the microwave! Place the corn in a microwave-safe bowl with a splash of water, cover it, and cook on high for about 4-5 minutes.
For flavor pairings, consider mixing your corn with diced tomatoes, black beans, or even a sprinkle of cheese. These combinations not only enhance the taste but also create a more nutritious dish. So whether you’re whipping up a quick weeknight dinner or prepping for a barbecue, cooking frozen corn adds a burst of freshness to any meal. Enjoy the convenience and versatility it brings to your kitchen!
Flavor Enhancements
When it comes to enhancing the flavor of your frozen corn on the cob, you’ve got plenty of options. You can experiment with various seasonings, or try out marinades and brines for a tasty twist. Let’s explore how these additions can elevate your corn to a whole new level!
Seasoning Options
Enhancing the flavor of frozen corn on the cob can elevate your dishes, making them more delicious and inviting. When you’re ready to season, consider using a variety of options that suit your taste. For a kick, spicy seasoning can add an exciting twist. You might sprinkle some cayenne pepper or chili powder for that extra heat, creating a bold flavor profile that pairs wonderfully with corn’s natural sweetness.
On the other hand, if you prefer something more aromatic, herb blends are the way to go. A mix of dried herbs like basil, thyme, or oregano can transform your corn into a fragrant delight. Simply toss the corn in your chosen blend before freezing, so the flavors meld beautifully over time.
Don’t forget about garlic or onion powder for an added layer of flavor. You can even combine spicy seasoning with herb blends for a unique taste experience. Just remember to season lightly, as you can always add more later when you cook the corn. With these seasoning options, your frozen corn on the cob will be a versatile ingredient ready to impress!
Marinades and Brines
Using marinades and brines before freezing corn on the cob can infuse it with delightful flavors that enhance your meals later on. Before you freeze, consider soaking the corn in a spicy marinade. This not only adds a kick but also tenderizes the kernels, making them even more delicious when you cook them later.
To make a spicy marinade, mix olive oil, lime juice, garlic, chili powder, and a pinch of salt. Let the corn soak for at least 30 minutes before freezing. The longer it marinates, the more intense the flavor will be.
Alternatively, a citrus brine can provide a revitalizing twist. Combine water, salt, lemon juice, and zest to create a tangy solution. Submerge the corn in the brine for a couple of hours, then rinse and freeze. The citrus notes brighten up your dishes, giving you a burst of flavor with every bite.
Freezing corn in these flavorful preparations not only preserves its freshness but also elevates your meals, making them something special when you’re ready to enjoy them!
Common Mistakes to Avoid
One common mistake is not blanching the corn before freezing, which can lead to a loss of flavor and texture. Blanching helps preserve the corn’s natural sweetness and vibrant color, so don’t skip this vital step. Another common pitfall is freezing corn for too long. While it’s tempting to store corn indefinitely, the ideal freezing duration for corn on the cob is about 8 to 12 months. After that, the quality diminishes, and you might notice freezer burn or off-flavors.
You should also avoid using corn that’s overripe or damaged. Always select fresh, tender corn for the best results. Check for any signs of spoilage, like dark spots or mushy kernels. Additionally, be mindful of how you package the corn. Using airtight containers or vacuum-sealed bags can prevent moisture loss and protect the corn from freezer burn.
Another mistake is overcrowding your freezer. When you freeze too many cobs at once, the temperature can rise, leading to uneven freezing. This can affect the texture and flavor of your corn. Instead, freeze in smaller batches to guarantee even freezing.
Lastly, don’t forget to label your packages with the freezing date. This simple step can help you keep track of the freezing duration and confirm you use the corn while it’s still at its best. By avoiding these common pitfalls, you’ll enjoy delicious corn on the cob all year round.
Tips for Best Results
To achieve the best results when freezing corn on the cob, start with the freshest ears you can find, as their quality directly impacts the final taste and texture. Look for sweet varieties, like Silver Queen or Bodacious, which are known for their tenderness and flavor. When it comes to corn variety selection, choosing the right kind goes a long way in guaranteeing your frozen corn remains delicious.
Before freezing, blanch the corn for 4-6 minutes in boiling water. This step halts the enzyme action that can lead to loss of flavor and color. After blanching, immediately plunge the cobs into ice water to stop the cooking process. This method is one of the best freezing practices you can adopt to preserve the corn’s vibrant taste.
Once cooled, drain the cobs well to remove excess moisture, as this can lead to ice crystals forming during freezing. Wrap each ear tightly in plastic wrap or aluminum foil to minimize air exposure, which can cause freezer burn. If you want to save space, consider cutting the corn off the cob before freezing, but remember that whole cobs often retain their flavor better.
Label your packages with the date so you can keep track of freshness. Ideally, use the frozen corn within 6-12 months for best quality. By following these tips, you’ll guarantee that your frozen corn on the cob tastes just as good as when it was fresh!
The Best Way To Freeze Corn On The Cob; Frequently Asked Questions
Can Frozen Corn on the Cob Be Reheated in the Microwave?
Yes, you can reheat frozen corn on the cob in the microwave. Use microwave methods like covering it with a damp paper towel and checking for doneness. Follow these reheating tips for the best results!
How Long Will Frozen Corn on the Cob Last?
Frozen corn on the cob typically lasts about 8 to 12 months in the freezer. For ideal quality retention, make sure you store it properly in airtight packaging to prevent freezer burn and maintain freshness.
Is It Safe to Freeze Corn After Cooking?
Yes, it’s safe to freeze corn after cooking. Just make certain you use proper cooking methods and freezing techniques. Cool it quickly, package it well, and you’ll maintain its flavor and texture for future meals.
Can I Freeze Corn on the Cob With Husks Still On?
Yes, you can freeze corn on the cob with husks still on. However, using proper husking techniques helps preserve flavor and texture. Different corn varieties may yield varying results, so choose wisely for best outcomes.
What Is the Best Time of Year to Freeze Corn?
The best time to freeze corn is during harvest season when corn varieties are at their peak freshness. You’ll enjoy the sweetest flavor and highest quality by freezing right after picking or buying.

Conclusion
Freezing corn on the cob is a simple way to enjoy fresh summer flavors all year round. By choosing the right corn and following the blanching and ice bath steps, you’ll lock in that sweet taste. Remember to avoid common mistakes and add your favorite seasonings when cooking the frozen corn. With these tips, you’ll be well on your way to enjoying delicious, perfectly frozen corn anytime you crave it! So go ahead and get started!