
4 Best Techniques For Kneading Pizza Dough
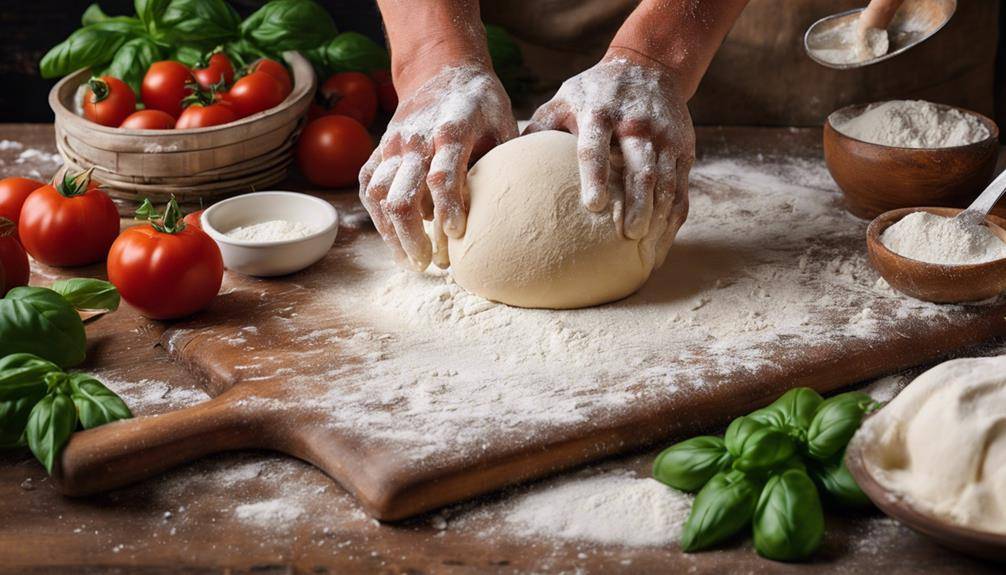
4 Best Techniques For Kneading Pizza Dough: If you're looking to master pizza dough, try these four techniques. First, use traditional hand kneading for a flavorful crust—just mix your ingredients and knead for about 8 to 10 minutes. Second, opt for a stand mixer, which efficiently kneads the dough to a smooth texture in 5 to 7 minutes. Third, the stretch and fold method is great for building gluten without heavy kneading; just stretch and fold the dough every 30 minutes. Finally, the no-knead technique requires minimal effort but a longer resting time for a delightful crust. Stick around to uncover more tips on perfecting your pizza dough!
The Traditional Hand Kneading
Click Here and Turn Every Masterpiece into a Showstopper!
Kneading pizza dough by hand is a time-honored technique that brings out the best flavors and textures. When you get your hands into that dough, you're not just mixing ingredients; you're engaging in a process that enhances dough hydration and promotes gluten development. This is where the magic happens.
Start by combining your flour, water, yeast, and salt in a bowl. Once you've got a shaggy mass, transfer it to a clean surface. You'll want to push the dough away from you with the palms of your hands, then fold it back over itself. This rhythmic motion helps to develop the gluten, which gives your crust that lovely structure.
As you knead, pay attention to the dough's texture. It should feel smooth and elastic. If it's too sticky, you might need to incorporate a bit more flour, but be careful not to overdo it. Too much flour can lead to a dry dough, hindering your dough hydration. Ideally, knead for about 8 to 10 minutes until it's soft and bouncy.
Keep in mind that hand kneading allows you to connect with the dough, giving you an instinctive feel for when it's ready. You'll notice the dough becoming more cohesive and easier to manage, which indicates that gluten development is occurring. Embrace the process, and you'll be rewarded with a flavorful, well-structured pizza crust that's sure to impress.
Using a Stand Mixer
A stand mixer can be a game changer when it comes to making pizza dough. With the right attachments, you can knead your dough more efficiently, saving time and effort. Start by measuring your ingredients carefully, paying close attention to the dough hydration. The perfect balance of water and flour will help you achieve that ideal texture.
Once you've combined your ingredients in the mixing bowl, attach the dough hook. Begin mixing at a low mixer speed to guarantee everything blends together without splashing flour everywhere. Gradually increase the speed as the dough starts to come together. You want to knead the dough for about 5 to 7 minutes, but keep an eye on it. It should be smooth and elastic when it's ready.
One of the advantages of using a stand mixer is that it maintains consistent mixer speed, allowing you to focus on other tasks. This also helps develop the gluten in the dough effectively, leading to a chewier crust. If your dough feels too sticky, you can adjust the hydration by adding a bit more flour, but do this slowly to avoid making it too dry.
Once the kneading is complete, you can let your dough rise in the same bowl, covered with a damp cloth. Using a stand mixer not only simplifies the process but also enhances the quality of your pizza dough, guaranteeing a delicious result every time.
Stretch and Fold Method
With the stretch and fold method, you can develop your pizza dough's gluten structure without the need for traditional kneading. This technique is especially useful if you're looking to create a light and airy crust. To start, let your dough rest for about 30 minutes after mixing. This initial resting period allows the flour to fully hydrate, which is essential for effective gluten development.
Once the dough has rested, it's time to get started. Lightly flour your work surface, then grab the dough. With your hands, gently stretch one side of the dough upward and fold it over to the opposite side. Rotate the dough 90 degrees and repeat the process. Aim for about 4 to 6 stretches and folds in total, each spaced about 30 minutes apart. This is your stretch timing; it's vital for building strength in the dough without overworking it.
As you continue this process, you'll notice the dough becoming smoother and more elastic. This is a sign that gluten development is happening. Depending on your recipe, you can perform this stretch and fold technique two to four times during the bulk fermentation stage. Remember, the key is to be gentle yet firm, allowing the dough to expand and strengthen.
Click Here and Turn Every Masterpiece into a Showstopper!
No-Knead Dough Technique
The no-knead dough technique offers a simple yet effective way to create delicious pizza crust without the need for extensive handwork. This method relies on time and moisture to develop gluten, making it perfect for those who want great pizza without the hassle of traditional kneading. One of the major no knead benefits is that it allows you to mix your ingredients quickly and let the dough rise, freeing up your hands for other tasks.
To get started, you'll need flour, water, yeast, and salt. Combine these ingredients in a bowl and stir until just mixed. The key is to use a wetter dough, which might seem unusual, but this high hydration leads to a lighter, airier crust. After mixing, cover the bowl and let it rest for at least 12 hours at room temperature.
Once the dough has risen, you can shape it into your pizza base. You won't need to worry about the usual kneading techniques, as the long fermentation will have developed the gluten structure already.
For no knead recipes, think about adding herbs, garlic, or even cheese to the dough for added flavor. The result is a beautifully textured crust that's crispy on the outside and soft on the inside. So if you're short on time or simply want to skip the hard work, give the no-knead dough technique a try and enjoy the delicious outcomes with minimal effort!
Click Here and Turn Every Masterpiece into a Showstopper!
Frequently Asked Questions: 4 Best Techniques For Kneading Pizza Dough
How Long Should I Knead the Dough for Best Results?
To achieve the best dough texture, you should knead for about 8 to 10 minutes. Experiment with different kneading methods, like folding or stretching, to find what works best for you and your dough.
What Type of Flour Is Best for Pizza Dough?
You'll want to choose high-protein flour types, like bread flour, for pizza dough. The higher gluten content helps create that chewy texture you love. Experimenting with different flours can lead to delicious results too!
Can I Freeze Pizza Dough After Kneading?
Yes, you can freeze pizza dough after kneading. For dough storage, wrap it tightly in plastic wrap or an airtight container. Use freezing tips like labeling and noting the date for better organization and freshness.
How Do I Know When the Dough Is Ready?
You'll know the dough is ready when it feels smooth and elastic. Check the dough texture; it should spring back when poked. Proper gluten development is key, ensuring it holds its shape and stretches well.
What Temperature Should the Dough Rise At?
For the dough to rise properly, aim for an ideal environment around 75-80°F. This temperature boosts yeast activity, ensuring your dough ferments correctly and develops the perfect flavor and texture for your pizza.

Conclusion
No matter which technique you choose, kneading pizza dough is a rewarding process that leads to delicious results. Whether you prefer the hands-on approach of traditional kneading or the convenience of a stand mixer, each method has its own charm. The stretch and fold technique offers a unique way to develop gluten, while the no-knead method provides an easy option for busy days. Experiment with these techniques, and you'll find the perfect dough for your next pizza night!