6 Best Steps For Preparing Homemade Ice Cream
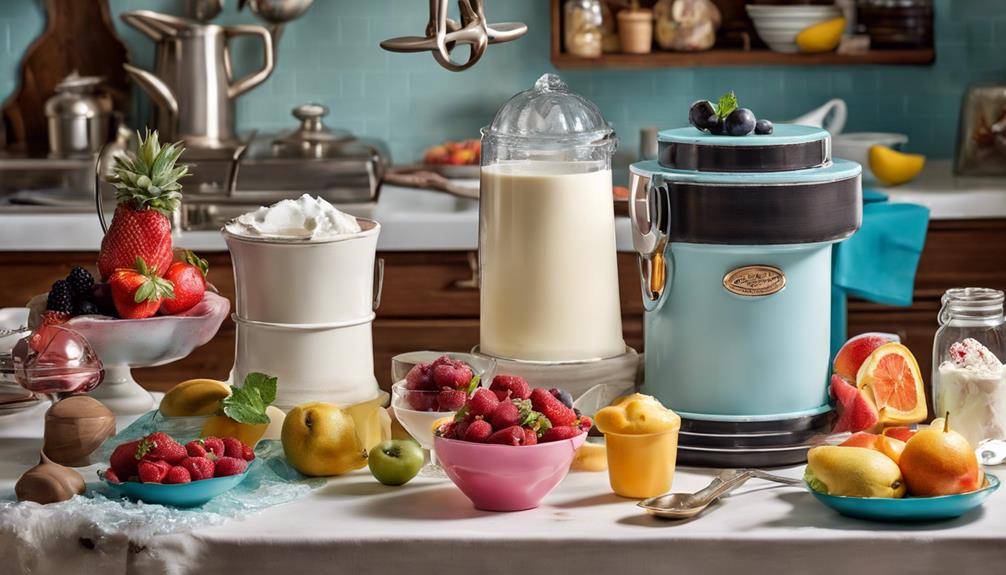
6 Best Steps For Preparing Homemade Ice Cream: To prepare delicious homemade ice cream, start by choosing your ingredients, like whole milk or alternative creams, and a sweetener. Next, mix the base in a bowl until smooth. Then, churn the mixture using an ice cream maker until it reaches a soft-serve consistency. After churning, fold in your favorite flavorings and mix-ins. Transfer the mix to an airtight container and freeze it to firm up. Finally, scoop and serve your creation, adding toppings if you like. Follow these steps, and you'll create a treat that delights every time, with even more tips waiting for you!
Choose Your Ingredients
Click Here and Turn Every Masterpiece into a Showstopper!
When it comes to making homemade ice cream, choosing your ingredients is essential for achieving the perfect flavor and texture. Start with your base. If you're a fan of traditional ice cream, whole milk and heavy cream are classic choices. However, if you're looking to explore dairy alternatives, options like almond milk, coconut cream, or oat milk can provide unique flavors and a creamy consistency. Just remember, some dairy alternatives might not whip up as well as traditional dairy, so it's worth experimenting to find what works best for you.
Next, consider your sweetener options. Granulated sugar is the go-to for many, but you can also try alternatives like honey, agave syrup, or even maple syrup for a different twist. Each sweetener will impart its own flavor profile, so think about how it will complement the other ingredients. If you're aiming for a healthier option, consider using natural sweeteners like stevia or monk fruit, which can keep the calories down while still satisfying your sweet tooth.
Prepare the Base
To prepare the base for your homemade ice cream, start by combining your chosen dairy or dairy alternative in a mixing bowl. You can use whole milk, heavy cream, or even coconut milk for a dairy-free option. The type of base you choose will affect the creaminess and flavor of your final product, so pick one that aligns with your taste preferences.
Next, add sugar to the mixture. This not only sweetens your ice cream but also helps in achieving a smoother texture. Stir until the sugar is fully dissolved. If you're feeling adventurous, consider incorporating flavorings like vanilla extract, cocoa powder, or even fruit purees at this stage.
Now, let's talk about thickening agents. Depending on the base types you chose, you may want to add a thickening agent like cornstarch or egg yolks. If you're using egg yolks, whisk them separately and temper them by gradually adding some of the warm dairy mixture before combining everything back into the bowl. This helps prevent curdling and guarantees a rich, velvety texture.
For a vegan option, you can use a combination of cornstarch and a bit of coconut cream to emulate that creamy consistency. Be sure to follow the recommended ratios on your thickening agent, as adding too much can lead to an undesirable texture. Once everything's well mixed, you're ready for the next step in the ice cream-making process.
Churn the Mixture
Now that you've prepared your base, it's time to churn the mixture. Choosing the right churner is essential for achieving that creamy texture, so consider your options carefully. As you churn, keep an eye on the time; too short or too long can affect your ice cream's consistency.
Choosing the Right Churner
Selecting the right churner is essential for achieving that perfect creamy texture in your homemade ice cream. You'll find two main types: manual churners and electric churners. Manual churners often require more effort but can be rewarding for those who enjoy the process. Electric churners, on the other hand, offer convenience and consistent results with less physical labor.
When choosing a churner, consider temperature control. Many electric models have built-in features to maintain the ideal temperature while churning. Additionally, pay attention to capacity options; make sure it suits your needs, whether you're making a small batch or a large one for a gathering.
Ease of cleaning is another significant factor. Look for churners with removable parts or those that are dishwasher-safe, as this can save you time after your ice cream-making adventure. Budget considerations also play a role; you can find churners at various price points, so it's wise to compare brands and materials to find the best value for your money.
Ultimately, your choice will impact the quality of your ice cream, so invest some time in finding the perfect churner for your needs.
Churning Time Tips
Churning the mixture is a significant step in making homemade ice cream, as it transforms your base into a smooth and creamy treat. To achieve the best results, it's important to choose the right churning methods based on your equipment. If you're using an electric ice cream maker, follow the manufacturer's instructions for churning times. Typically, churning takes about 20 to 30 minutes. For hand-cranked models, it may take longer, so be patient and enjoy the process.
Maintaining ideal temperatures is critical during churning. Confirm your ice cream base is well-chilled before you start; this helps it freeze more evenly. If you're using a bowl resting in ice, keep the ice packed tightly around it. If the mixture starts to thicken and freeze to the sides, scrape it down to guarantee even churning.
Once it reaches a soft-serve consistency, you can transfer your ice cream to a container for further freezing. Remember, the more air you incorporate during churning, the creamier your ice cream will be. So, keep an eye on the consistency, and enjoy creating your delicious homemade treat!
Add Flavorings and Mix-ins
Enhancing your homemade ice cream with flavorings and mix-ins can transform a simple base into a delightful treat. Start by choosing popular flavorings like vanilla, chocolate, or strawberry. These classics are crowd-pleasers and serve as excellent foundations. If you want to get creative, consider adding unique flavorings like lavender, matcha, or even bourbon. Just be sure to balance the intensity so it doesn't overpower the base.
Next, think about mix-ins that can elevate your ice cream further. Chopped nuts, chocolate chips, or cookie pieces add texture and surprise in every bite. Fresh fruit, such as berries or mango, can provide a revitalizing burst of flavor. If you're feeling adventurous, try adding unexpected ingredients like crushed pretzels for a salty-sweet contrast or swirls of caramel or fudge for extra decadence.
When adding these ingredients, timing is essential. Fold in your flavorings and mix-ins gently after churning, ensuring they're evenly distributed throughout the ice cream. If you add them too early, they might get lost in the churning process. Aim for that perfect balance—too many mix-ins can overwhelm the ice cream, while too few might leave it bland.
Ultimately, the goal is to create a memorable treat that reflects your tastes. So, don't be afraid to experiment with different combinations until you find your perfect blend of popular flavorings and unique mix-ins!
Click Here and Turn Every Masterpiece into a Showstopper!
Freeze the Ice Cream
After you've mixed in your chosen flavorings and mix-ins, it's time to freeze the ice cream to achieve that perfect creamy texture. Start by pouring your mixture into an ice cream maker. Follow the manufacturer's instructions for freezing techniques, as each machine may differ slightly. Typically, you'll want to churn the mixture for about 20 to 30 minutes until it thickens and resembles soft serve.
If you don't have an ice cream maker, you can use a different freezing technique. Pour the mixture into a large, shallow dish and place it in the freezer. Every 30 minutes, remove it and stir vigorously with a fork or whisk to break up ice crystals. Repeat this process for about 2 to 3 hours, or until it reaches your desired consistency.
Once your ice cream is ready, it's essential to store it properly to maintain its texture and flavor. Transfer the ice cream into an airtight container, smoothing the surface to minimize air pockets. For the best ice cream storage, consider pressing a piece of plastic wrap directly onto the surface before sealing the container. This helps prevent freezer burn and keeps your ice cream creamy.
Serve and Enjoy
With a scoop in hand, it's time to serve and enjoy your homemade ice cream. Start by choosing your favorite bowls or cones to showcase your delicious creation. Ice cream tastes even better when it's presented well, so consider using colorful dishes that match the theme of your tasting parties. If you've made multiple flavors, set up a mini ice cream bar with different toppings like sprinkles, chocolate syrup, and fresh fruit. This way, everyone can customize their treat.
When it comes to serving suggestions, consider pairing your ice cream with complementary snacks. For instance, a rich chocolate ice cream goes wonderfully with buttery cookies, while fruity flavors can be delightful alongside a slice of pound cake. Don't forget to let your guests know about the flavors you've made; a brief description can spark excitement and help them choose.
If you're hosting a tasting party, encourage your friends to try each flavor and vote on their favorites. This interactive element adds fun and might even inspire new ideas for your next batch. Serve your ice cream soon after scooping to guarantee it stays creamy and delicious. You might want to keep the remaining ice cream in the freezer until everyone's ready for seconds.
Click Here and Turn Every Masterpiece into a Showstopper!
Frequently Asked Questions: 6 Best Steps For Preparing Homemade Ice Cream
Can I Use Dairy Alternatives for a Vegan Ice Cream Recipe?
Absolutely, you can use dairy alternatives for a vegan ice cream recipe! Explore various vegan substitutes like coconut milk or almond milk, and experiment with flavor combinations to create delicious, creamy treats without dairy.
How Long Does Homemade Ice Cream Last in the Freezer?
Homemade ice cream typically lasts about two to three weeks in the freezer. To maximize its shelf life, store it in an airtight container, and consider freezing tips like minimizing air exposure for better quality.
Can I Make Ice Cream Without an Ice Cream Maker?
Yes, you can make ice cream without an ice cream maker! Try no churn methods using whipped cream and sweetened condensed milk. Experiment with flavor variations like chocolate or fruit to create your perfect treat.
What Is the Best Way to Store Leftover Ice Cream?
To store leftover ice cream, use airtight ice cream containers. Seal them tightly to prevent freezer burn, and employ proper freezing techniques by placing them at the back of your freezer for ideal storage. Enjoy later!
How Can I Prevent Ice Crystals From Forming in My Ice Cream?
To prevent ice crystals in your ice cream, use emulsifiers for smoother texture and incorporate different sugar types, like corn syrup or honey. They help retain moisture, ensuring your treat stays creamy and delightful longer.

Conclusion
Now that you've mastered the art of homemade ice cream, it's time to indulge! With your chosen ingredients and personalized flavors, each scoop is a delightful treat. Don't forget to share your creations with friends and family—they'll love your delicious efforts. Remember, practice makes perfect, so keep experimenting with different mixes and flavors. Enjoy every creamy bite, and soon you'll be known as the ice cream connoisseur among your loved ones! Happy scooping!