Unlocking The Mysteries Of Perfectly Flaky Pie Crusts
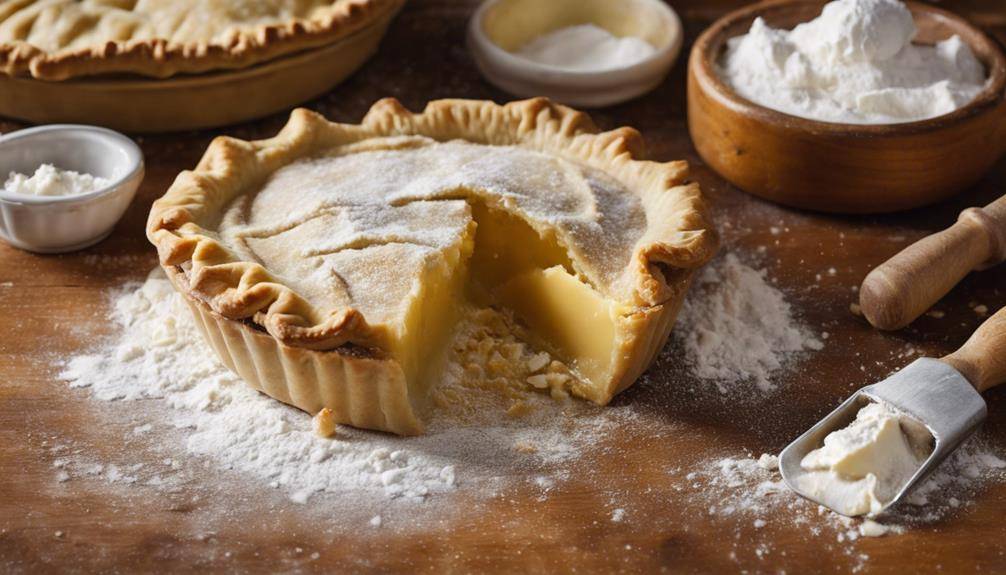
Unlocking The Mysteries Of Perfectly Flaky Pie Crusts: To reveal the mysteries of a perfectly flaky pie crust, start with cold ingredients and the right flour. Use a mix of butter and shortening for flavor and flakiness. Remember to keep everything chilled to guarantee that fat creates steam pockets while baking. When mixing, handle the dough gently and rest it in the fridge for at least 30 minutes to minimize gluten development. Roll it out with light pressure, and pre-bake the crust to avoid sogginess. With these tips, you'll craft a delicious crust every time, and you've only just scratched the surface of mastering pie-making!
Understanding Pie Crust Ingredients
Click Here and Turn Every Masterpiece into a Showstopper!
When you're diving into pie making, understanding the ingredients that create a flaky crust is vital. The history of pie crust reveals that bakers have experimented with various components for centuries, perfecting the balance needed for that ideal texture. A classic crust typically includes flour, salt, and water, but the type of flour you choose can greatly affect the outcome. All-purpose flour is popular because it strikes a balance between tenderness and structure, but experimenting with pastry flour can lead to even flakier results.
Don't forget about salt; it enhances flavor and contributes to the overall texture. Water is important too, but be mindful of the temperature. Cold water helps maintain the fat's firmness, which is key for a flaky crust.
Ingredient substitutions can also play a role in your pie crust journey. If you're looking for a gluten-free option, consider using almond or coconut flour, but remember that these alternatives may require additional binding agents. For a richer taste, you might swap in some butter for part of the shortening, keeping in mind that it'll alter the crust's characteristics.
As you explore these ingredients, think about how they interact and influence your final product. Each choice you make can lead you closer to that perfectly flaky pie crust you crave, and understanding the history of pie crust helps you appreciate the craft even more.
The Role of Fat
Fat plays an essential role in achieving that coveted flaky pie crust, with many bakers swearing by a 1:1 ratio of butter to shortening. This combination not only balances the flakiness but also enhances the flavor profiles of your crust. Butter types, such as unsalted or European-style, can further elevate your pie. Unsalted butter gives you more control over the saltiness, while European butter often has a higher fat content, contributing to a richer taste.
When it comes to fat ratios, the balance you choose affects both texture and flavor. While shortening creates tenderness, butter provides that delicious, rich flavor we all love. Experimenting with different fat ratios can lead to exciting results, so don't hesitate to adjust based on your preferences.
Moreover, the temperature of the fat is critical. Using chilled butter and shortening helps create those distinct layers that lend to a flaky texture. Cold fat, when incorporated into the flour, forms pockets that expand during baking, resulting in a light and airy crust.
Importance of Cold Temperatures
Keeping ingredients cold is essential for achieving that perfect flaky pie crust. When you use cold fat, like butter or shortening, it creates pockets of steam during baking. This steam expands, leading to those beautiful, flaky layers you crave. If your ingredients warm up too much, the fat melts into the flour, resulting in a dense crust rather than a light and airy one.
The chilling method plays a significant role in maintaining these cold temperatures. Whether you're chilling your flour or the entire bowl, every bit helps. It's a good idea to refrigerate your mixing bowl and utensils before you start. Even the water you add should be ice-cold. This guarantees that your fat stays solid until you're ready to bake.
The temperature impact can't be overstated. When you take shortcuts and skip the chilling steps, you risk ruining your pie crust. Each time your dough warms up, you need to keep it cool again to achieve that perfect consistency. If you notice your dough becoming too soft or sticky while you work with it, pop it back in the fridge for a few minutes.
Mixing Techniques Explained
When it comes to making a flaky pie crust, using cold ingredients is essential for achieving the right texture. You'll want to explore various mixing methods to see which one works best for you. Understanding these techniques will help you create a crust that's both tender and flaky.
Cold Ingredients Importance
Using cold ingredients is essential for achieving that perfectly flaky pie crust you crave. When you work with cold butter, you're ensuring the fat stays solid during mixing. This is important because as the butter melts, it creates steam, which contributes to the flaky texture you want. Ideally, your butter temperature should be around 30°F (-1°C). If it's too warm, you risk a dense crust instead of the light, airy one that makes your pies irresistible.
Moreover, maintaining the right ingredient ratios is significant. Too much liquid or fat can lead to a tough crust, while not enough can make it crumble. A typical ratio is 3:2:1—three parts flour, two parts fat, and one part water. This balance, combined with the cold temperature of your ingredients, creates the perfect foundation for flakiness.
Mixing Methods Overview
Mixing methods play a significant role in determining the texture of your pie crust. The way you combine ingredients affects gluten development, which can either lead to a tender crust or a tough one. For instance, cutting butter into flour using a pastry blender or your hands creates small pockets of fat, contributing to flakiness. If you prefer convenience, a food processor can also achieve this quickly, but be careful not to overmix.
Dough hydration is another important factor. Adjusting ingredient ratios, such as adding a splash of cold water, helps bring the dough together without making it sticky. Remember, hand mixing allows for better control over texture variation—mix just until combined to keep gluten formation minimal.
Resting time is essential after mixing. Allow your dough to chill in the fridge, which enhances flavor and makes it easier to roll out. Each technique you choose impacts the final product, so experiment to find what works best for you. With the right method, you'll reveal the secrets to a perfectly flaky pie crust that's sure to impress.
The Right Flour Choice
Choosing the right flour is vital for achieving a flaky pie crust. The flour you select directly impacts the texture and structure of your crust. For ideal results, consider using pastry flour, which has a lower gluten content than all-purpose flour. This helps create that tender, flaky texture you crave. If you're after a bit more nutrition, whole wheat flour can add a nutty flavor, but keep in mind it may require adjustments in liquid due to its higher absorbency.
While cake flour offers a finer texture, its low gluten content might not provide the structure needed for a pie crust. All-purpose flour is a versatile choice, striking a balance between tenderness and strength, but be cautious not to overwork it, as this can develop gluten and lead to a tougher crust. Specialty flours, like spelt or rye, can be blended with all-purpose flour for unique flavors and textures. Flour blends can also be effective, combining different types to achieve the desired outcome.
Proper flour storage is important, too. Keep your flour in an airtight container in a cool, dry place to maintain freshness. When measuring flour, spoon it into your measuring cup and level it off without packing it down. This helps guarantee you get the right amount for your recipe. By understanding the various flour types available and their specific properties, you'll be well on your way to creating the perfect flaky pie crust.
Click Here and Turn Every Masterpiece into a Showstopper!
Resting the Dough
Resting the dough is an essential step in achieving that flaky pie crust you desire. When you allow your dough to rest, you give the flour time to fully hydrate. This hydration is important because it guarantees that the flour absorbs the moisture evenly, creating a consistent texture throughout. Without this step, you might end up with dry patches or overly wet areas, which can ruin your crust.
Additionally, resting helps to minimize gluten development. When you mix your dough, gluten proteins start to form, which can lead to a tough crust if overworked. By letting the dough rest, you allow those gluten strands to relax. This relaxation is fundamental to achieving the tender, flaky texture that makes a pie crust truly perfect.
Aim for at least 30 minutes of resting time in the refrigerator. This not only helps with gluten relaxation but also keeps the fat in the dough cold, which is significant for creating that desirable flaky layer. If you're in a pinch, even a 15-minute rest can improve your results, but longer is always better.
Cover your dough with plastic wrap or a damp cloth during this resting period to prevent it from drying out. Once the time is up, you'll notice a difference in the dough's pliability, making it easier to work with. So don't skip this step; your future pie crust will thank you for it!
Rolling Out the Crust
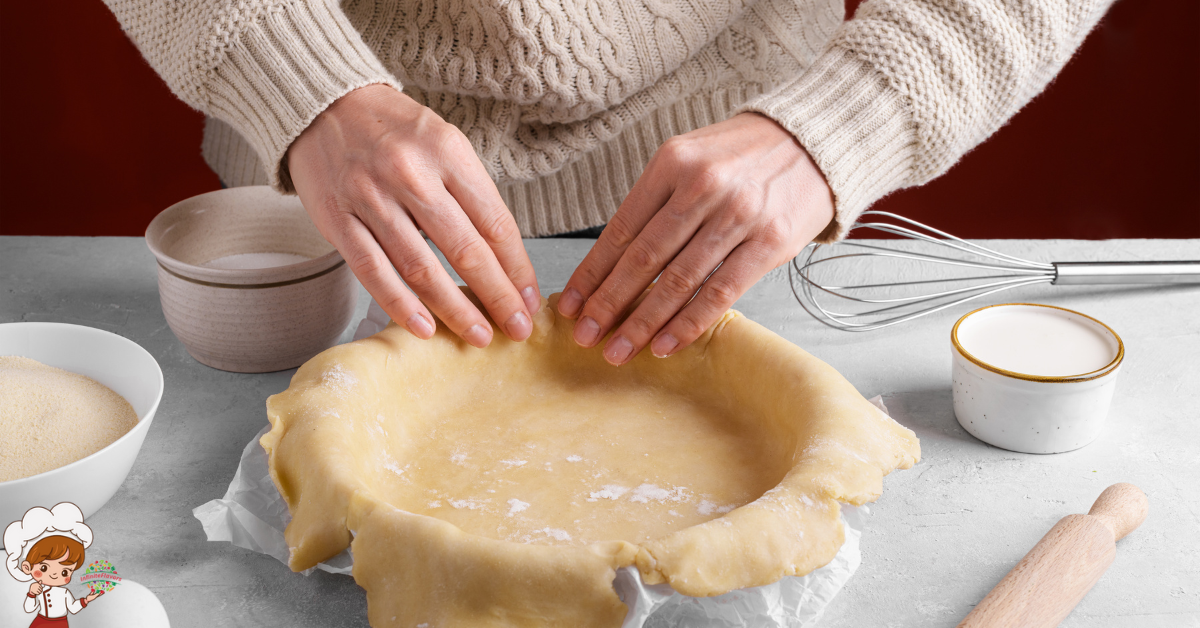
Typically, when you roll out the crust, you want to guarantee it's at the right temperature and consistency for easy handling. Start with a well-chilled dough that's been resting properly. You'll need the right rolling tools, like a sturdy rolling pin and a clean, floured surface. Before you begin, make sure your work area is prepared: dust the countertop with flour to prevent sticking and keep excess flour handy for adjustments.
Now, take your dough and shape it into a rough disk. When you start rolling, apply gentle pressure and use an even distribution of force to maintain consistent dough thickness. Roll from the center outwards, adjusting your rolling direction as needed to achieve the desired crust shapes. Remember to rotate the dough occasionally to keep it even and prevent sticking.
As you roll, keep an eye on texture control. If the dough feels tacky, sprinkle a bit more flour on the surface. This helps maintain an ideal consistency without overworking the dough. Once you've reached your desired thickness—usually about 1/8 inch—carefully transfer the crust to your pie dish.
Edge finishing is the final touch. Trim any excess dough hanging over the edges and crimp or flute as desired. This not only adds a decorative touch but also helps seal in the filling. With these technique tips, you'll master the art of rolling out a pie crust that's both beautiful and flaky.
Pre-baking Tips
After you've rolled out your crust and placed it in the pie dish, pre-baking is a great way to guarantee a perfectly flaky bottom. This process helps set the crust before adding any filling, preventing sogginess. To begin, gather your pie crust tools: a fork, parchment paper, and pie weights. These will be essential in keeping your crust from puffing up during baking.
Start by pricking the bottom of the crust with a fork. This creates small air holes that allow steam to escape, ensuring a flat surface. Next, line the crust with parchment paper, making sure it covers the edges. Fill it with pie weights or dried beans to weigh it down. This will help maintain the shape and prevent shrinking.
Preheat your oven to 375°F (190°C). Place the prepared crust on a baking sheet and bake it for about 15-20 minutes, or until it's lightly golden. Keep an eye on it, as every oven is different. If you want to enhance the flavor, consider brushing the crust with a little melted butter or sprinkling some sugar before baking. These crust flavorings can elevate your pie's taste and texture.
Once the crust is done, carefully remove the weights and parchment paper. Let it cool before adding your desired filling. Pre-baking might seem like an extra step, but it's well worth the effort for that perfect flaky crust you're aiming for.
Common Mistakes to Avoid
Many bakers often overlook the importance of using cold ingredients when making a pie crust. Using chilled butter and ice water helps maintain the dough's temperature, preventing the fat from melting and ensuring a flaky texture. If you let your ingredients warm up, you risk overworking the dough, which can result in a tough crust instead of a tender, flaky one.
Another common mistake is choosing the wrong pans. Opt for a heavy, light-colored pie dish to promote even baking. Dark pans can cause the crust to brown too quickly, leading to an unevenly cooked pie.
Pay attention to hydration levels, too. Adding too much water can make your crust soggy, while too little can lead to cracking. Aim for a dough that holds together without being sticky. You can always add a bit more water if needed.
When it comes to flavor enhancements, don't shy away from adding a pinch of salt or a touch of sugar to your flour. These small additions can elevate your crust from bland to beautiful.
Click Here and Turn Every Masterpiece into a Showstopper!
Frequently Asked Questions: Unlocking The Mysteries Of Perfectly Flaky Pie Crusts
Can I Use Gluten-Free Flour for Pie Crusts?
Yes, you can use gluten-free flour for pie crusts. Just keep in mind that texture differences may occur, so consider experimenting with gluten-free options like almond or coconut flour for the best results.
How Do I Know When My Crust Is Fully Baked?
To know your crust is fully baked, look for a golden-brown color. Use baking tips like checking the edges and bottom for doneness. If it's evenly colored and firm, you're ready to enjoy!
Is It Okay to Freeze Pie Crusts Before Baking?
Yes, you can freeze pie crusts before baking! Use proper freezing techniques to wrap them tightly. When you're ready, thaw them in the fridge overnight for best results before filling and baking. Enjoy your delicious pie!
What Tools Are Essential for Making Pie Crusts?
To make pie crusts, you'll need a rolling pin for rolling techniques, a bench scraper for dough handling, and a pastry cutter for mixing. These tools help guarantee your crust turns out perfectly flaky and delicious.
Can I Make Pie Crust Dough Ahead of Time?
Yes, you can make pie crust dough ahead of time! Just wrap it tightly and store it in the fridge for up to three days. Chilling helps develop flavor and makes rolling easier when you're ready.

Conclusion
Now that you're equipped with the secrets to a perfectly flaky pie crust, it's time to put your knowledge into action. Remember to choose the right ingredients, keep everything cold, and handle the dough gently. Avoid common pitfalls, and don't rush the resting process. With a little practice, you'll create delicious pies that impress your friends and family. So roll up your sleeves, get baking, and enjoy the satisfying crunch of your homemade crust!