Great Pan Frying Techniques For Crispy Skin
Great Pan Frying Techniques For Crispy Skin; To get that perfect crispy skin from pan frying, start by choosing the right pan—preferably cast iron for its heat retention. Make sure to pat your protein dry to eliminate moisture that can lead to sogginess. Use oils with high smoke points and preheat your pan adequately. Season right before cooking for peak flavor. Avoid overcrowding the pan to maintain heat and let food develop a crust before flipping. Remember to rest your protein afterward for extra crunch. This is just the beginning; there’s a lot more to explore for achieving that delicious texture.
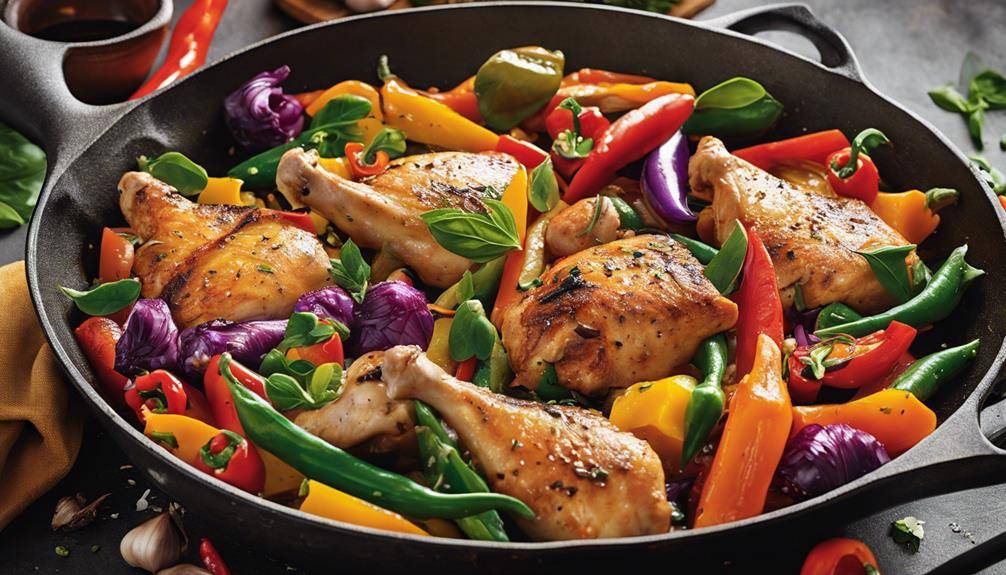
These cast iron skillets make meal prep a breeze! Perfect for home cooks.
Choosing the Right Pan
When it comes to pan frying, how do you choose the right pan? Selecting the right cookware is vital for achieving that perfect crispy texture. First, consider your options. Non-stick options are great for beginners or anyone looking for an easy release. They allow food to slide out effortlessly, making cleanup a breeze. If you’re pan frying delicate items like fish or vegetables, a high-quality non-stick skillet can be your best friend.
However, don’t overlook cast iron. This classic choice excels in heat retention and distribution, providing a beautiful sear on meats and veggies. With proper seasoning, cast iron pans can develop a natural non-stick surface, making them versatile for various techniques, not just frying. Plus, they can withstand high temperatures, which is essential for achieving that golden brown crust.
Think about the size of the pan too. A larger skillet can accommodate more food, preventing overcrowding and ensuring even cooking. On the flip side, a smaller pan might be ideal for single servings or smaller cuts of meat.
Ultimately, your choice between non-stick options and cast iron will depend on what you’re cooking and your personal preference. Both have their merits, so it’s worthwhile to have one of each in your kitchen. By understanding the strengths of both types, you’ll set yourself up for pan frying success, creating delicious meals with a satisfying crunch every time.
Preparing the Protein
When it comes to preparing your protein, the right choice can make all the difference. You’ll want to guarantee it’s properly thawed and dried to achieve that perfect crispiness. Let’s explore how to select the best protein and get it ready for the pan.
Choosing the Right Protein
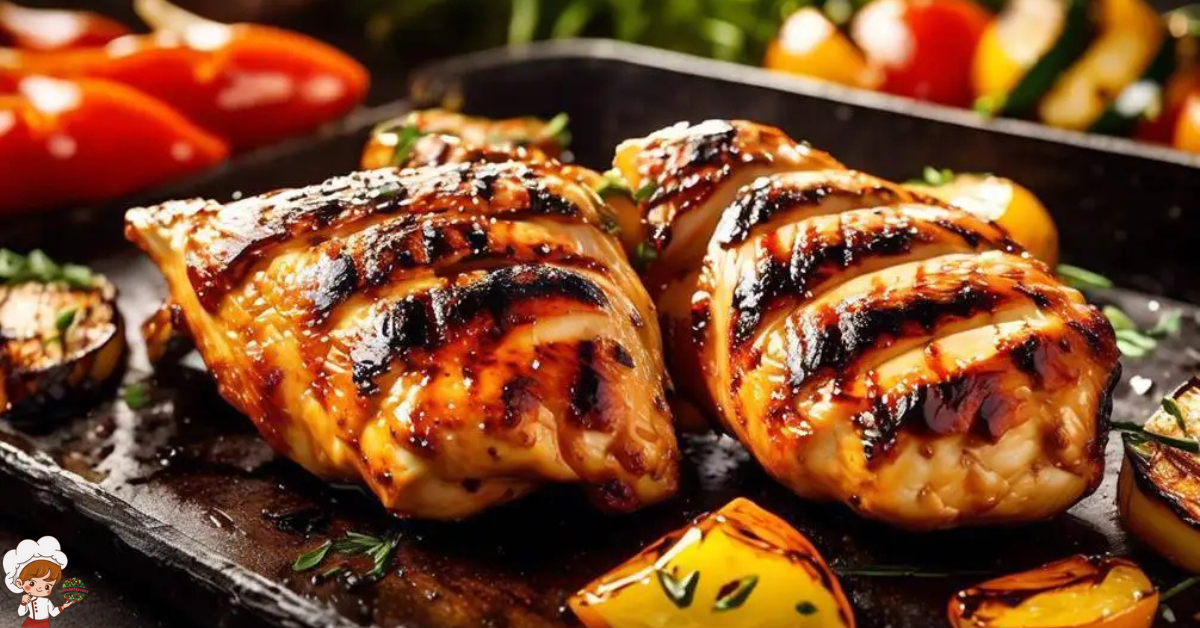
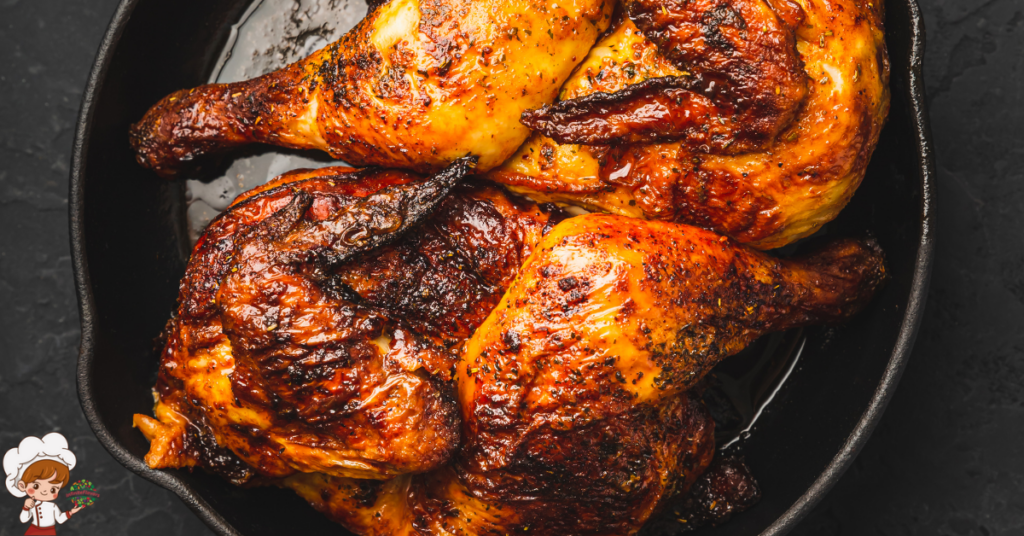
Choosing the right protein is essential for a successful pan-frying experience. Different protein types, such as chicken, fish, and pork, each bring unique flavor profiles and textures to your dish. Consider the skin thickness—thicker skins, like those on chicken thighs, can yield an irresistible crunch when cooked properly.
Evaluate your cooking methods; certain proteins cook faster than others. For instance, delicate fish fillets require less time than robust pork chops. Texture considerations also play a role; a tender protein might not need marinating, while tougher cuts benefit from a good soak in flavorful marinades to enhance tenderness and taste.
Don’t forget to source quality ingredients. Opt for sustainable choices whenever possible, as this not only benefits the environment but often results in better flavor and texture. Keep dietary preferences in mind too—some may prefer lean options like turkey or plant-based proteins. Additionally, regional variations can inspire your choices; think about local favorites that suit your palate. By paying attention to these factors, you’ll guarantee your pan-fried protein is both delicious and satisfying.
Proper Thawing Techniques
Proper thawing techniques can greatly impact the quality and safety of your pan-fried protein. You’ve got to prioritize safe thawing to prevent foodborne illness. There are several thawing methods you can use, including refrigeration, cold water, and the microwave. Each method has its own thawing times, so plan accordingly.
For thawing proteins, refrigeration is the safest choice. Simply place your thawing containers in the fridge for several hours or overnight, depending on the thickness of the protein. For quicker thawing, cold water can be effective—just make sure the protein is sealed in a waterproof bag, and change the water every 30 minutes. This method usually takes about an hour for thawing seafood or poultry. The microwave is another option, but it can lead to uneven thawing and partial cooking, so be cautious.
Keep in mind the thawing temperatures; your protein should stay below 40°F to guarantee safety. Whether you’re thawing beef, poultry, or seafood, always follow these thawing techniques to maintain the best flavor and texture for your pan-fried dishes.
Drying for Crispiness
To achieve that perfect crispy texture when pan frying, drying your protein is essential. Moisture control plays a vital role in guaranteeing your dish turns out golden and crispy rather than soggy. One effective way to begin is by using pre drying methods. Start by patting your protein dry with paper towels; this removes surface moisture that can hinder crispiness. If you have time, consider air drying your protein in the refrigerator for a few hours. This not only helps remove excess moisture but also enhances flavor.
For even better results, you can apply a light coating of salt to draw out moisture before you pan fry. Just be sure to rinse and pat dry again if you’re concerned about saltiness.
When you’re ready to cook, make certain your pan is hot and your oil is shimmering. This guarantees that your protein sizzles immediately upon contact, sealing in juices while promoting that coveted crispy skin. Remember, the key to achieving that delightful crunch lies in the moisture control during preparation. By following these steps, you’ll serve up perfectly crispy, golden-brown protein every time.
Seasoning for Flavor
When it comes to pan frying, seasoning can make or break your dish. You’ll want to focus on essential ingredients, apply them at the right time, and balance salt and spice for maximum flavor. Let’s explore how to achieve that perfect taste in your cooking.
Essential Seasoning Ingredients
In the world of pan frying, mastering essential seasoning ingredients can elevate your dish from ordinary to extraordinary. Start by experimenting with various herb blends to create unique flavor profiles. For instance, combining thyme and rosemary can enhance the dish’s aroma and depth. Pay attention to spice ratios; a pinch of smoked paprika can add a delightful kick without overwhelming your main ingredients.
Utilizing effective seasoning techniques is vital. Consider dry rubs for a concentrated flavor that clings to the surface, or explore marinade options that infuse moisture and taste. When using salt types, remember that kosher salt dissolves differently than table salt, impacting how flavors meld.
Achieving an acidity balance can brighten your dish—add a splash of lemon juice or a dash of vinegar at the end for a fresh finish. Don’t forget umami boosters like soy sauce or Worcestershire sauce to deepen the savory notes. Finally, think about your seasoning timing; adding spices too early can diminish their potency. By focusing on these essential seasoning ingredients, you’ll create pan-fried dishes that are rich in flavor, texture, and character.
These cast iron skillets make meal prep a breeze! Perfect for home cooks.
Timing and Application Techniques
Timing and application techniques play a significant role in how flavors develop during pan frying. To maximize flavor, consider your timing tips carefully. For instance, season your protein right before it hits the hot pan. This method allows the salt to penetrate and enhance the meat’s natural flavors without drawing out moisture too early.
When it comes to application methods, think about how you distribute your seasonings. Use an even hand, guaranteeing that every bit of the surface is coated. For a more robust flavor, try rubbing spices directly onto the skin or meat. This not only adds depth but also helps create that coveted crispy skin.
Don’t forget about the oil; the right amount and type are essential. Heat your oil until it shimmers before adding your seasoned ingredients. This timing guarantees a good sear, locking in flavors right away. You might even consider layering flavors by adding aromatics, like garlic or herbs, halfway through the cooking process. This technique allows their essence to infuse without burning, creating a delightful aroma and taste that complements your dish beautifully.
Balancing Salt and Spice
Balancing salt and spice is essential for elevating your pan-fried dishes. Understanding different salt types, like kosher or sea salt, allows you to achieve the right seasoning ratios. Start with a base of salt to enhance the natural flavors of your ingredients, then build on that foundation with spice blends that match your desired flavor profiles.
When selecting spices, consider the spice intensity and heat levels. A little can go a long way, so adjust according to your taste. Culinary herbs like thyme or rosemary can complement your spices, adding depth and aroma.
Moisture control is key; if your dish is too wet, it might dilute those flavors. Use seasoning techniques like dry brining to allow the salt to penetrate the meat, enhancing taste balance.
As you experiment, keep track of your adjustments. Finding that perfect harmony between salt and spice will take your cooking to the next level. Remember, it’s about personal preference—don’t be afraid to tweak your combinations until you discover what works best for you! Happy frying!
Oil Selection and Temperature
Choosing the right oil and maintaining the correct temperature are fundamental for successful pan frying. Different oil types behave differently when heated, so it’s important to select one with a high smoke point, like canola or avocado oil. These oils can withstand high temperatures without breaking down, ensuring your food stays intact and crispy.
When you’re frying, consider the flavor infusion your oil can provide. For example, olive oil adds a rich taste, but its lower smoke point means it’s best for moderate heat. You might even experiment with oil blends, mixing oils like grapeseed with olive oil to achieve both higher smoke points and unique flavors.
Temperature control is essential. Too low, and your food absorbs excess oil, becoming greasy; too high, and it burns. Aim for an ideal frying temperature around 350°F to 375°F. This range promotes even heat distribution, allowing the exterior to crisp while keeping the inside juicy.
Using proper oil ratios can also enhance your frying technique. A good rule of thumb is to fill the pan with enough oil to submerge the food partially, ensuring it cooks evenly. Keep an eye on the oil’s temperature with a thermometer or by testing it with a small piece of food. If it sizzles immediately, you’re set. Remember, temperature and oil selection are your best allies in achieving that crispy skin you desire.
The Importance of Drying
When you pan fry, drying your ingredients is essential for achieving that perfect golden crust. Moisture can lead to steaming instead of searing, which affects texture and flavor. Let’s explore the benefits of drying and some effective techniques to get your food ready for the pan.
Benefits of Drying
While you might think of drying as just a preparatory step, it plays a crucial role in enhancing the flavor and texture of your food. When you remove moisture from the surface of your ingredients, you’re setting the stage for a perfectly crispy texture. Excess moisture can turn your frying experience into a soggy disappointment, so drying is essential for achieving that golden-brown finish you crave.
By focusing on moisture removal, you allow the heat from the pan to work its magic without the interference of steam. This process not only promotes browning but also intensifies the flavors. When the surface is dry, it seals in the natural juices while allowing fats to crisp up beautifully.
Moreover, drying helps in even cooking; when you start with dry ingredients, you reduce the risk of uneven textures. So, next time you prepare to pan fry, take a moment to dry your proteins or vegetables thoroughly. You’ll be rewarded with a dish that’s not just visually appealing but also boasts that irresistible crunch. With the right drying technique, you can transform your pan frying into a culinary masterpiece.
Techniques for Effective Drying
Effective drying techniques are essential for achieving the best results in pan frying. When you’re prepping your food, focus on moisture removal to guarantee that your ingredients develop that desired crispy skin. Start by patting your protein dry with paper towels; this simple step can make a huge difference.
Air drying is another effective method. After rinsing your meat or vegetables, let them sit uncovered in the fridge for a while. This allows the surface moisture to evaporate, enhancing crispiness when you cook. If you’re short on time, consider using a fan to speed up the drying process.
For vegetables, you might want to blanch them briefly and then plunge them into ice water. Afterward, drain and air dry them thoroughly.
Managing Heat Levels
Mastering heat levels is crucial for successful pan frying, as it directly influences the texture and flavor of your food. Proper temperature control guarantees even heat distribution across the cooking surface, which is key to achieving that desired crispy skin. If your heat is too high, the outside of your food might burn before the inside cooks through. Conversely, if it’s too low, you’ll end up with soggy skin and a greasy finish.
Start by preheating your pan on medium heat. This allows for a consistent cooking surface that promotes even heat distribution. Once the pan is hot, you can adjust the temperature based on the food you’re cooking. For items like chicken skin, you want to maintain a medium to medium-high heat. This helps render the fat properly while developing that golden-brown crust.
It’s also important to monitor the heat throughout the cooking process. If you notice excessive smoking or the oil begins to splatter, it’s a sign that your heat is too high. Lower the temperature slightly to maintain control. On the other hand, if the food isn’t sizzling when it hits the pan, raise the temperature to guarantee a good sear.
These cast iron skillets make meal prep a breeze! Perfect for home cooks.
Cooking Time and Techniques
When it comes to pan frying, understanding cooking time and techniques is crucial to achieving perfectly cooked dishes. You need to pay attention to cooking temperatures and how they affect the timing of your food. Start by preheating your pan; a hot surface guarantees a good sear and crispy skin. Once the pan reaches the right temperature, carefully add your ingredients.
For proteins like chicken or fish, consider their thickness. A thicker piece will require longer cooking times, while thinner cuts cook faster. You might need to make timing adjustments based on the specific ingredient you’re using. If you’re unsure, use a meat thermometer to check for doneness; for chicken, you want an internal temperature of 165°F (75°C).
Don’t overcrowd the pan, as this can lower the cooking temperature, resulting in uneven cooking. It’s better to fry in batches if you’re cooking larger quantities. Keep an eye on the color and texture of your food as it cooks. If you notice the skin isn’t crispy enough, you may need to adjust the temperature or cooking time accordingly.
Flipping and Turning
Achieving the perfect sear on your food isn’t just about cooking time; flipping and turning your ingredients at the right moments can make all the difference. Mastering flipping techniques and turning methods helps you achieve that golden-brown crust while guaranteeing even cooking throughout.
When you begin cooking, resist the urge to flip too soon. Give your food time to create a nice crust before you turn it. For proteins like chicken or fish, wait until you see the edges starting to brown before using a spatula to gently lift and flip. This not only prevents sticking but also allows for a more beautiful sear.
When it comes to flipping techniques, a quick wrist action can help you turn items like pancakes or burgers effortlessly. Use a wide spatula to support the whole piece, ensuring it doesn’t break apart during the flip. For delicate items, like fish fillets, consider using two spatulas—one on either side—to gently lift and turn without damaging the skin.
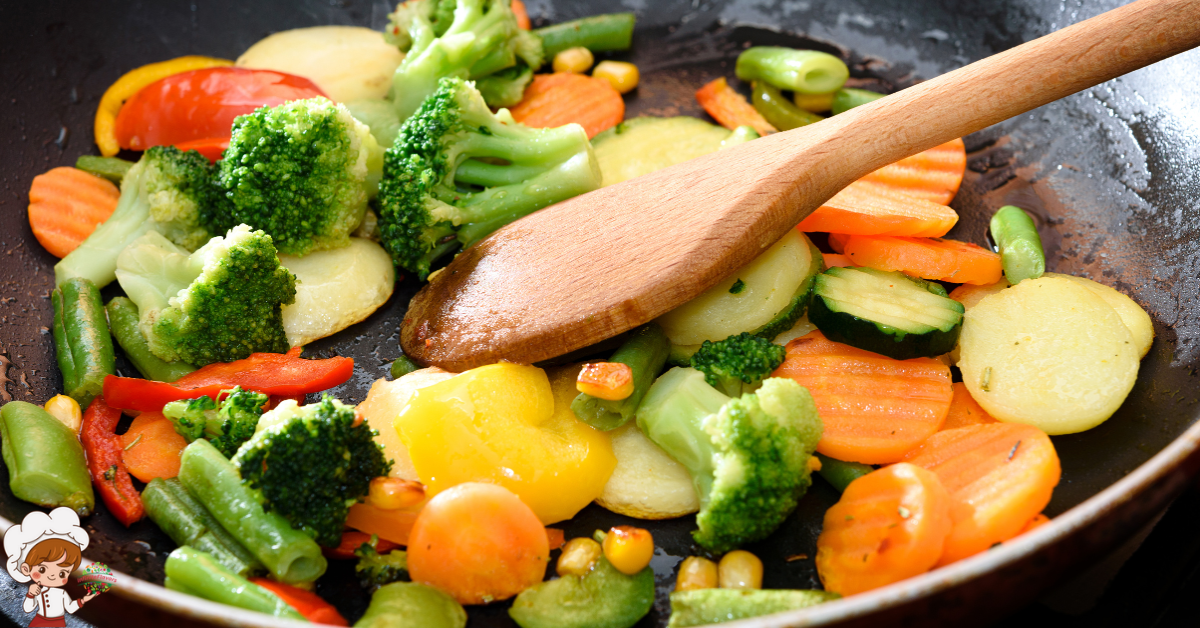
Turning methods can vary based on the type of food. When pan-frying vegetables, try stirring them instead of flipping each piece individually. This guarantees even exposure to the heat while maintaining their texture. For items that cook quickly, like eggs, use a gentle and swift motion to flip them, minimizing the risk of overcooking.
With practice, you’ll find the right rhythm in flipping and turning, leading to perfectly crispy, golden results every time.
Resting for Optimal Crispiness
Resting your food after pan frying is essential for achieving ideal crispiness. When you remove your dish from the heat, it needs a moment to breathe. This resting period allows steam to escape, preventing the skin from becoming soggy. The key is to find the right resting temperature; ideally, you want to let your food cool slightly while maintaining warmth—around 140 to 160°F. This temperature range keeps the food warm enough to enjoy, but cool enough to allow the skin to firm up.
The resting duration is just as important as the temperature. Aim for a resting time of about 5 to 10 minutes. This short wait allows the juices to redistribute throughout the meat, which enhances flavor and texture. If you cut into your food immediately after frying, the juices will run out, leaving you with drier meat and less crispy skin.
During this resting phase, consider placing your food on a wire rack instead of a plate. This method allows air to circulate around all sides, further promoting crispiness. If you lay your food directly on a plate, it can trap steam beneath, negating all your hard work. Remember, patience pays off in the kitchen. By allowing your food to rest properly, you’ll guarantee each bite is perfectly crispy, juicy, and full of flavor. So, resist the urge to dig in right away—your taste buds will thank you later!
Enhancing With Sauces and Sides
How can you elevate your pan-fried dishes to the next level? One effective way is through thoughtful sauce pairings and side dish suggestions. A rich, herb-infused sauce can enhance the flavor of your crispy creations, while a zesty dipping sauce adds a delightful contrast in texture. Consider a chimichurri or a tangy mustard sauce for a vibrant kick that complements your dish perfectly.
When it comes to sides, focus on seasonal vegetables. Roasted asparagus or sautéed greens can bring freshness to your meal. Aim for flavor contrasts by pairing your crispy protein with a side that offers a different texture, like creamy mashed potatoes or crunchy coleslaw. This combination keeps your palate engaged and satisfied.
Don’t forget about acidity balance. A squeeze of lemon or a drizzle of balsamic reduction can brighten your plate, cutting through richness and enhancing overall flavor.
In terms of garnishing tips, fresh herbs like parsley or cilantro can elevate the presentation. Use presentation styles that showcase your dish artfully, perhaps arranging your pan-fried item atop a colorful bed of veggies or artfully placing your sauce on the plate.
These cast iron skillets make meal prep a breeze! Perfect for home cooks.
Frequently Asked Questions: Great Pan Frying Techniques For Crispy Skin
Can I Use Frozen Proteins for Pan Frying?
You can use frozen proteins for pan frying, but it’s best to thaw them first using safe thawing techniques. Choose proteins that maintain their texture and flavor well after freezing for ideal results.
What Type of Spatula Is Best for Flipping?
When flipping, you’ll want a metal spatula for its sturdiness, especially with heavier items. However, if you’re working with delicate foods, a silicone spatula can help prevent sticking and protect your cookware.
How Do I Prevent Oil Splatter While Frying?
To prevent oil splatter while frying, maintain the right oil temperature and use a splatter guard. This’ll minimize mess and help you cook more efficiently, ensuring your kitchen stays cleaner during the process.
What’s the Best Way to Store Leftover Pan-Fried Food?
To store leftover pan-fried food, let it cool, then place it in airtight containers. For food reheating, use the oven or stovetop to maintain crispiness, avoiding the microwave which can make it soggy.
Can I Pan Fry Vegetables With Proteins Simultaneously?
Yes, you can pan fry vegetables and proteins together! Just keep cooking times in mind to guarantee everything cooks evenly. Experiment with flavor pairing to enhance your dish, creating a delicious and satisfying meal.

Conclusion
By mastering these pan frying techniques, you’ll achieve that mouthwatering crispy skin every time. Remember to choose the right pan, properly prepare your protein, and season it well. Don’t underestimate the importance of drying and using the right oil at the right temperature. Pay attention to cooking times and techniques, and let your dish rest before serving. With these tips, you’ll elevate your cooking and impress everyone at the table. Happy frying!