History And How To Make Plum Jam
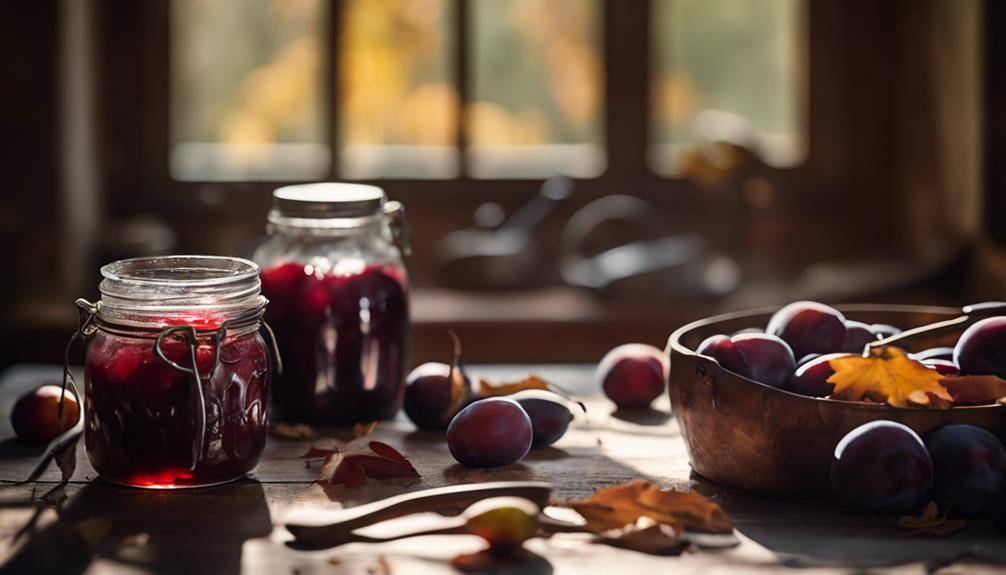
History And How To Make Plum Jam; Plum jam has a fascinating history, dating back to ancient preservation methods. People have been boiling fruit with sugar to keep it fresh for generations, creating unique recipes influenced by local cultures and spices. To make your own plum jam, gather ripe plums, sugar, lemon juice, and pectin. Start by washing and chopping the plums, then mix them with sugar and lemon juice in a pot. Boil until thickened, then pour into sterilized jars. Make sure to test the consistency for the perfect texture. If you keep going, you’ll uncover more tips for the ideal plum jam experience.
Origins of Plum Jam
Plum jam has roots that stretch back centuries, as people discovered ways to preserve the sweet and tangy fruit for year-round enjoyment. Ancient preservation techniques, like boiling fruits with sugar, allowed early civilizations to store their plums long after harvest. By concentrating the fruit’s sugars, they created a delicious spread that could last through the winter months.
As you explore the origins of plum jam, you’ll notice that regional variations played a significant role in its evolution. In Europe, for instance, different cultures adapted the basic recipe to incorporate local spices or other fruits. In England, you might find plum jam infused with ginger or cloves, while in France, they often add a splash of brandy for depth of flavor. Each region’s unique ingredients and methods resulted in a delightful array of plum jams, each with its own character and taste.
You can trace these variations back to the ingredients that were readily available in specific areas, as well as the preferences of the people making the jams. As trade routes opened up, new spices and techniques spread, further enriching the tradition of jam-making. By understanding these origins, you’ll gain a deeper appreciation for the diverse flavors and methods used to create plum jam throughout history. So, the next time you spread a layer on your toast, remember the ancient techniques and regional twists that brought this delightful treat to your table.
Cultural Significance

The rich history of plum jam not only highlights its culinary versatility but also reveals its significant role in various cultures around the world. In many societies, plums symbolize prosperity and abundance. For instance, in Chinese culture, the plum blossom is revered as a symbol of resilience and hope, often celebrated during festivals. When you enjoy plum jam, you’re not just tasting a delicious spread; you’re partaking in a tradition that carries deep cultural meanings.
Culinary traditions involving plums can be traced back centuries. In Europe, particularly in Eastern European countries, plum jam is a staple in households, often served with bread or pastries. It’s intertwined with family recipes passed down through generations, creating a sense of nostalgia and connection to one’s heritage. You might find it featured during special occasions or holidays, where it brings a touch of sweetness to festive meals.
In addition to its role in everyday cooking, plum jam also appears in various rituals and celebrations. Its vibrant color and rich flavor make it a favorite for gifts, symbolizing goodwill and friendship. When you make or share plum jam, you’re contributing to a cultural tapestry that honors the fruit’s significance.
Ingredients Needed
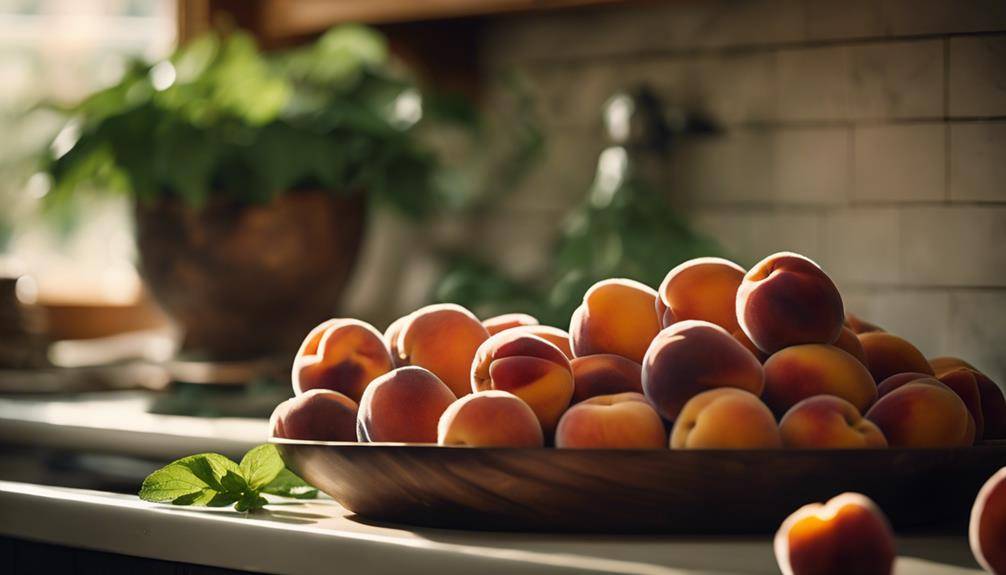
To create a delicious batch of plum jam, you’ll need just a few simple ingredients. First and foremost, you’ll want to select ripe plums, as they contribute the best flavor and texture. Different fruit varieties can yield varying results—consider using a mix of tart and sweet plums for a balanced taste. Some popular choices include Italian, Damson, or Santa Rosa plums, each bringing its unique character to the jam.
Next, you’ll require granulated sugar. The sugar not only sweetens the jam but also acts as a preservative, ensuring your creation lasts longer. Depending on your taste preference and the sweetness of your plums, you can adjust the sugar amount.
You’ll also need lemon juice, which adds acidity and enhances the flavor of the plums. The acidity helps in the preservation process, making your jam not only delicious but safe for longer storage.
Lastly, you’ll need pectin, a natural thickening agent that helps your jam achieve the perfect consistency. You can find pectin in various forms, including liquid or powdered, so pick the one that suits your needs best.
With these ingredients in hand, you’re well on your way to making a delightful plum jam. Remember, the right combination of fruit varieties and preservation methods can make all the difference in achieving that perfect spreadable treat. Get ready to savor the taste of summer in every jar!
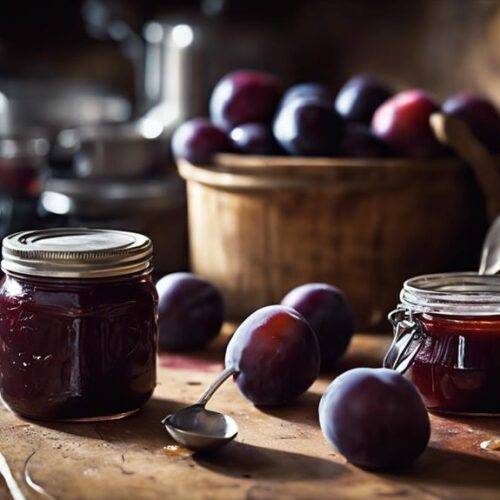
Plum Jam Recipe
Ingredients
- Ingredients:
- 4 cups chopped pitted plums (about 8-10 medium plums)
- 2 tablespoons lemon juice
- 4 cups granulated sugar
- 1 package 1.75 ounces fruit pectin (like Sure-Jell)
- 1/2 teaspoon unsalted butter optional, helps reduce foaming
Instructions
- Instructions:
- Prepare the Plums:
- o Wash the plums, remove the pits, and chop them into small pieces.
- o Place the chopped plums in a large bowl and crush them slightly using a potato masher or a fork to release some juice. You should end up with about 4 cups of crushed plums.
- Sterilize Jars:
- o Wash the jars, lids, and rings in hot, soapy water. Rinse well.
- o Place the jars in a boiling water canner filled with water and bring to a boil. Boil for 10 minutes to sterilize. Keep the jars in the hot water until ready to use.
- o Place the lids in a small pot of simmering water (do not boil) until ready to use.
- Cook the Jam:
- o In a large, heavy-bottomed pot, combine the crushed plums, lemon juice, and pectin. Stir well to combine.
- o Bring the mixture to a full rolling boil over high heat, stirring constantly. A rolling boil is a boil that doesn’t stop bubbling when stirred.
- o Once at a rolling boil, add the sugar all at once. Stir thoroughly to dissolve the sugar.
- o Return the mixture to a full rolling boil and boil hard for 1 minute, stirring constantly. If desired, add the butter to reduce foaming.
- Test for Doneness:
- o To test if the jam is done, place a small amount of the hot jam on a chilled plate and let it sit for a minute. If it wrinkles when pushed with your finger, it’s ready. If not, boil for another minute and test again.
- Jar the Jam:
- o Remove the pot from the heat and skim off any foam from the surface.
- o Carefully ladle the hot jam into the sterilized jars, leaving about 1/4-inch headspace at the top.
- o Wipe the rims of the jars with a clean, damp cloth. Place the lids on the jars and screw on the rings until fingertip-tight.
- Process the Jars:
- o Place the filled jars back in the boiling water canner. Ensure the jars are covered by at least 1 inch of water.
- o Bring the water to a full boil and process for 10 minutes (adjusting for altitude if necessary).
- o Remove the jars from the canner and place them on a towel or cooling rack. Let them sit undisturbed for 12-24 hours.
- Check the Seals:
- o After 12-24 hours, check the seals by pressing down on the center of each lid. If it doesn’t pop back, the jar is sealed. If the lid pops back, the jar didn’t seal properly and should be refrigerated and used within a few weeks.
- Store the Jam:
- o Label the jars with the date and store them in a cool, dark place. Properly sealed jars can be stored for up to a year.
Step-by-Step Recipe
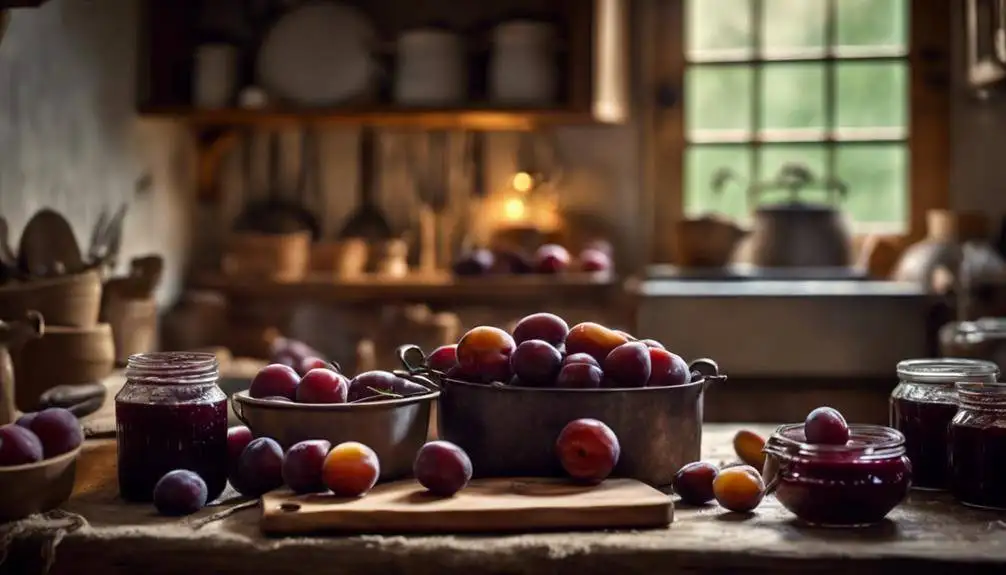
Gathering your ingredients and equipment is the first step in crafting a delicious batch of plum jam. You’ll need ripe plums, sugar, lemon juice, and pectin. Make certain you have a large pot, a wooden spoon, jars, and lids ready.
Start by washing your plums thoroughly and removing the pits. Chop them into small pieces, as this helps release their natural juices. In your large pot, combine the chopped plums, sugar, and lemon juice. Stir the mixture well, employing basic cooking techniques to guarantee the sugar dissolves evenly.
Next, bring the mixture to a boil over medium heat. Keep stirring to avoid burning, and let it simmer until the plums break down and the mixture thickens—this usually takes about 20 to 30 minutes. You can also use a potato masher if you prefer a smoother consistency. If you’re feeling adventurous, consider adding flavor variations like cinnamon, vanilla, or even a splash of almond extract during this stage for an extra twist.
Once the jam reaches your desired thickness, remove it from heat. Pour the hot mixture into sterilized jars, filling them to about a quarter-inch from the top. Wipe the rims of the jars clean, then seal them with lids. Process the jars in a boiling water bath for about 10 minutes to guarantee they’re sealed properly.
Now, you’ve crafted a delightful batch of plum jam that you can enjoy or share with friends!
Tips for Perfect Plum Jam
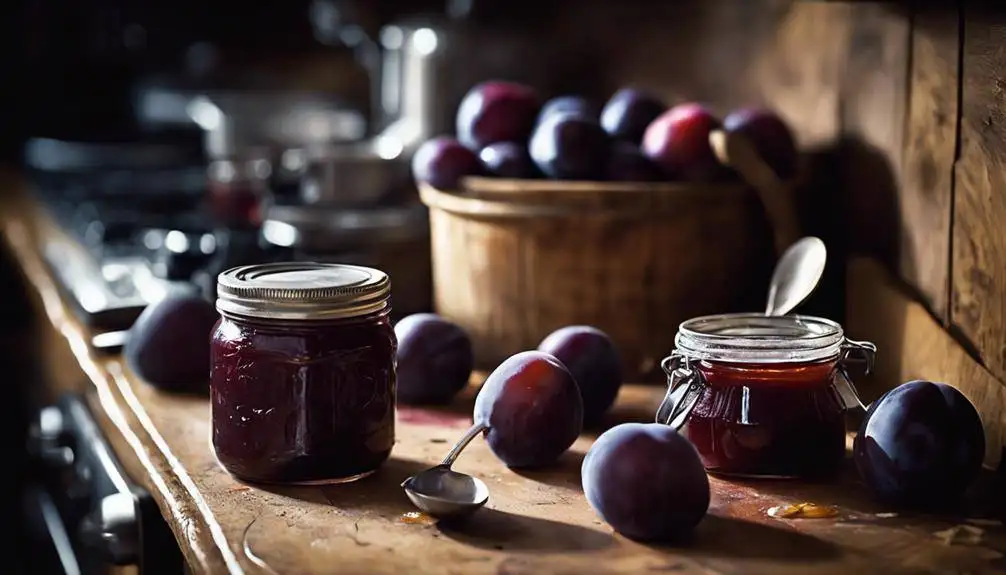
Perfecting your plum jam involves a few key tips that can elevate your homemade creation to the next level. First off, choosing the right plum varieties is essential. Some plums, like Santa Rosa or Italian plums, are known for their rich flavor and high pectin content, making them ideal for jam. Experiment with different varieties to find the flavor profile you love best!
Next, pay attention to your jam consistency. You want it to be spreadable but not too runny. To achieve this, use the right ratio of fruit to sugar and consider adding a bit of lemon juice. The acidity helps balance sweetness and aids in setting the jam. Don’t forget to test the jam’s consistency while cooking. You can do this by placing a spoonful on a cold plate; if it wrinkles when you push it with your finger, it’s ready!
Another important tip is to sterilize your jars properly before filling them. This prevents contamination and extends shelf life. Finally, let the jam cool completely before sealing the jars. This helps create a vacuum seal, ensuring your jam stays fresh longer.
History And How To Make Plum Jam; Frequently Asked Questions
Can Plum Jam Be Frozen for Long-Term Storage?
Yes, you can freeze plum jam for long-term storage. Using proper freezing techniques, you preserve its flavor and texture. Just make sure to leave space in containers for expansion during the freezing process.
What Are the Best Plum Varieties for Making Jam?
When choosing plums for jam, consider varieties like Stanley or Satsuma. They offer rich plum flavor profiles and create delightful jam texture variations. You’ll love the way these plums enhance your homemade preserves!
How Can I Adjust Sweetness in My Plum Jam?
To adjust sweetness in your plum jam, taste test as you cook. Add sugar gradually for a balanced sweetness, or mix in lemon juice to enhance flavors. Remember, you can always add more, but you can’t take it out!
Is It Safe to Can Plum Jam at Home?
Yes, it’s safe to can plum jam at home if you follow proper canning safety guidelines. Make certain you sterilize your jars thoroughly before filling them to prevent contamination and guarantee a successful preservation process.
Can I Make Plum Jam Without Pectin?
Yes, you can make plum jam without pectin! Use plum preservation techniques like cooking the fruit longer to create natural thickening options. Adding sugar helps too, enhancing flavor while achieving the desired consistency. Enjoy your homemade jam!
Conclusion
Making plum jam connects you to a rich history and diverse cultures. With just a few ingredients and some simple steps, you can create a delicious spread that adds a burst of flavor to your meals. Remember to follow our tips for the perfect consistency and taste. So, gather your plums and get started—you’ll be enjoying homemade plum jam in no time! It’s a rewarding experience that brings a bit of tradition into your kitchen.


