What Makes Dutch Oven Bread Baking Exceptional
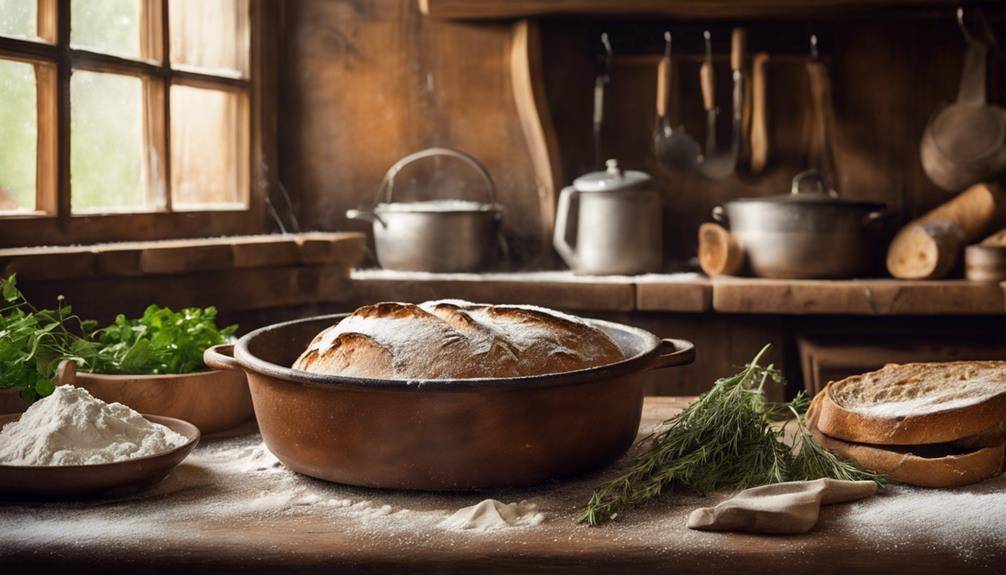
What Makes Dutch Oven Bread Baking Exceptional: Baking bread in a Dutch oven is exceptional because it creates the perfect environment for your dough. The closed lid traps steam, giving you a crispy crust and a tender crumb. Its cast iron construction guarantees even heat distribution, preventing hot spots and promoting consistent baking. Plus, the design retains moisture, enhancing flavor and preventing dryness. You can experiment with various bread types, from sourdough to brioche, making it versatile for any baker. With minimal cleanup and affordable ingredients, it's a straightforward way to achieve bakery-quality bread at home. You'll uncover even more benefits as you explore further.
The Science of Steam
Click Here and Turn Every Masterpiece into a Showstopper!
When you bake bread in a Dutch oven, understanding the science of steam can elevate your baking game. Steam generation is essential during the initial stages of baking, as it creates an ideal environment for your dough. As the bread heats up, the moisture from the dough turns into steam, which helps the outer crust stay soft longer. This extra time allows the bread to expand fully, giving it that beautiful rise you're after.
Moisture control is another important aspect of using a Dutch oven. The closed lid traps steam inside, preventing it from escaping. This steam not only keeps the crust tender but also enhances the bread's overall texture. A well-developed crust offers a delightful contrast to the soft, airy interior, making each bite a true pleasure.
To optimize steam generation, preheating your Dutch oven is essential. By placing the empty pot in the oven before adding your dough, you create a hot environment that promotes rapid steam production as soon as the bread hits the pot. You'll notice the difference this makes in your bread's rise and crust.
Ultimately, mastering the science of steam in a Dutch oven can transform your bread from ordinary to extraordinary. By understanding and utilizing steam generation and moisture control, you'll achieve a crust that's both crispy and flavorful, along with a tender crumb. Happy baking!
Optimal Heat Distribution
Achieving ideal heat distribution in your Dutch oven is essential for baking perfect bread. The way your Dutch oven conducts and retains heat directly impacts the final product's texture and crust. When you preheat your Dutch oven, the cast iron absorbs and retains heat exceptionally well due to its impressive thermal conductivity. This characteristic guarantees that once your dough is placed inside, it receives consistent heat from all sides.
As you bake, the heat retention of your Dutch oven helps maintain an even baking temperature. Unlike traditional baking sheets, which can create hot and cold spots, the Dutch oven provides a stable environment. This uniform heat distribution allows your bread to rise effectively and develop a beautifully crunchy crust while keeping the inside soft and airy.
To optimize heat distribution, make certain to preheat your Dutch oven properly. Allow it to heat for at least 30 minutes before adding your dough. This step guarantees the walls and base of the pot are hot enough to create an ideal baking environment. You might also consider using a lid during the first part of baking; it traps heat and helps create a convection effect that promotes even cooking.
Retained Moisture Benefits
The unique design of a Dutch oven not only promotes ideal heat distribution but also helps retain moisture during the baking process. This moisture retention is vital for creating bread that's soft, tender, and full of flavor. When you place your dough inside the Dutch oven, the lid traps steam released from the bread as it bakes. This steam creates a humid baking environment, allowing your bread to rise beautifully while preventing it from drying out.
With traditional baking methods, moisture often escapes, leading to a dry loaf. However, by using a Dutch oven, you're ensuring that the moisture stays locked in. This is especially important during the initial stages of baking when the bread is forming its structure. The retained moisture not only enhances the bread's texture but also contributes to its overall taste. You'll notice that loaves baked in a Dutch oven have a light, airy crumb that's simply irresistible.
Moreover, this moisture retention can help develop a richer flavor profile in your bread. As the steam circulates, it allows the dough to develop fully without losing essential moisture. This means you can enjoy a loaf that's not only visually appealing but also packed with taste.
In short, if you want to bake exceptional bread, embracing the moisture retention benefits of a Dutch oven is key. Your bread will emerge from the oven with the perfect balance of hydration and flavor, elevating your baking game to new heights.
Perfect Crust Formation
When you bake bread in a Dutch oven, the steam retention creates an ideal environment for a perfect crust. This setup guarantees even heat distribution, allowing your bread to rise beautifully. Plus, the Maillard reaction plays an essential role in developing that rich, golden-brown crust you crave.
Steam Retention Benefits
Perfect crust formation relies heavily on steam retention during the baking process. When you bake bread in a Dutch oven, the enclosed environment traps steam released from the dough. This steam creates a humid atmosphere, preventing the crust from hardening too quickly. As a result, your bread can rise fully before the outer layer sets, leading to a beautifully golden, crisp crust.
Moreover, steam retention plays an essential role in flavor enhancement. The moisture allows enzymes within the dough to work effectively, developing complex flavors as the bread bakes. This dynamic environment also helps the Maillard reaction, contributing to that irresistible aroma and rich color you love in freshly baked bread.
Heat Distribution Efficiency
How does heat distribution impact the formation of a great crust? When you're baking bread in a Dutch oven, heat distribution plays a vital role. The oven's heavy cast iron design boasts excellent heat capacity, allowing it to retain and radiate heat evenly. This even heat helps your dough rise uniformly, setting the stage for that perfect crust.
Thermal conductivity is another key factor. It refers to how well the material conducts heat. In a Dutch oven, the high thermal conductivity guarantees that the heat penetrates the dough from all sides, preventing hot or cold spots that could lead to uneven baking. As a result, your bread develops a beautifully browned crust that's crisp on the outside while remaining soft and airy inside.
Moreover, the enclosed environment of the Dutch oven helps maintain a consistent temperature, which is essential for promoting the right chemical reactions during baking. This efficiency in heat distribution ultimately allows you to achieve a crust that's not only visually appealing but also full of flavor. So, when you use a Dutch oven, you're really setting yourself up for success with each bake.
Maillard Reaction Impact
The Maillard reaction is a game-changer in achieving that ideal crust on your Dutch oven bread. This chemical reaction occurs between amino acids and reducing sugars when exposed to heat, resulting in remarkable color development and flavor enhancement. As the temperature rises, you'll notice your bread transforming into a beautiful golden-brown hue, signaling that the crust is forming perfectly.
When you bake in a Dutch oven, the enclosed environment retains heat and moisture, promoting favorable conditions for the Maillard reaction to take place. This means you get that delightful, crispy crust that contrasts beautifully with the soft, airy interior of your bread. You'll appreciate how this reaction not only boosts the visual appeal but also intensifies the flavors. The rich, nutty notes developed during the reaction elevate your bread, making each bite a delightful experience.
Versatility in Baking
Dutch ovens offer remarkable versatility in baking, allowing you to create a variety of bread types with ease. Whether you want to whip up a classic sourdough or experiment with a sweet brioche, the options are endless. You can use different baking methods, such as no-knead or traditional kneading techniques, to suit your preference and skill level.
The beauty of baking in a Dutch oven lies in the ability to play with ingredient variations and flavor combinations. Try adding herbs, spices, or even nuts to elevate your bread. With the right dough techniques, you can achieve a crusty exterior and a soft, airy interior, making your loaves irresistibly delicious.
Temperature control is another significant advantage of Dutch ovens. They retain heat exceptionally well, allowing you to bake at high temperatures without the risk of burning. This feature also aids in time management; you can bake multiple loaves in a single session, maximizing your kitchen efforts.
Recipe adaptations are simple, too. You can easily adjust your favorite bread recipes to fit the Dutch oven's unique qualities. Just remember to take into account your kitchen tools—having a reliable thermometer and a sturdy spatula can make a world of difference.
Traditional Baking Techniques
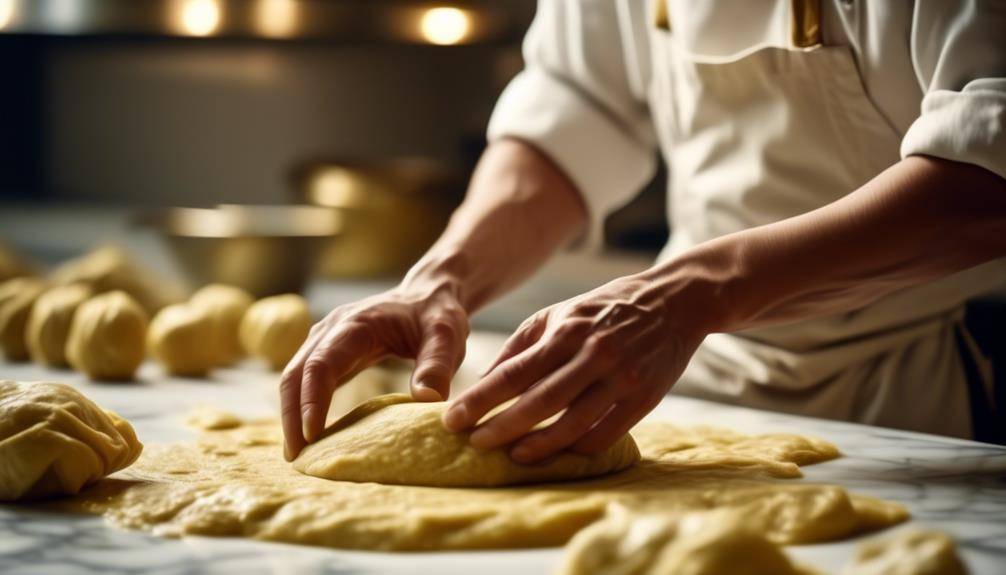
While many modern baking techniques have emerged, traditional methods remain the foundation of creating delicious bread. One of the key aspects of these methods is the art of kneading. When you knead dough, you're developing gluten, which gives bread its structure and chewiness. Using your hands or a bench scraper, you can employ various kneading techniques—like the push-fold-turn method—to guarantee your dough reaches the perfect consistency. This tactile process connects you to the ingredients, allowing you to sense when the dough is just right.
Another vital element in traditional baking is understanding rising times. Patience is essential; allowing your dough to rise properly contributes to flavor and texture. The first rise, or bulk fermentation, is when the dough doubles in size, typically taking about one to two hours. After shaping, the second rise—often called proofing—can take an additional 30 minutes to an hour. Keeping an eye on these rising times is important; too short and your bread will be dense, too long and it may overproof.
Combining these traditional techniques with a Dutch oven elevates your bread-baking experience. The heavy lid traps steam, creating a moist environment that mimics a professional steam oven. This guarantees a beautifully crusty exterior while keeping the inside soft and airy. By mastering these traditional techniques, you'll develop a deeper appreciation for the craft of baking and the joy of sharing freshly baked bread with loved ones.
Click Here and Turn Every Masterpiece into a Showstopper!
Ideal Size and Shape
When choosing the ideal size and shape for your bread, take into account both the dimensions of your Dutch oven and the type of bread you want to create. The baking dimensions of your pot can dramatically affect the final outcome of your loaf. A larger Dutch oven allows for bigger loaves, which is perfect for rustic artisan breads that need room to expand. On the other hand, a smaller Dutch oven works well for smaller, more compact breads, producing a beautifully shaped loaf with a crusty exterior.
Shape influence is another critical factor. A round Dutch oven will yield a round loaf, which tends to develop a lovely crust as it bakes evenly. If you prefer a more traditional loaf shape, think about using a rectangular or oval Dutch oven. These shapes provide a different texture and crust, offering a unique eating experience.
Also, contemplate the depth of your pot. A deeper Dutch oven can create more steam, which is essential for achieving that sought-after crispy crust. Remember, the size and shape of your Dutch oven aren't just about aesthetics; they directly impact how your bread rises and bakes.
Lastly, don't forget to take into account your baking frequency. If you bake often, investing in multiple sizes and shapes can expand your bread-making repertoire, allowing you to experiment freely with different recipes and styles. By understanding the importance of size and shape, you'll be well on your way to baking exceptional Dutch oven bread.
Easy to Use
Baking bread in a Dutch oven is a straightforward process that even beginners can master with ease. One of the standout aspects of using a Dutch oven is its user-friendly features. The heavy lid traps steam, creating a perfect environment for dough to rise and develop a crusty exterior. You won't need fancy equipment or complicated techniques—just mix your ingredients, let the dough rise, and you're almost there.
To make the process even smoother, here are some beginner-friendly tips. First, measure your ingredients accurately. A digital scale can help you get precise measurements, guaranteeing your bread turns out consistently delicious. Next, don't skip the resting time. Allowing your dough to rise adequately is vital for achieving that light, airy texture you're after.
When it's time to bake, preheat your Dutch oven to help create that ideal oven spring. This step enhances the bread's texture and flavor. If you're worried about sticking, consider using parchment paper when transferring your dough. It makes handling easier and guarantees your masterpiece comes out intact.
Lastly, remember that practice makes perfect. Don't be discouraged if your first loaf isn't Instagram-worthy; you'll improve with each attempt. By embracing the user-friendly features of your Dutch oven and following these beginner-friendly tips, you'll soon find baking bread not only easy but also incredibly rewarding. So roll up your sleeves and get started—you've got this!
Minimal Cleanup Required
When you bake bread in a Dutch oven, you'll appreciate the one-pot cooking simplicity it offers. Cleanup is a breeze since most of the mess is contained within that single pot. With just a quick wash, you can enjoy fresh bread without the hassle of multiple dishes.
One-Pot Cooking Simplicity
Embracing one-pot cooking with a Dutch oven not only simplifies the bread-making process but also reduces cleanup, making it an ideal choice for busy home bakers. When you use a Dutch oven, you can mix your ingredients, knead the dough, and bake all in one vessel. This not only saves time but also guarantees you don't have a mountain of dishes to tackle afterward.
With the right baking techniques, you'll find that achieving perfect bread is easier than ever. You can experiment with different ingredient ratios without worrying about managing multiple pots and pans. For instance, by adjusting the water-to-flour ratio, you can create various textures and flavors, all while keeping the mess to a minimum.
The simplicity of one-pot cooking allows you to focus on perfecting your bread skills rather than getting bogged down by cleanup. Plus, the Dutch oven retains heat exceptionally well, promoting even baking. When your bread comes out golden and crusty, you'll appreciate how straightforward the process was, allowing you to enjoy your delicious creation without the stress of extensive cleanup.
Easy Cleanup Process
The joy of baking bread in a Dutch oven extends beyond the delicious results; it also includes an incredibly easy cleanup process. Unlike traditional baking methods, using a Dutch oven means you can simplify your baking tools. You typically only need the oven itself, a mixing bowl for your dough preparation, and perhaps a spatula or measuring cup.
Once you've baked your bread, most of the mess stays contained within the pot. The heavy cast iron resists sticking, so you won't be scraping burnt bits off a baking sheet. After the bread cools, just let the pot soak for a few minutes, and then wipe it down with a damp cloth. If you want to go the extra mile, a gentle scrub with a brush can help, but it's often unnecessary.
With just these few steps, you can enjoy fresh, homemade bread without the hassle of extensive cleanup. In fact, your only real task is to guarantee your mixing bowl is clean. This straightforward process makes baking bread not just rewarding but also stress-free, allowing you to savor each delicious slice without worrying about the aftermath.
Affordable Baking Solution
Baking bread at home doesn't have to break the bank; in fact, a Dutch oven is one of the most affordable tools you can use. This versatile pot allows you to create bakery-quality bread with minimal investment. Unlike high-end ovens or specialized bread machines, a Dutch oven is budget-friendly and can often be found at reasonable prices, especially if you consider second-hand options.
When it comes to ingredients, you don't need to splurge either. Using cost-effective ingredients like flour, water, yeast, and salt, you can whip up a delicious loaf without emptying your wallet. These staples are not only affordable but also long-lasting, meaning you can bake multiple loaves over time without worrying about frequent restocking.
You'll also find that many recipes for Dutch oven bread are simple and require minimal ingredients. This encourages experimentation with budget-friendly alternatives, like swapping all-purpose flour for whole wheat or adding in seeds and herbs from your pantry. Such substitutions can enhance your bread-making experience without adding significant costs.
Moreover, the ability to create artisan-style bread at home means you can save money in the long run. Think of all the loaves you won't have to buy from the store! By investing in a Dutch oven and using cost-effective ingredients, you'll master the art of baking bread while keeping your finances in check. So go ahead and enjoy the rewarding experience of homemade bread without breaking the bank!
Enhancing Flavor Profiles
When you're baking bread, the ingredients you choose can greatly impact the flavor. Experimenting with different fermentation techniques can also elevate your loaf to new heights. Plus, adding the right seasonings and herbs can turn a simple bread into a flavorful masterpiece.
Ingredient Selection Impact
Choosing the right ingredients can dramatically enhance the flavor profiles of your Dutch oven bread. Ingredient quality plays an essential role; using fresh, high-quality flour can elevate your bread's taste and texture. When you focus on flavor balance, consider how different ingredients interact—like adding herbs or spices to complement your base.
Don't overlook nutritional value; whole grains offer rich flavors and health benefits. Sourcing methods matter too—local and seasonal selections often yield fresher ingredients, enhancing your bread's overall quality. Freshness factors, such as using recently milled flour, can also make a significant difference.
If you're exploring substitution options, you might experiment with various flours or liquids to create unique flavor profiles. Texture variations can arise from different ingredients as well; a dash of olive oil can lead to a softer crumb, while seeds can add crunch.
Lastly, color influences can't be ignored. Adding ingredients like beet juice or turmeric not only enhances color but also adds subtle flavors. By thoughtfully selecting your ingredients, you'll create a loaf that's not only delicious but also a reflection of your personal taste and creativity.
Fermentation Techniques Explained
After selecting quality ingredients, mastering fermentation techniques can take your Dutch oven bread to the next level. Utilizing different starter types, such as sourdough or poolish, can profoundly impact the flavor and texture of your bread. Each starter introduces unique microorganisms that enhance the dough's complexity, giving your bread that artisan touch.
When it comes to proofing methods, you have options that can further elevate your bread's flavor profile. For instance, bulk fermentation at cooler temperatures allows for longer fermentation, which develops deeper flavors. Alternatively, a shorter, warmer proof can yield a milder taste but a quicker rise. Experimenting with these methods helps you discover how your bread can reflect your personal preferences.
Incorporating a stretch-and-fold technique during fermentation can also enhance gluten structure, resulting in a more airy crumb. Don't rush the process; giving your dough ample time to ferment allows the flavors to mature. By understanding how starter types and proofing methods interact, you can create Dutch oven bread that's not just good, but exceptional. So, don't hesitate to experiment and find the perfect balance for your unique baking style!
Seasoning and Herbs Usage
To truly elevate your Dutch oven bread, don't underestimate the power of seasoning and herbs. The right herb combinations can transform your loaf from ordinary to extraordinary. Start by experimenting with classic pairings like rosemary and garlic or thyme and oregano. These combinations not only enhance the aroma but also infuse the bread with a depth of flavor that'll have everyone coming back for more.
When it comes to seasoning techniques, think about incorporating salt in layers. Adding it to the dough, then sprinkling more on top before baking, creates a delightful contrast. You might also consider mixing herbs directly into the dough. This allows their flavors to meld beautifully during the baking process.
Don't forget about the finishing touches! A sprinkle of sea salt or dried herbs right before serving can elevate the presentation and flavor.
Click Here and Turn Every Masterpiece into a Showstopper!
Frequently Asked Questions: What Makes Dutch Oven Bread Baking Exceptional
Can I Use Any Type of Flour for Dutch Oven Bread?
You can use various flour types for Dutch oven bread, but consider the gluten content. High-gluten flours yield chewier textures, while low-gluten options create softer loaves. Experiment to find what you enjoy most!
How Long Does It Take to Bake Bread in a Dutch Oven?
Baking time in a Dutch oven typically ranges from 30 to 45 minutes, depending on your recipe and temperature variations. Keep an eye on it, and you'll achieve that perfect crust and texture!
Is There a Specific Temperature for Baking Bread in a Dutch Oven?
You should bake bread in a Dutch oven at around 450°F. This temperature helps achieve ideal dough hydration and creates a crust texture that's both crispy and golden, enhancing your homemade bread's overall flavor and appearance.
Can I Make Sourdough Bread in a Dutch Oven?
Yes, you can make sourdough bread in a Dutch oven. Just verify your sourdough starter's active and adjust hydration levels for your desired texture. The Dutch oven helps create a perfect crust and moisture retention.
What Is the Best Way to Store Dutch Oven Bread?
To store your Dutch oven bread, wrap it in a clean kitchen towel for moisture retention. For extra freshness, place it in a paper bag. Avoid plastic, as it can trap moisture and make bread soggy.

Conclusion
To sum up, baking bread in a Dutch oven truly elevates your home baking experience. The steam and heat distribution create a perfect environment for crust formation and moisture retention, resulting in a loaf that's crusty on the outside and soft on the inside. Plus, it's versatile, easy to use, and offers minimal cleanup. With its affordability and ability to enhance flavor profiles, a Dutch oven is a must-have for any bread enthusiast looking to achieve exceptional results.