Simple And Quick Dessert Recipes For Kids
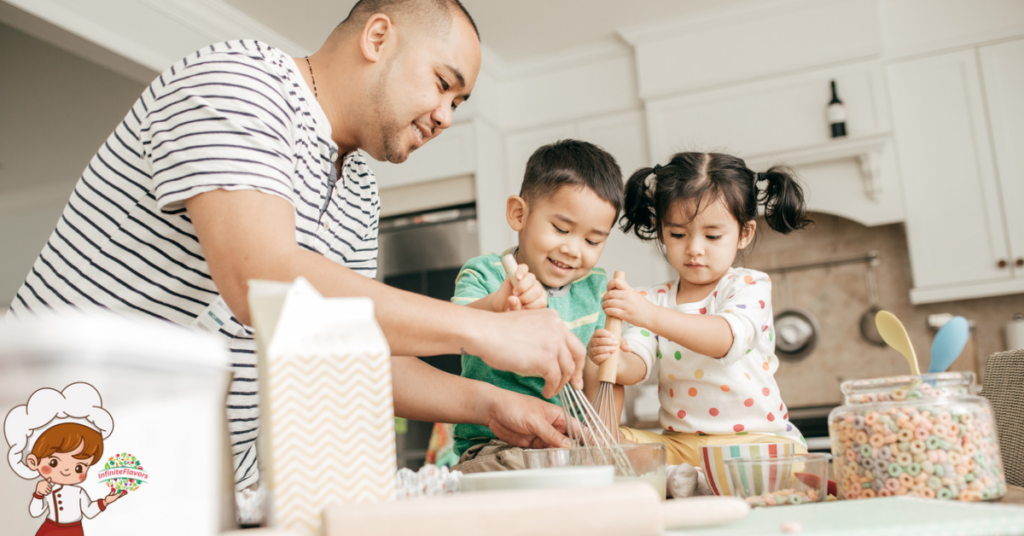
Simple And Quick Dessert Recipes For Kids: You can easily create delightful desserts for kids with these quick recipes. Try assembling colorful fruit kabobs or rainbow fruit cups to make healthy eating fun. For something sweet, whip up chocolate banana bites or chocolate-dipped pretzels — they’re a hit! If you want no-bake options, easy no-bake cookies or instant pudding cups offer delicious results with minimal fuss. Get creative with cookie decorating, allowing kids to personalize their treats. These simple ideas not only satisfy sweet cravings but also provide fun activities. Keep going, and you’ll discover even more delicious options to try out!
Fruit Kabobs
Click Here and Turn Every Masterpiece into a Showstopper!
Fruit kabobs are a fun and colorful way to get kids excited about healthy eating. You can easily create this kid-friendly treat by threading various fruits onto skewers, turning healthy snacks into playful creations. Start by letting your kids choose their favorite fruits. This not only makes them more invested in eating but also encourages them to try new fruit combinations they might not have considered before.
Think about vibrant fruits like strawberries, blueberries, pineapple, and kiwi. Cut them into bite-sized pieces, and let your kids assemble their kabobs. This hands-on activity can be a fun family project, and the colorful presentation will catch their eyes. You can also mix in some marshmallows or yogurt-covered raisins for added fun and texture.
To make it even more exciting, encourage your kids to create patterns or color-coordinated designs. They could arrange the fruits in a rainbow order or alternate between different textures. The possibilities are endless! Once they’ve made their perfect kabobs, they’ll feel a sense of accomplishment, and you’ll have a healthy dessert option that’s ready to serve.
Don’t forget, fruit kabobs are not just for dessert! You can pack them as snacks for outings, picnics, or lunchboxes. With such a simple, kid-friendly presentation, you’ll find that fruit kabobs are a hit at any gathering. So grab those skewers and get creative with your fruit combinations!
Chocolate Banana Bites
Transform ordinary bananas into delicious chocolate banana bites that your kids will love! This simple treat combines the natural sweetness of bananas with rich chocolate, making it a crowd-pleaser. Plus, bananas come with a variety of health benefits, like providing potassium for muscle function and fiber for digestion.
To make these bites, start by slicing bananas into thick rounds. Melt some chocolate chips in the microwave or over a double boiler, stirring until smooth. You can use dark, milk, or even white chocolate, depending on your kids’ preferences. Once the chocolate is melted, dip each banana slice into it, ensuring it’s fully coated. For added fun, try rolling the chocolate-covered bananas in crushed nuts, sprinkles, or coconut for extra flavor and texture!
Next, place the chocolate-dipped bananas on a parchment-lined baking sheet and pop them in the freezer for about an hour. This helps them set and creates a delightful, cool treat. Once frozen, you can serve them immediately or store them in a freezer bag for later.
These chocolate banana bites are perfect for a quick dessert or a tasty snack. They not only satisfy sweet cravings but also offer the health benefits of bananas. You can even experiment with different chocolate flavor pairings, like adding a drizzle of caramel or a sprinkle of sea salt for a gourmet twist. Enjoy making these easy treats with your kids—they’ll love every bite!
Easy No-Bake Cookies
Making easy no-bake cookies is a fun and simple way to get kids involved in the kitchen. You’ll need just a few basic ingredients, and I’ll guide you through step-by-step instructions to whip them up in no time. Let’s get started on creating a delicious treat that doesn’t require an oven!
Ingredients You’ll Need
If you’re looking to whip up some delicious no-bake cookies with your kids, gathering the right ingredients is essential. Start with rolled oats, which add texture and offer nutritional benefits like fiber and protein. Next, grab some creamy peanut butter or nut butter of your choice. This not only provides a yummy flavor but also packs in healthy fats.
You’ll need honey or maple syrup as a natural sweetener, and it’s a great way to teach kids about healthier alternatives. For a chocolatey twist, include cocoa powder or chocolate chips; they’re always a hit with kids and are easy to find. Don’t forget vanilla extract for that extra burst of flavor!
Lastly, consider adding kid-friendly ingredients like dried fruits, nuts, or seeds for added crunch and nutrients. These can also be fun for kids to mix in, letting them customize their treats. With these simple ingredients, you’ll create a wholesome dessert that everyone will enjoy. Not only are these no-bake cookies tasty, but they also help instill healthy eating habits in your little ones. So gather everything up and get ready for some fun in the kitchen!
Step-by-Step Instructions
To create easy no-bake cookies with your kids, start by gathering all your ingredients and tools. You’ll need oats, peanut butter, cocoa powder, honey, and vanilla extract. Make sure to have measuring cups and spoons handy. Before you begin, emphasize kitchen safety—remind your kids to wash their hands and keep the workspace tidy.
Next, use proper measuring techniques: measure the oats and cocoa powder, then combine them in a large bowl. In a saucepan, mix the peanut butter, honey, and vanilla over low heat until melted and smooth.
Carefully pour the melted mixture over the dry ingredients. Stir well until everything’s evenly coated. Once mixed, use a spoon or your hands to form small cookie shapes on a lined baking sheet.
Yogurt Parfaits
Yogurt parfaits are a delightful and healthy option that kids can easily enjoy making themselves. You’ll love how simple it is to create a tasty treat that’s packed with nutrients! Start by choosing your favorite yogurt flavoring—be it vanilla, strawberry, or blueberry. Grab a cup of yogurt, then layer it with fruits, granola, or any other delicious parfait toppings you like.
To make your parfait, take a clear cup or bowl to showcase those beautiful layers. Begin with a scoop of yogurt at the bottom. Next, add a layer of your chosen fruits, such as sliced bananas, berries, or diced peaches. Don’t be shy; mix and match your fruits to create a colorful masterpiece! After that, sprinkle some granola on top for a satisfying crunch. Repeat these layers until your cup is full, finishing with a final dollop of yogurt and a sprinkle of toppings.
You can even get creative by adding a drizzle of honey or a sprinkle of cinnamon for extra flavor. Yogurt parfaits are perfect for breakfast, snacks, or even dessert. They’re not just tasty; they’re also a fun way for kids to learn about healthy eating by choosing their ingredients. So gather your supplies, invite some friends or family, and enjoy crafting your personalized yogurt parfaits together. You’ll find that the best part is not just eating them, but also the joy of making them!
Rainbow Fruit Cups
Rainbow fruit cups are a vibrant and fun way to get kids excited about healthy eating! Not only do they look appealing, but they also encourage kids to try various fruits while learning about rainbow themes. You can easily create these colorful cups with a mix of fresh fruits, making it a perfect activity for you and your little ones.
Start by gathering your favorite fruit combinations. Choose a variety of colors for each layer to create that rainbow effect—think strawberries for red, oranges for orange, bananas for yellow, green grapes for green, blueberries for blue, and purple grapes or blackberries for purple. The more colors you include, the more visually appealing the cups will be!
Once you have your fruits ready, let your kids help with the preparation. They can wash the fruits, peel them if needed, and even assist in cutting them into bite-sized pieces. Layer the fruits in clear cups, starting with the red fruits at the bottom and working your way up to the purple ones. Make it a fun challenge to see who can create the most colorful cup!
For an extra twist, consider adding a dollop of yogurt or a drizzle of honey between the layers. This not only enhances the flavor but also adds a creamy texture that kids will love. Rainbow fruit cups are perfect for snacks, parties, or even as a side dish at meals. Enjoy the colorful creations together!
Peanut Butter Rice Crispy Treats
Peanut butter rice crispy treats are a deliciously easy snack that kids will love making and eating! This fun recipe combines gooey marshmallows, crispy rice cereal, and creamy peanut butter for a sweet, chewy treat. You don’t need to be a master chef; just a few simple steps and you’ll have a tasty dessert ready in no time.
Start by melting butter and marshmallows together in a pot over low heat. Once melted, stir in your peanut butter until it’s all smooth and combined. If you’re looking for peanut butter alternatives, consider using almond butter or sunflower seed butter for a nut-free option. These alternatives can still give that creamy texture while adding a unique flavor to your crispy treats!
Next, mix in the rice cereal until everything’s well coated. You can also get creative with crispy treats variations! Try adding chocolate chips, mini marshmallows, or even sprinkles for a fun twist. Once mixed, press the mixture into a greased pan, let it cool, and then cut it into squares.
These peanut butter rice crispy treats are perfect for after-school snacks or party treats. They’re quick to make, and the kids will love getting involved in the kitchen. Plus, with the option of using different nut butters or mix-ins, you can customize your treats to suit everyone’s taste. Enjoy your delicious creations!
Mini Muffin Pizzas
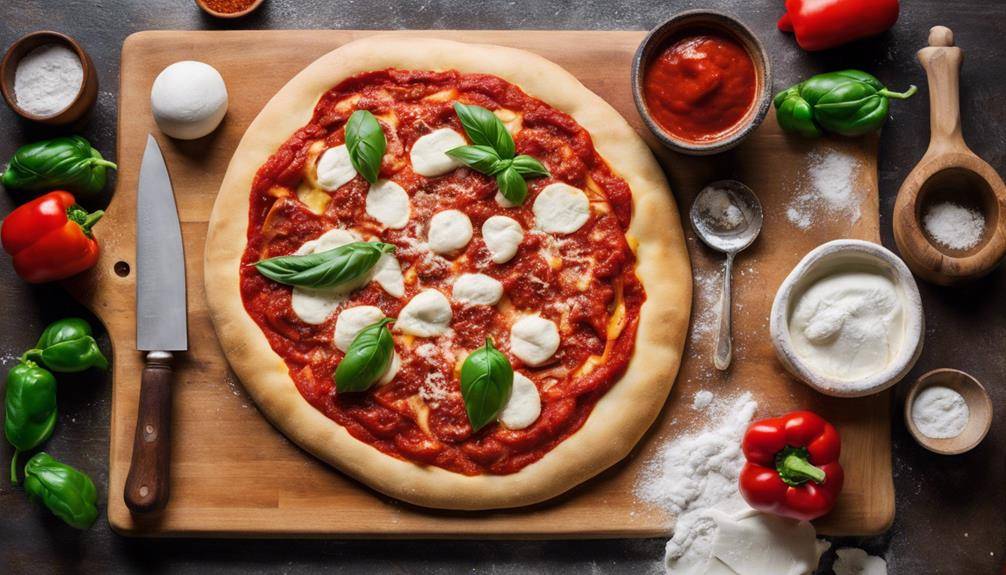
Mini muffin pizzas are a fun and easy way for kids to get creative in the kitchen! You can whip these up in no time, and they make for a perfect snack or dessert. Start with some mini muffins as your base—store-bought or homemade works just fine. Once you have your mini muffins ready, it’s time to add some pizza sauce. Spread a generous layer on each muffin half; this will give your pizzas a deliciously savory flavor.
Now comes the exciting part: choosing your mini muffin toppings! Let your kids pick their favorites. You can use shredded cheese, pepperoni slices, diced bell peppers, olives, or any other toppings they enjoy. The beauty of mini muffin pizzas is that they can be customized to suit every taste. If your little ones love experimenting, why not try adding pineapple or even some cooked sausage for a twist?
Once you’ve assembled your mini muffin pizzas, pop them in the oven at 350°F (175°C) for about 5-7 minutes, or until the cheese is melted and bubbly. Keep an eye on them so they don’t overcook!
When they’re done, let them cool for a minute before serving. Your kids will love the chance to create their own mini pizza masterpieces, and you’ll appreciate how quick and easy this recipe is. Enjoy the delicious creations together!
Click Here and Turn Every Masterpiece into a Showstopper!
Ice Cream Sandwiches
Have you ever thought about how easy it is to make delicious ice cream sandwiches at home? With just a few simple ingredients, you can whip up a treat that’ll satisfy any sweet tooth. Start with your favorite cookies—whether it’s classic chocolate chip, chewy oatmeal, or even brownies. The cookie choice is yours, and it opens up a world of sandwich variations.
Next, pick your ice cream flavors. You can go traditional with vanilla or chocolate, or get creative with mint chocolate chip, cookie dough, or even fruity flavors like strawberry. The combinations are endless! Once you have your cookies and ice cream ready, simply scoop a generous amount of ice cream between two cookies, press gently, and voilà! You’ve got your own homemade ice cream sandwich.
If you want to take it a step further, try rolling the edges in sprinkles, crushed nuts, or mini chocolate chips to add some extra flair and texture. You could even freeze the sandwiches for a bit before serving to make them firmer and easier to handle.
Involving your kids in the process makes it even more fun. Let them choose their favorite ice cream flavors and help assemble the sandwiches. It’s a great way to bond and create lasting memories while enjoying a tasty treat. So gather your ingredients and get ready for a delightful dessert adventure that everyone will love!
Jello Cups
Creating colorful Jello cups is a fun and easy way to get kids excited about dessert! You can let their imaginations run wild by choosing a variety of jello flavors. Whether it’s cherry, blue raspberry, or lime, the options are nearly endless. Grab some jello molds, and you’re all set for a creative kitchen adventure.
Start by boiling water according to the instructions on the jello package. Once it reaches a rolling boil, mix in the jello powder until it dissolves completely. Then, add cold water to the mixture and stir well. This is where the fun begins—consider layering different jello flavors. Pour your first flavor into the jello molds and let it set in the fridge for about 30 minutes. After it thickens up, pour in your second flavor. This layering technique not only tastes great but also looks visually stunning!
To make it even more exciting, you can add fruit pieces between the layers. Think diced strawberries or orange segments for a rejuvenating twist. Once your Jello cups are fully set, pop them out of the molds and serve them in clear cups to show off those vibrant colors.
Kids will love their creative creations, and you’ll enjoy how simple it is to whip up these delightful treats. With just a few ingredients and some jello molds, you’ll have a festive dessert that’s sure to impress everyone. Enjoy!
Chocolate-Dipped Pretzels
Get ready to whip up some delicious chocolate-dipped pretzels that kids will love! You’ll need just a few simple ingredients, and the preparation is super easy. Plus, there are plenty of fun decorating ideas to make your treats even more special!
Ingredients You’ll Need
To whip up some delicious chocolate-dipped pretzels, you’ll need just a few simple ingredients. First, grab a bag of pretzel rods or twists—these will serve as the crunchy base for your treat. Next, pick up some chocolate chips. You can choose semi-sweet, milk chocolate, or even dark chocolate if you’re looking for a healthier alternative. If you want to add a fun twist, consider using white chocolate or yogurt-covered chips.
For an extra layer of flavor, you might want to include toppings like sprinkles, crushed nuts, or mini marshmallows, making these treats even more appealing to kids. If you’re aiming for healthier alternatives, try using dark chocolate and adding toppings like chopped dried fruit or coconut flakes.
Lastly, don’t forget about wax paper or parchment paper to place your dipped pretzels on as they cool. All these ingredients are not only kid-friendly but also easy to find, ensuring that you can whip up this delightful dessert without any hassle. So gather your goodies, and get ready for some fun in the kitchen!
Easy Preparation Steps
Now that you’ve gathered all the ingredients, it’s time to start making those delicious chocolate-dipped pretzels. First, melt your chocolate in a microwave-safe bowl. Heat it in short bursts, stirring between each interval until it’s smooth and creamy. This step is quick and easy, making it a fun preparation activity for you and the kids.
While the chocolate melts, line a baking sheet with parchment paper. This will guarantee your pretzels don’t stick later on. Once the chocolate’s ready, dip each pretzel into the melted chocolate, letting any excess drip off. Here’s a kid-friendly technique: use a fork to help with the dipping, making it less messy!
Place the dipped pretzels on the parchment-lined sheet. If you want, you can sprinkle some toppings, like crushed nuts or colorful sprinkles, before the chocolate sets. It’s a great way to let the kids get creative. Finally, pop the baking sheet in the fridge for about 30 minutes to let the chocolate harden. And just like that, you’ve got a tasty treat ready to enjoy!
Fun Decorating Ideas
While your chocolate-dipped pretzels are cooling, think about all the fun decorating options that can take these treats to the next level. You can start by adding sprinkle toppings in various colors to create a festive look. If you want to get a little fancy, consider using edible glitter for that extra sparkle.
For a fruity twist, cut fruit shapes from dried fruits or fruit leather and attach them to the pretzels with a dab of melted chocolate. Themed decorations can also make your pretzels stand out—think holiday motifs or party themes.
Using colorful icing, you can pipe fun designs onto the pretzels, creating swirls or patterns that kids will love. Don’t forget the candy eyes! They can turn your pretzels into cute characters, making them even more appealing.
To finish off, drizzle some extra chocolate over the top for an extra chocolatey flavor. If you’re feeling creative, use festive molds to shape your chocolate-dipped pretzels into fun forms. With these decorating ideas, your chocolate-dipped pretzels will be a hit at any gathering!
Instant Pudding Cups
Instant pudding cups are a fun and easy treat that kids can help make. With just a few ingredients, you can whip up a delicious dessert that’s perfect for any occasion. Start by choosing from a variety of instant pudding flavors like chocolate, vanilla, or butterscotch. Each flavor brings its own unique taste, allowing kids to pick their favorite or try something new!
To make the pudding, just follow the instructions on the package. You’ll typically need cold milk, which you can pour into a mixing bowl. Invite your kids to help whisk the pudding mix and milk together until it thickens. This is a great time for them to practice their stirring skills! Once the pudding is ready, it’s time to assemble the cups.
Grab some clear plastic or glass cups and spoon the pudding into each one. This makes it visually appealing, and kids will love seeing the layers. Now comes the fun part: adding pudding cup toppings! You can use crushed cookies, sprinkles, whipped cream, or even fresh fruit. Let your kids express their creativity by allowing them to choose their own toppings. They can even mix and match to create their own signature pudding cups.
In just a few simple steps, you’ll have a delightful dessert that’s not only tasty but also a fun activity for you and your kids. Enjoy your instant pudding cups together, and watch their faces light up with every bite!
Cookie Decorating Fun
Get ready for some exciting cookie decorating! You’ll need essential supplies like icing, sprinkles, and edible markers to release your creativity. Let’s explore fun cookie ideas that’ll make your treats look as good as they taste!
Essential Decorating Supplies
Having the right decorating supplies can turn a simple cookie into a masterpiece that kids will love. To get started, gather essential tools like piping bags, spatulas, and various sized sprinkles. These tools will help you create stunning designs that match any decorating theme, whether it’s a birthday party, holiday celebration, or just a fun afternoon activity.
Next, consider the edible toppings. Stock up on colorful icing, chocolate chips, and candy pieces. You can also include fruits like mini marshmallows or gummy bears to add a playful touch. With a variety of toppings, the kids can let their imaginations run wild and create unique cookie designs.
Don’t forget to include food coloring for the icing! This allows you to match colors to specific themes—think red and green for Christmas or pastels for Easter. Finally, a few edible glitter or sparkle dust can add that extra wow factor. With these supplies, you’ll have everything you need to inspire creativity and make cookie decorating a fun experience for kids. So, gather your supplies and get ready for a delightful decorating adventure!
Creative Cookie Ideas
There’s nothing quite like transforming your cookies into colorful creations that reflect your child’s personality and interests. Start by experimenting with cookie flavor combinations. Why not mix classic vanilla with chocolate chips or try a zesty lemon cookie with a hint of lavender? These unique flavors can make decorating even more exciting!
Next, think about cookie shape variations. Use fun cookie cutters to create stars, hearts, or animals that match your child’s favorite themes. Once your cookies are baked and cooled, it’s time to let your creativity flourish. Set up a decorating station with various toppings like sprinkles, edible glitter, and colored icing.
Encourage your child to design their cookies based on their favorite characters or colors. Maybe they want to create rainbow cookies or spooky Halloween designs! The process is as fun as the final product.
After decorating, take photos of these sweet masterpieces before enjoying them together. Not only do these cookies taste great, but they also provide a memorable experience that you and your child can cherish. So, roll up your sleeves, release your creativity, and make cookie decorating a delightful adventure!
Click Here and Turn Every Masterpiece into a Showstopper!
Frequently Asked Questions: Simple And Quick Dessert Recipes For Kids
What Kitchen Tools Do I Need for These Dessert Recipes?
To tackle those dessert recipes, you’ll need essential utensils like mixing bowls and measuring cups. Don’t forget some fun gadgets like cookie cutters or silicone molds to make the process enjoyable and creative!
How Can I Involve Kids in the Cooking Process?
Involve kids by letting them choose ingredients based on their preferences. Teach them cooking safety, like handling utensils properly. Encourage them to mix, measure, and decorate, making the process fun and engaging for everyone.
Are There Any Allergy-Friendly Alternatives for These Desserts?
You can use allergy swaps like applesauce for eggs or coconut milk instead of dairy. For nut-free options, try sunflower seed butter. Ingredient substitutions make desserts delicious without compromising safety for those with allergies.
How Long Do These Desserts Last When Stored?
When stored properly, these desserts usually last about three to five days. For best results, follow storage tips like airtight containers to maximize shelf life and keep them fresh for your enjoyment.
Can These Recipes Be Modified for Dietary Restrictions?
Absolutely, you can modify these recipes for dietary restrictions! Consider nutritional swaps like using almond flour instead of wheat, and practice portion control to guarantee a balanced treat that meets everyone’s dietary needs. Enjoy experimenting!

Conclusion
With these simple and quick dessert recipes, you’re all set to create fun and tasty treats that kids will love! Whether it’s assembling colorful fruit kabobs or whipping up easy no-bake cookies, these ideas are perfect for a sweet afternoon activity. Plus, getting kids involved in the kitchen can spark their creativity and make lasting memories. So grab your ingredients, have some fun, and enjoy these delightful desserts together! Happy creating!