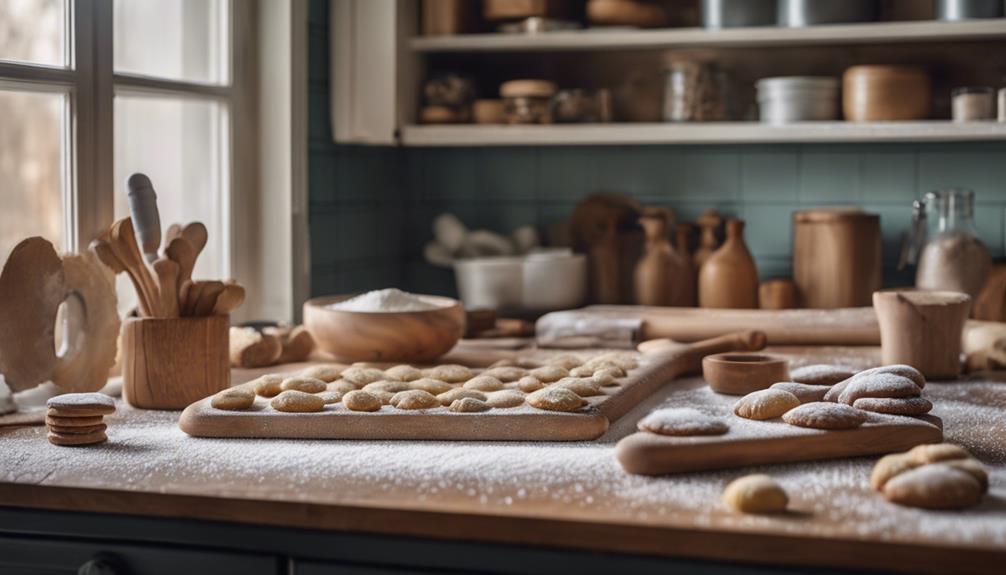
The Best Step-by-Step Cookie Baking Guide
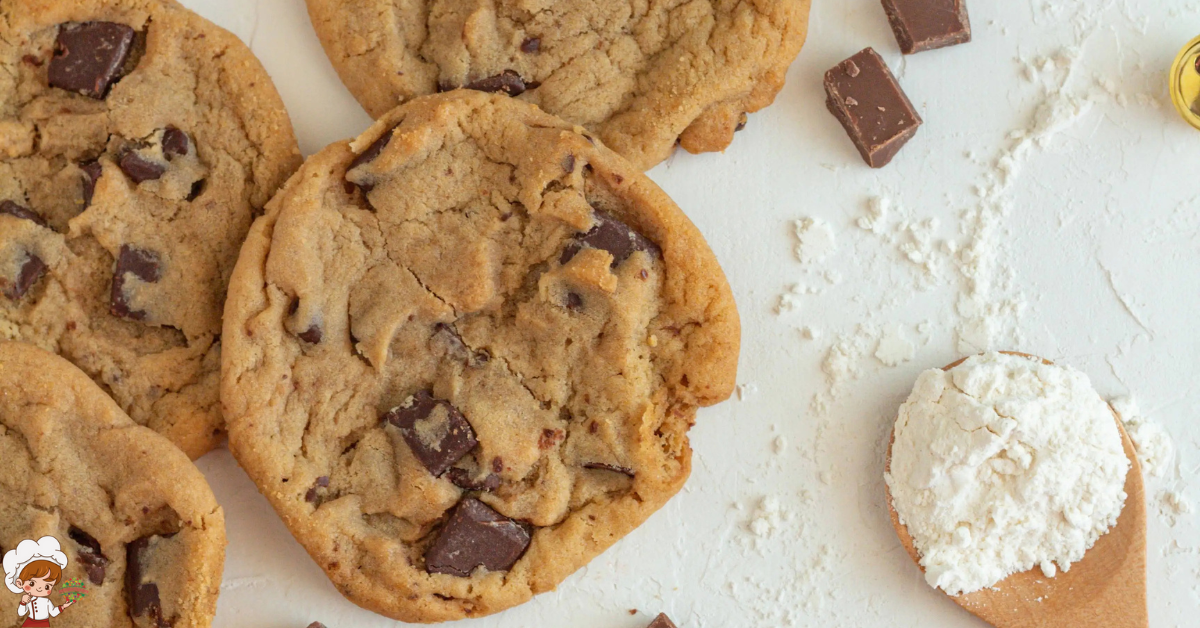
Step-by-Step Cookie Baking Guide; Imagine stepping into a warm and inviting kitchen, the scent of freshly baked cookies wafting through the air. With ‘Your Comprehensive Step-by-Step Cookie Baking Guide,’ you’ll be able to create your own delectable treats that will have everyone clamoring for more. This guide takes you through each stage of the baking process, from gathering your ingredients to enjoying the final product.
With clear and concise directions written in a friendly and approachable tone, you’ll feel confident and empowered in your baking skills. So grab your apron, preheat that oven, and get ready to embark on a delicious and rewarding journey of cookie baking mastery. Get ready to impress your friends and family with homemade cookies that are sure to delight.
Gather Your Ingredients
Gather the necessary ingredients for your cookie baking adventure. Before you begin, it’s essential to have all the right ingredients on hand. Accurate measurements are crucial for achieving the perfect texture and taste in your cookies. To ensure success, consider some ingredient substitutions and follow these tips for measuring ingredients.
Firstly, let’s talk about ingredient substitutions. Sometimes, you may find yourself missing a particular ingredient. In such cases, it’s helpful to know suitable alternatives. For instance, if you run out of butter, you can substitute it with an equal amount of margarine or shortening. Alternatively, if you don’t have any eggs, you can replace each egg with a quarter cup of applesauce or mashed bananas. These substitutions will help you achieve similar results in your cookies without compromising on flavor or texture.
Now, let’s focus on measuring ingredients accurately. When measuring dry ingredients like flour or sugar, it’s crucial to use the correct measuring technique. Use a dry measuring cup, level it off with a straight edge, and avoid packing the ingredients tightly. For measuring liquids, use a liquid measuring cup placed on a flat surface and read the measurement at eye level for accuracy.
Preheat Your Oven
To ensure optimal cookie baking results, it is essential to set your oven to the recommended temperature. Preheating your oven is crucial for achieving even heat distribution and consistent baking. It is recommended to preheat your oven for at least 10-15 minutes before placing the cookie dough inside to guarantee the desired outcome.
Optimal Temperature Setting
Before you start baking your cookies, ensure that your oven’s temperature has been preheated to the optimal setting. Preheating the oven to the correct temperature is crucial for achieving perfectly baked cookies. The best oven temperature for most cookie recipes is 350°F (175°C). This temperature allows the cookies to spread and bake evenly, resulting in a golden brown color and a soft, chewy texture.
However, it’s important to note that some cookies may require alternative temperatures. For example, delicate cookies like macarons may need a lower temperature around 325°F (160°C) to prevent them from browning too quickly. On the other hand, certain types of cookies, like biscotti, benefit from a higher temperature of 375°F (190°C) to ensure they become crispy and crunchy. Always refer to the specific recipe for the recommended oven temperature to achieve the best results.
Importance of Preheating
Make sure to preheat your oven before baking your cookies to ensure optimal results. Preheating your oven is an essential step in the cookie baking process that should not be overlooked. Here are the benefits of preheating and some techniques to achieve the perfect preheating:
- Even baking: Preheating allows the oven to reach the desired temperature before you put the cookies in. This ensures that the cookies will bake evenly from the start.
- Proper texture: By preheating, you give the cookies a head start in the baking process. This helps them to develop the perfect texture, with a crisp outside and a soft, chewy center.
- Time efficiency: Preheating in advance allows you to start baking immediately once you’re ready. This saves you precious time and ensures that your cookies are ready to enjoy sooner.
- Consistent results: Preheating your oven consistently every time you bake helps you achieve consistent results. This means that your cookies will come out just the way you want them every time.
To achieve the perfect preheating, set your oven to the desired temperature about 10-15 minutes before baking. Use an oven thermometer to ensure accuracy and adjust as needed.
Preheating Time Recommendations
For optimal cookie baking results, you should determine the appropriate preheating time for your oven. The preheating time is crucial as it allows the oven to reach the desired temperature before you place the cookies inside. Different ovens may have varying preheating times due to factors such as size, insulation, and efficiency. To determine the ideal preheating time, you can refer to the manufacturer’s recommendations, which are usually provided in the oven’s user manual.
Alternatively, you can use alternative preheating methods such as using an oven thermometer to accurately measure the temperature inside the oven. It’s important to note that the impact of different oven types, such as gas or electric, may also affect the preheating time. Gas ovens, for example, tend to heat up faster than electric ovens. By following these recommendations, you can ensure that your oven is properly preheated, resulting in perfectly baked cookies every time.
Mix the Dry Ingredients
Now that your oven is preheated, it’s time to move on to the next crucial step: mixing the dry ingredients. Understanding the essential ratios of dry ingredients is key to achieving the perfect cookie texture and flavor. Additionally, it’s helpful to know common substitutes for dry ingredients in case you’re missing something from the recipe. Finally, to ensure consistent mixing, follow these tips: use a whisk or fork to break up any clumps, measure your ingredients accurately, and mix until the dry ingredients are evenly distributed.
Essential Dry Ingredient Ratios
To achieve the perfect cookie texture, ensure that you mix the dry ingredients thoroughly using your hands or a whisk. Properly measuring the dry ingredients is crucial for consistent results. Here are some essential tips to consider:
- Dry ingredient measurements:
- Use a kitchen scale for accuracy, especially when measuring flour.
- Spoon the flour into the measuring cup and level it off with a straight edge for an accurate measurement.
- Be precise with measurements to avoid a dense or dry cookie texture.
- Pay attention to the recipe’s specific instructions for measuring other dry ingredients like baking powder, baking soda, and salt.
- Best flour options:
- All-purpose flour is a versatile choice for most cookie recipes.
- For a lighter texture, consider using cake flour or pastry flour.
- Whole wheat flour can add a nutty flavor and extra nutrients to your cookies.
- Experiment with alternative flours like almond, coconut, or gluten-free blends for dietary preferences or restrictions.
Common Dry Ingredient Substitutes
To achieve the perfect cookie texture, mix the dry ingredients thoroughly with common substitutes. When it comes to dry ingredient substitutions, there are several options available to you. One of the most common substitutes is using all-purpose flour instead of cake flour. All-purpose flour has a higher protein content, which can help give your cookies a chewier texture.
Another option is using coconut flour as a substitute for regular flour. Coconut flour is gluten-free and adds a subtle coconut flavor to your cookies. Additionally, you can replace granulated sugar with alternatives like honey or maple syrup. These substitutes not only add sweetness but also contribute to the overall moisture and texture of your cookies. When using dry ingredient substitutes, it is important to follow best practices and adjust the quantities accordingly to ensure the desired cookie consistency.
Tips for Consistent Mixing
To ensure consistent mixing and achieve the best cookie texture, thoroughly mix the dry ingredients using a whisk or a fork. Follow these techniques for consistent mixing:
- Sift the dry ingredients: This helps to remove any lumps and ensures an even distribution of ingredients.
- Use a whisk or fork: These tools effectively combine the dry ingredients without overmixing, which can lead to tough cookies.
- Mix in a separate bowl: Avoid mixing directly in the cookie dough to prevent overworking the dough and activating the gluten.
- Troubleshooting mixing issues: If your cookies turn out dry or crumbly, it may be due to undermixing the dry ingredients. Make sure to mix until the ingredients are fully combined and evenly distributed.
Cream the Butter and Sugar
Once you have gathered all your ingredients, begin by creaming the softened butter and sugar together. This step is crucial in achieving the perfect texture and structure for your cookies. To ensure the best results, it is important to pay attention to the butter and sugar consistency and troubleshoot common creaming issues.
The first thing you need to do is make sure that your butter is at room temperature. Softened butter is easier to cream with sugar and will result in a smoother mixture. If your butter is too cold, it will be difficult to incorporate the sugar evenly, leading to lumps and an uneven texture in your cookies. On the other hand, if your butter is too warm, it will become too soft and greasy, resulting in flat, spread-out cookies. Room temperature butter should be firm, but easily spreadable.
Next, add the sugar to the softened butter. It is important to use the right type of sugar for creaming. Granulated sugar is commonly used in cookie recipes because it provides structure and texture. Brown sugar, on the other hand, adds moisture and a hint of caramel flavor. You can use either one or a combination of both, depending on your preference.
To cream the butter and sugar, use an electric mixer or a stand mixer fitted with a paddle attachment. Start at low speed and gradually increase to medium-high speed. Creaming should take around 3-5 minutes, or until the mixture becomes light and fluffy. The sugar crystals will break down and create air pockets in the butter, resulting in a light and tender cookie.
If you encounter any issues while creaming, such as a grainy mixture or separated butter and sugar, there are a few troubleshooting steps you can take. Make sure your butter is at the correct temperature and that you are using the right type of sugar. If the mixture is grainy, it could be due to overmixing or using cold butter. If the butter and sugar separate, it may be a sign that the butter was too warm or that the mixing speed was too high. To fix these issues, you can try re-softening the butter, adjusting the mixer speed, or starting the process over with fresh ingredients.
Add the Wet Ingredients
Now, you can incorporate the wet ingredients into the creamy butter and sugar mixture. This step is crucial in bringing all the flavors together and creating a moist and delicious cookie dough. Follow these precise instructions to ensure your cookies turn out perfect every time.
- Wet ingredient measurement: Accurate measurement is key when adding the wet ingredients to your cookie dough. Use a liquid measuring cup to measure liquids like milk or vanilla extract. For fats like melted butter or oil, use a dry measuring cup. Be sure to level off the top of the cup for precise measurements.
- Alternative wet ingredients: If you’re looking to experiment with different flavors or dietary restrictions, you can consider using alternative wet ingredients. Almond milk, coconut milk, or soy milk can be used instead of regular milk. Applesauce or mashed bananas can be used as substitutes for eggs or oil to make your cookies healthier.
- Incorporating the wet ingredients: Start by slowly pouring the wet ingredients into the butter and sugar mixture while continuously mixing with a spatula or electric mixer. This gradual addition allows for even distribution of the liquids and ensures a consistent dough texture.
- Mixing until combined: Once all the wet ingredients have been added, continue mixing until the dough is well combined. Make sure there are no streaks of dry ingredients remaining and that the dough is smooth and cohesive.
Incorporate the Dry and Wet Mixtures
After incorporating the wet ingredients, it’s time to combine them with the dry mixture to complete the cookie dough. The ratio of dry to wet ingredients is crucial in achieving the perfect texture and consistency. To ensure the best results, it’s important to follow the recommended ratios specified in the recipe.
To begin, measure out the correct amount of dry ingredients as stated in the recipe. This usually includes flour, baking powder, baking soda, and salt. Sift the dry ingredients together to remove any lumps and ensure even distribution.
Next, take the wet ingredients, such as butter, eggs, and vanilla extract, and slowly pour them into the dry mixture. It’s essential to add the wet ingredients gradually to avoid overwhelming the dry ingredients and creating a lumpy batter. A common technique is to make a well in the center of the dry ingredients and pour the wet mixture into it while gently stirring with a wooden spoon or spatula. Continue mixing until a cohesive dough forms.
It’s important not to overmix the dough, as this can lead to tough cookies. Once the dry and wet ingredients are fully incorporated, stop mixing immediately. Overmixing can activate the gluten in the flour, resulting in a dense and chewy texture rather than a light and tender one.
Bake and Enjoy
To indulge in your freshly baked cookies, preheat your oven and prepare to savor the sweet aroma filling your kitchen. Once you have mixed the dough and chilled it, it’s time to move on to the final step of the cookie baking process. Follow these baking techniques and cookie decorating tips to ensure your cookies turn out deliciously perfect.
- Preheat the oven to the specified temperature. This is crucial for even baking and achieving that golden-brown color on your cookies.
- Line your baking sheets with parchment paper or silicone mats. This will prevent the cookies from sticking and make clean-up a breeze.
- Scoop the dough onto the prepared baking sheets using a cookie scoop or tablespoon. Leave enough space between each cookie to allow for spreading during baking.
- Place the baking sheets in the preheated oven and set the timer according to the recipe’s baking time. Avoid opening the oven door too frequently, as this can affect the baking process.
While your cookies are baking, you can prepare for some cookie decorating fun. Once the cookies have cooled completely, you can unleash your creativity and personalize them to your liking. Here are some cookie decorating ideas to get you started:
- Use royal icing to pipe intricate designs, create borders, or write personalized messages on your cookies.
- Add a touch of sparkle with colored sugar or edible glitter. Sprinkle it over the icing or dip the cookies into it for a dazzling effect.
- Experiment with different shapes and sizes of cookie cutters to create unique designs.
- Use food coloring to tint your icing and create vibrant, eye-catching cookies.
Now that you have mastered the art of baking cookies and adding decorative touches, it’s time to sit back and enjoy the fruits of your labor. Pour yourself a glass of milk, grab a plateful of cookies, and savor each delicious bite.
Step-by-Step Cookie Baking Guide; Frequently Asked Questions
How Can I Substitute the Butter in This Recipe for a Healthier Alternative?
You can substitute the butter in your recipe with margarine as a healthier alternative. However, it is important to consider the pros and cons. Margarine can be lower in saturated fat, but it may contain trans fats or other additives.
Can I Use a Different Type of Sugar Instead of Granulated Sugar?
Yes, you can use alternative sweeteners or different types of sugar for baking. Some options include coconut sugar, honey, maple syrup, or agave nectar. Experiment with quantities and adjust the recipe accordingly for desired sweetness and texture.
What Are Some Common Mistakes to Avoid When Baking Cookies?
When baking cookies, be careful to avoid common mistakes. Don’t overmix the dough, use the correct oven temperature, and don’t overcrowd the baking sheet. For healthier alternatives, try using whole wheat flour and reducing the sugar and butter.
How Long Should I Let the Cookies Cool Before Removing Them From the Baking Sheet?
Let the cookies cool on the baking sheet for about 5-10 minutes before removing them. This allows them to set and firm up, ensuring a perfect texture. Afterward, transfer them to a wire rack to cool completely before storing them properly.
Can I Freeze the Cookie Dough and Bake It at a Later Time?
Yes, you can freeze cookie dough and bake it later. It’s important to use the right type of sugar for baking cookies. Granulated sugar will give you a crispier texture, while brown sugar will make them chewier.
Conclusion
In conclusion, by following this comprehensive step-by-step cookie baking guide, you can ensure a successful and delicious outcome. Remember to gather all the necessary ingredients, preheat your oven, mix the dry ingredients, cream the butter and sugar, add the wet ingredients, incorporate the mixtures, and finally, bake and enjoy your homemade cookies. These detailed instructions will guarantee precise and satisfying results for your baking endeavors. Happy baking!


