How To: Pressure Cooking Meat How Long
Pressure Cooking Meat How Long; When pressure cooking meat, timing is essential for achieving the perfect tenderness. For tough cuts of beef like chuck roast, you’ll need 60-75 minutes, while tender cuts such as ribeye take about 25-30 minutes. Pork shoulder requires 60-75 minutes, but pork chops only need 8-10 minutes. For poultry, cook bone-in pieces for 10-12 minutes and whole chickens for 25-30. Remember, frozen meat usually needs 50% more time than fresh. Always allow for some natural pressure release to enhance juiciness. Curious about more specifics on cooking times and tips? Keep going to learn all the details!
Benefits of Pressure Cooking
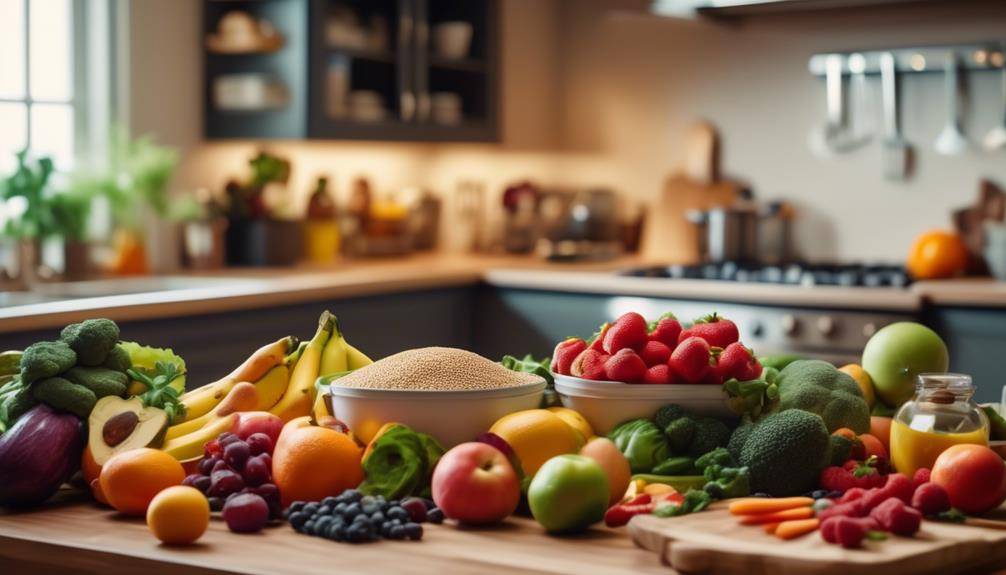
One of the greatest benefits of pressure cooking is how quickly it prepares meals, saving you valuable time in the kitchen. With its time efficiency, you can whip up delicious dishes in a fraction of the time it takes with traditional cooking methods. Imagine coming home after a long day and having a hearty meal ready in under an hour.
Pressure cooking also enhances flavor retention, locking in the delicious tastes of your ingredients. The sealed environment allows spices and seasonings to infuse your dishes better than conventional cooking. Plus, you won’t have to worry about losing nutrients; pressure cooking excels at nutrient preservation. The shorter cooking times and reduced water usage mean your meals remain packed with essential vitamins and minerals.
Energy savings is another perk you can enjoy with pressure cooking. Since it cooks food faster, you’ll use less energy, which can lead to lower utility bills. The convenience factor is hard to beat—set your meal up in the morning, and let the pressure cooker do the work while you go about your day.
Whether you’re meal prepping for the week or trying out a new recipe, pressure cooking offers incredible recipe versatility. From tender meats to flavorful stews and even desserts, you can explore a variety of cuisines without the hassle of lengthy preparation. Embracing pressure cooking not only simplifies your cooking routine but also elevates your culinary experience.
Understanding Pressure Cooking Times
When it comes to pressure cooking, knowing the right cooking times is vital for achieving perfectly tender meat. The beauty of pressure cooking lies in its ability to infuse flavor while greatly reducing cooking time. However, you need to be aware of the specific times for different types of meat to maximize those pressure cooking benefits.
First, familiarize yourself with the best cooking methods for various meats. For instance, tougher cuts like chuck roast or pork shoulder benefit from longer cooking times, typically around 60 to 90 minutes, as the pressure helps break down the connective tissues. On the other hand, more delicate meats, like chicken breasts or fish, require much less time, often just 6 to 10 minutes, to prevent overcooking.
Using a reliable pressure cooking chart can be your best friend. It provides clear guidelines for different cuts and types of meat, ensuring that you’re cooking them to perfection. Don’t forget to account for the time it takes for the pressure cooker to come to pressure and release pressure after cooking. This can add several minutes to your total time but is essential for safety and maintaining the quality of your meal.
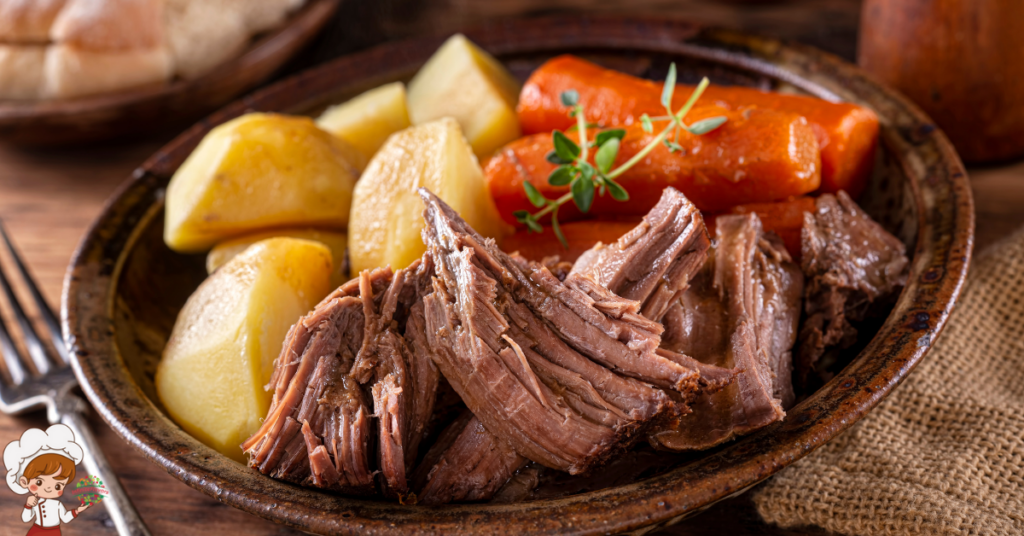
Beef Cooking Times
Understanding the right cooking times for beef is key to achieving that perfect balance of tenderness and flavor. When using a pressure cooker, the time varies based on the specific beef cuts you choose. For tougher cuts like chuck roast or brisket, you’ll want to cook them for about 60 to 75 minutes at high pressure. This not only guarantees they become tender but also allows the flavors to meld beautifully.
If you’re working with more tender cuts such as sirloin or ribeye, you’ll need considerably less time—around 25 to 30 minutes should do the trick. Always remember, the thickness of your beef cuts can impact cooking times, so adjust accordingly.
Before cooking, don’t overlook the importance of seasoning techniques. A good rub of salt, pepper, and your favorite spices can enhance the natural flavors of the beef. You might also consider marinating your beef beforehand; this adds another layer of flavor and can help tenderize the meat even further.
Once your cooking time is up, let the pressure release naturally for about 10 minutes before doing a quick release. This step helps the beef retain its juiciness. Afterward, you can let it rest for a few minutes before slicing. With these tips on beef cooking times and seasoning techniques, you’ll be well on your way to serving up a delicious, perfectly cooked beef dish every time.
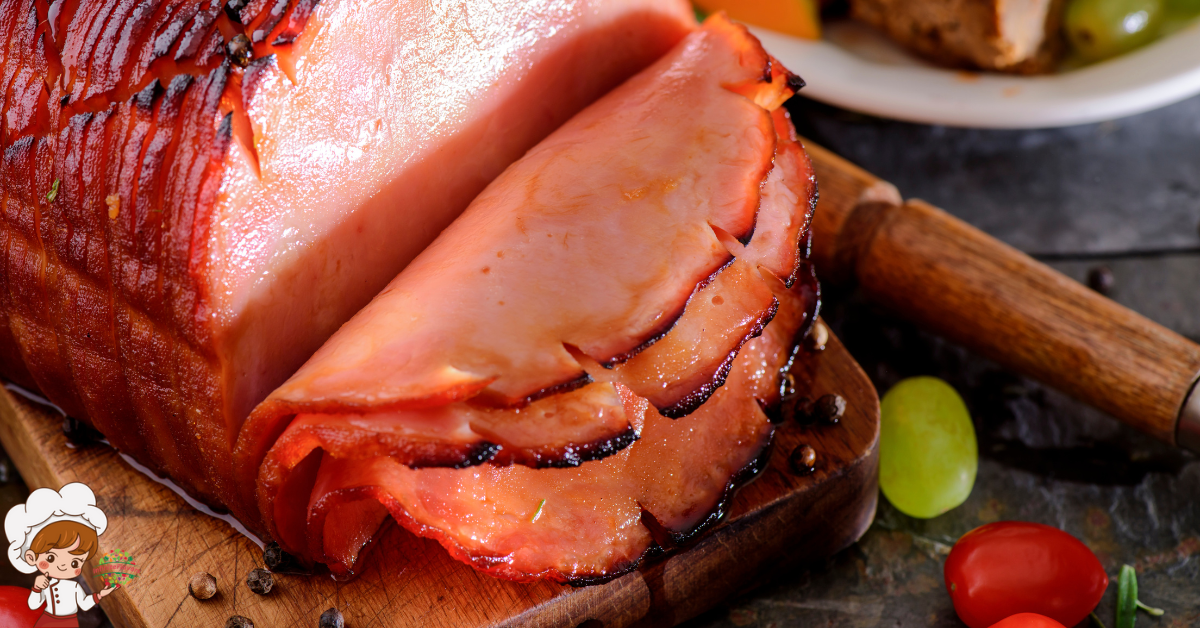
Pork Cooking Times
Getting the cooking times right for pork is essential to achieving juicy, flavorful results. When pressure cooking, each cut of pork requires different times to guarantee it’s cooked through and tender.
For pork shoulder, which is perfect for shredding, you’ll need about 60 to 75 minutes at high pressure. This long cooking time breaks down the connective tissues, resulting in melt-in-your-mouth goodness. If you’re preparing pork chops, they only need about 8 to 10 minutes. You want them juicy but not overcooked, so keep an eye on that timer.
Pork tenderloin is a lean cut that cooks quickly. Aim for 3 to 5 minutes under high pressure, followed by a quick release for the best texture. Pork belly, known for its rich flavor, takes about 45 to 50 minutes. Don’t forget to let it rest after cooking for the best results.
For pork ribs, whether baby back or spare ribs, you’ll want to cook them for around 25 to 30 minutes. This time allows the meat to become tender and fall-off-the-bone delicious. Finally, when it comes to a pork roast, you should plan for 60 to 90 minutes, depending on the size. A natural pressure release will help retain the juices, making your roast even tastier.
Poultry Cooking Times
How long should you cook poultry in a pressure cooker for the best results? Cooking times vary depending on the poultry cuts you’re using. For bone-in chicken pieces, like thighs or drumsticks, you’ll want to cook them for about 10 to 12 minutes at high pressure. If you’re using boneless chicken breasts, aim for 6 to 8 minutes. Whole chickens typically need around 25 to 30 minutes, depending on their size.
Before you start cooking, don’t forget to apply some seasoning techniques to enhance the flavor of your poultry. Marinating your chicken or seasoning it with spices can make a big difference in taste. You can use a simple blend of salt, pepper, garlic powder, and paprika, or get creative with your favorite herbs and spices. Make sure to rub the seasoning under the skin for maximum flavor absorption.
Once you’ve seasoned your poultry cuts, add a cup of liquid—like chicken broth or water—into the pressure cooker. This helps create the steam needed for cooking. After the cooking time’s up, allow for a natural pressure release for about 5 minutes before switching to a quick release. This technique helps keep your poultry moist and tender.
Lamb and Goat Cooking Times
When it comes to pressure cooking, lamb and goat require specific cooking times to achieve the best flavor and tenderness. You’ll want to know the ideal times for different cuts to make sure your meal turns out perfectly. Let’s explore the pressure cooking guidelines for both meats to help you get started.
Lamb Pressure Cooking Times
Cooking lamb in a pressure cooker can yield tender, flavorful results in a fraction of the time compared to traditional methods. When you’re working with different lamb cuts, it’s crucial to know the right cooking times to achieve perfect tenderness without losing those rich flavor profiles.
For tougher cuts, like lamb shanks or shoulder, you’ll want to set your pressure cooker for about 45 to 60 minutes. These cuts benefit from the high pressure, breaking down the connective tissue and resulting in a melt-in-your-mouth experience. If you’re using more tender cuts, such as lamb chops or leg, cook them for around 15 to 25 minutes. This shorter time helps maintain their juiciness and prevents overcooking.
Goat Pressure Cooking Guide
If you’ve mastered lamb in the pressure cooker, you’ll find goat offers a similarly rewarding experience with its unique flavors and textures. Goat meat, often leaner and more flavorful than lamb, benefits immensely from pressure cooking. When it comes to goat cuts, consider using shoulder or shank for the best results. These cuts become tender and juicy in a relatively short time.
For pressure cooking, you’ll want to cook goat shoulder for about 45 to 60 minutes, while shank typically needs around 50 to 70 minutes. Always remember to add some liquid, like broth or water, to enhance flavor and guarantee even cooking.
To elevate the dish, incorporate spices and herbs that complement goat’s robust flavor. Garlic, ginger, and rosemary work particularly well, making for a delightful meal.
After the cooking time is up, let the pressure release naturally for about 10 minutes before quick-releasing any remaining pressure. This helps retain moisture, contributing to that flavorful enhancement you’re aiming for. Once done, savor your perfectly cooked goat, and enjoy the unique taste experience it brings to your table!
Fish and Seafood Cooking Times
Many home cooks find that pressure cooking fish and seafood can be a game changer in the kitchen. The speed and efficiency of pressure cooking allow you to enjoy perfectly tender and flavorful dishes in no time. When it comes to fish preparation, you’ll want to keep cooking times short to avoid overcooking. Generally, most fish fillets cook in just 3 to 5 minutes under high pressure. Thicker cuts, like salmon steaks, might take a bit longer, around 5 to 7 minutes.
For seafood, cooking times vary slightly based on the type. Shrimp and scallops usually need only 1 to 3 minutes, while clams and mussels can take about 3 to 5 minutes. The key is to guarantee that your seafood marinades enhance the natural flavors without overpowering them. Marinades that include citrus, herbs, or even a splash of wine can elevate your dish and complement the quick cooking process.
Always remember to release the pressure quickly when cooking delicate fish and seafood. This helps maintain their tender texture. If you’re cooking a mixed seafood dish, aim for the longest cooking time of the ingredients you’re using, but adjust accordingly to avoid overcooking the more delicate items.
Cooking Frozen Meat
Cooking frozen meat in a pressure cooker can save you time, but you need to follow specific guidelines to guarantee it cooks properly. Always pay attention to safety considerations, as cooking frozen meat requires adjustments to cooking times. Let’s explore the best practices for getting delicious results from your frozen cuts.
Cooking Time Guidelines
When you’re ready to tackle frozen meat in a pressure cooker, understanding the right cooking times is crucial for achieving tender, flavorful results. Pressure cooking frozen meat requires a bit more time compared to fresh, but it’s a game changer for quick meals. Generally, you’ll want to increase the cooking time by about 50% for frozen options. For instance, if fresh chicken takes 10 minutes, frozen chicken will need about 15 minutes.
Different meats have varying cooking techniques and times. For beef, frozen chunks might need around 25 to 30 minutes, while pork can take about 20 minutes. Ground meat generally cooks faster; expect around 10 to 12 minutes.
Pay attention to the meat textures you’re aiming for. If you prefer a fall-apart tenderness, opt for longer cooking times, while shorter times will yield firmer textures. Always verify that your meat reaches a safe internal temperature, as this guarantees not only tenderness but also safety. By following these simple guidelines, you can make the most out of your pressure cooker and enjoy delicious meals, even when starting with frozen meat.
Safety Considerations
Guaranteeing safety while cooking frozen meat in a pressure cooker is vital for both your health and the quality of your meal. First, make sure you follow proper hygiene practices. Wash your hands thoroughly before handling any meat and verify that all surfaces and utensils are clean. This prevents cross-contamination and keeps your food safe.
When it comes to meat storage, always thaw frozen meat safely before cooking. Although some pressure cookers allow you to cook frozen meat directly, it’s best to confirm the meat reaches a safe internal temperature. Use a meat thermometer to check that it’s cooked to at least 165°F (74°C) for poultry and 145°F (63°C) for other meats. This step is important, as cooking at high pressure can sometimes lead to uneven cooking.
Furthermore, avoid cooking large frozen chunks of meat, as they may not cook evenly and could harbor harmful bacteria. Instead, try to separate the pieces before freezing, so they cook more uniformly. By following these safety considerations, you’ll enjoy a delicious meal without compromising your health.
Tips for Tender Meat
To achieve tender meat in your pressure cooker, you’ll want to lock in flavor and moisture right from the start. One effective way to do this is by using marinade techniques. A good marinade not only enhances flavor but also helps to tenderize tougher cuts of meat. Consider using acidic ingredients like vinegar or citrus juice, along with herbs and spices, to break down the muscle fibers. Let your meat marinate for at least 30 minutes, or up to several hours for the best results.
Once your meat is marinated, it’s essential to choose the right cooking time and pressure. Overcooking can lead to dry meat, while undercooking won’t yield the tenderness you’re after. Familiarize yourself with the specific cooking times for different types of meat; for example, beef may require longer than chicken.
After cooking, don’t skip the resting period. Allowing your meat to rest for about 10 to 15 minutes before slicing is key to retaining moisture. This resting period lets the juices redistribute throughout the meat, making each bite more succulent and tender.
Common Mistakes to Avoid
When pressure cooking meat, it’s easy to make a few common mistakes that can ruin your dish. Overcooking the meat, using the wrong amount of liquid, and neglecting the natural release can lead to tough or dry results. Let’s explore these pitfalls so you can achieve perfectly cooked meat every time.
Overcooking the Meat
Although pressure cooking can yield tender and flavorful meat, overcooking it is a common mistake that can ruin your dish. When you overdo it, you risk losing the ideal meat texture that makes your meal enjoyable. Instead of that juicy, succulent bite, you’ll end up with dry, stringy meat that’s far from appetizing.
To avoid this pitfall, it’s essential to follow recommended cooking times closely. Each type of meat has its own ideal pressure cooking duration. For instance, chicken breasts usually need about 10 minutes, while tougher cuts like beef chuck may require 35 minutes. Always err on the side of caution; you can always cook it a bit longer if needed, but you can’t undo overcooking.
Flavor enhancement is another vital aspect that suffers from overcooking. You want the seasonings and marinades to permeate the meat without losing their potency. So, keep an eye on the clock, and remember to check for doneness with a meat thermometer. This way, you’ll serve up perfectly cooked meat that’s both tender and bursting with flavor. Enjoy your perfectly cooked meal!
Incorrect Liquid Amount
Overcooking meat isn’t the only mistake to watch out for; using the wrong amount of liquid can also lead to disappointing results in pressure cooking. If you don’t measure your liquid correctly, you might end up with dry, tough meat or, conversely, an overly soupy dish. Each pressure cooker has specific liquid measurement requirements, so be certain to refer to your manual for guidance.
Too little liquid can cause your cooker to run dry, resulting in burnt food and potentially damaging the appliance. On the flip side, too much liquid can prevent the pressure from building correctly, requiring unnecessary pressure adjustment and prolonging your cooking time.
To guarantee consistency, always use a liquid measuring cup and stick to the recommended amounts. If you’re adapting a recipe, remember that it’s vital to maintain the right balance of liquid. Pay attention to how various proteins absorb moisture; tougher cuts might need more liquid than tender ones. By getting the liquid measurement right, you set yourself up for perfectly cooked meat every time.
Neglecting Natural Release
One common mistake you might make is neglecting the natural release process after cooking meat in a pressure cooker. Many people rush to open the lid as soon as the cooking time is up, but this can lead to tough and dry meat. Embracing the natural release benefits is vital for achieving that tender, juicy texture you desire.
When you allow the pressure to decrease naturally, the meat continues to cook gently, absorbing flavors and moisture. This process can take anywhere from 10 to 30 minutes, depending on the recipe. Unfortunately, some pressure cooker myths suggest that natural release is unnecessary and wasteful, but in reality, it’s an essential step for best results.
Final Thoughts on Timing
When it comes to timing in pressure cooking meat, getting it right is essential for achieving tender, flavorful results. The cooking temperature inside your pressure cooker greatly affects how quickly meat cooks and how tender it becomes. Each type of meat has its ideal cooking time, which helps break down tough fibers, ensuring you enjoy a succulent meal.
To master timing, familiarize yourself with the specific cooking times for different meats. For instance, chicken typically cooks faster than beef or pork, so you’ll need to adjust your timing accordingly. Use a reliable guide or chart that lists cooking times based on the type and cut of meat you’re using. Remember, thicker cuts require more time, while smaller pieces can cook relatively quickly.
Also, consider the natural release method. While you might be tempted to open the valve immediately after cooking, allowing the pressure to release naturally can enhance meat tenderness. This extra time lets the juices redistribute throughout the meat, making it even more enjoyable.
Don’t forget about the role of altitude in cooking times. If you live at a higher elevation, you may need to extend your cooking times slightly due to lower boiling temperatures.
Frequently Asked Questions: Pressure Cooking Meat How Long
Can I Pressure Cook Marinated Meat for Added Flavor?
Yes, you can pressure cook marinated meat for added flavor. The marinade absorption during cooking enhances the overall taste, making your dish more delicious. Just make certain you don’t overcook it to maintain tenderness.
What Is the Best Way to Release Pressure After Cooking?
To release pressure, you’ve got two options: natural release, where you let the pressure drop gradually, or quick release, where you carefully turn the valve for an immediate release. Choose based on your recipe requirements!
Is It Safe to Pressure Cook Meat With Bones?
Yes, it’s safe to pressure cook meat with bones. Bone-in benefits include enhanced flavor and tenderness. Just remember to follow safety precautions, like ensuring your pressure cooker’s properly sealed and not overfilling it.
How Does Altitude Affect Pressure Cooking Times?
Altitude affects pressure cooking times because lower atmospheric pressure requires you to make pressure adjustments. At higher elevations, you’ll need altitude conversions to guarantee your food cooks properly and reaches the desired tenderness and flavor.
Can I Combine Different Types of Meat in One Recipe?
You can definitely combine different meat combinations in one recipe! Just remember, cooking times might vary based on the types of meat used, so adjust accordingly to guarantee everything’s cooked perfectly. Enjoy experimenting!

Conclusion
In summary, mastering pressure cooking times can transform your meat dishes into tender, flavorful meals. Whether you’re cooking beef, pork, or poultry, knowing the right timing is key. Don’t forget to adjust for frozen meat and avoid common mistakes to guarantee success. With these tips, you’ll not only save time but also impress your family and friends with perfectly cooked meals. So grab your pressure cooker and start experimenting—you’re bound to discover delicious results!
If you enjoyed exploring this topic and want to dive even deeper, be sure to check out some of our other articles here on Infinite Flavors. From rich culinary histories to creative twists on classic recipes, there’s always something new to discover. Whether you’re curious about the origins of a dish, looking for fresh inspiration in the kitchen, or simply love learning about food culture, our collection of posts is the perfect next step on your flavor journey.
How To Pressure Cooking For Breakfast Recipes
Be The Best At Pressure Cooking Rice To Perfection
The Great Time-Saving Tips With Pressure Cooking