Eight Essential Tips For Amazing Homemade Gluten-Free Bread
Tips For Amazing Homemade Gluten-Free Bread; Are you tired of searching for the perfect gluten-free bread at your local grocery store? Look no further! In this discussion, we will explore eight essential tips that will revolutionize your homemade gluten-free bread game. From choosing the right flour blend to troubleshooting common issues, we’ve got you covered. But that’s not all! We will also delve into gluten-free bread variations and provide you with some mouthwatering recipe ideas. So, if you’re ready to elevate your gluten-free bread experience, keep reading to discover the secrets to gluten-free bread success.
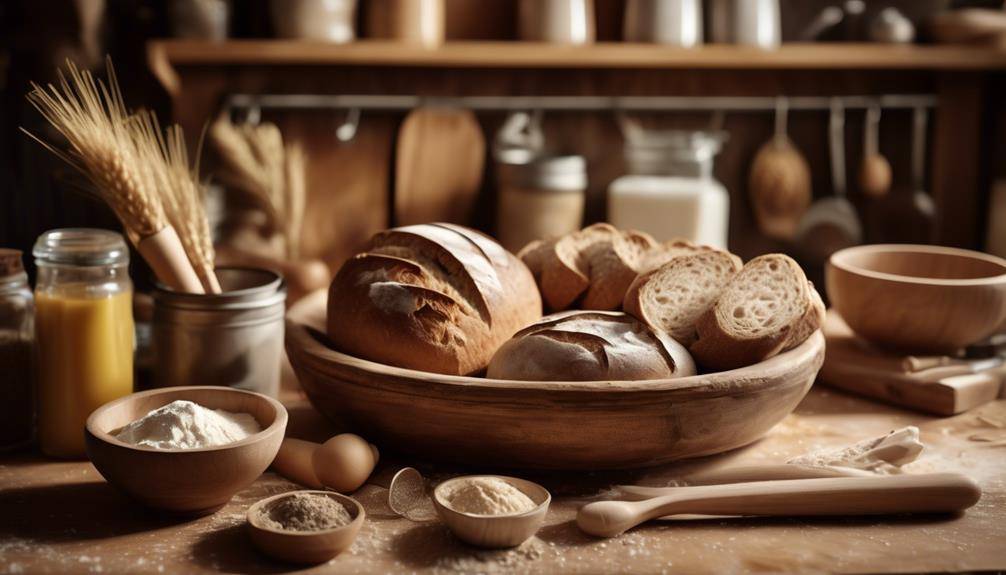
Choosing the Right Flour Blend
When it comes to making homemade gluten-free bread, choosing the right flour blend is essential for achieving a delicious and satisfying result. You want a flour blend that not only provides a good texture and taste but also doesn’t break the bank. Fortunately, there are cost-effective options available that allow you to create a gluten-free bread that is just as good as its wheat-based counterpart.
One cost-effective option for a flour blend is to mix your own using alternative grain options. Instead of relying solely on expensive specialty flours like almond or coconut, consider using a combination of less expensive grains such as rice flour, tapioca flour, and potato starch. These alternative grains can be easily found in most grocery stores and are much more affordable. By mixing them in the right proportions, you can create a flour blend that offers a good balance of flavor and texture.
Another cost-effective option is to look for pre-made gluten-free flour blends that are available in the market. These blends are specifically formulated to mimic the texture and taste of regular wheat flour, making them an excellent choice for baking gluten-free bread. While they may be slightly more expensive than mixing your own blend, they often offer convenience and consistency in terms of results.
When choosing a flour blend, it’s important to consider your personal taste preferences and dietary restrictions. Experiment with different combinations of flours to find the one that works best for you. Don’t be afraid to try out new grains like quinoa or sorghum, which can add interesting flavors and textures to your bread. Remember, the key is to find a flour blend that not only meets your dietary needs but also satisfies your cravings for a delicious and satisfying homemade gluten-free bread.
Activating the Yeast
To activate the yeast in your homemade gluten-free bread, start by proofing it with warm water and a small amount of sugar. This process helps to wake up the yeast, ensuring that it is active and ready to do its job of leavening the bread. Here are some tips to help you activate the yeast successfully:
- Use warm water: The water should be around 110°F (43°C). This temperature is ideal for activating the yeast without killing it. If the water is too hot, it can kill the yeast, and if it’s too cold, the yeast may not activate properly.
- Add a small amount of sugar: Yeast feeds on sugar, so adding a teaspoon or two of sugar to the warm water will provide the yeast with the nourishment it needs to grow and multiply. This will help to create a strong and active yeast mixture.
- Stir well: After adding the sugar to the warm water, stir the mixture well to ensure that the sugar dissolves completely. This will help to evenly distribute the sugar and activate the yeast more efficiently.
- Let it sit: Once you’ve mixed the yeast, warm water, and sugar together, let the mixture sit for about 5-10 minutes. During this time, the yeast will begin to activate and become frothy or foamy. If there is no froth or foam after this time, it may indicate that the yeast is not active, and you may need to start again with fresh yeast.
- Troubleshooting yeast activation: If your yeast doesn’t activate, there are a few possible reasons. It could be that the water was too hot or too cold, the yeast was expired, or the sugar was insufficient. Experiment with different water temperatures, check the expiration date on your yeast, and adjust the amount of sugar used to troubleshoot yeast activation.
Mixing the Dough
Now that you have successfully activated the yeast in your homemade gluten-free bread, it’s time to move on to the next step: mixing the dough. Mixing the dough is a crucial step in bread-making, as it affects the texture and rise of the final product. To ensure your gluten-free bread turns out perfectly, here are some mixing techniques and troubleshooting tips to keep in mind.
First and foremost, it’s important to use the right mixing technique for your gluten-free dough. Unlike traditional bread, gluten-free dough doesn’t require extensive kneading. Instead, use a gentle folding and stirring motion to incorporate the ingredients. This helps prevent over-mixing, which can lead to a dense and gummy texture in the finished bread.
Another tip is to mix the dough until it reaches a smooth and slightly sticky consistency. Gluten-free flours tend to absorb liquid differently than wheat flour, so you may need to adjust the amount of liquid in the recipe. If the dough appears too dry, gradually add more liquid until it reaches the desired consistency. On the other hand, if the dough is too wet, add a small amount of flour at a time until it becomes manageable.
If you’re experiencing difficulties with your gluten-free dough, there are troubleshooting tips to help you out. For example, if the dough is too sticky to handle, lightly dust your hands and work surface with gluten-free flour. This will make it easier to shape the dough into a loaf or rolls. Additionally, if the dough doesn’t rise as much as you’d like, it may be due to insufficient yeast or rising time. Double-check the measurements and ensure the dough has enough time to proof in a warm environment.
Adding Binders and Stabilizers
When it comes to homemade gluten-free bread, adding binders and stabilizers is crucial to achieving the right texture and structure. One popular binder is xanthan gum, which helps to hold the ingredients together and prevent crumbling. Another option is psyllium husk, which not only acts as a binder but also provides stability to the bread. By incorporating these ingredients into your gluten-free bread recipe, you can ensure a delicious and satisfying result.
Xanthan Gum for Binding
Consider using xanthan gum as a binder and stabilizer when making homemade gluten-free bread to ensure a delicious and cohesive final product. Xanthan gum is a popular ingredient in gluten-free baking due to its ability to mimic the texture and elasticity of gluten. Here are five reasons why xanthan gum is a great choice for your gluten-free bread:
- Improved texture: Xanthan gum helps create a soft and chewy texture, making your bread more enjoyable.
- Enhanced rise: It promotes better rising, resulting in a lighter and fluffier loaf.
- Better moisture retention: Xanthan gum helps your bread retain moisture, preventing it from becoming dry and crumbly.
- Longer shelf life: It acts as a natural preservative, keeping your bread fresher for longer.
- Easy to find: Xanthan gum is widely available in most grocery stores and online.
Keep in mind that xanthan gum substitutes, such as guar gum or psyllium husk, can be used if you prefer. However, it’s important to note that excessive consumption of xanthan gum may cause digestive issues for some individuals. As always, listen to your body and consult a healthcare professional if you have any concerns about xanthan gum side effects. Happy baking!
Psyllium Husk for Stability
To achieve stability and improve the texture of your homemade gluten-free bread, consider incorporating psyllium husk as a binder and stabilizer. Psyllium husk is a popular ingredient in gluten-free baking because of its ability to absorb water and form a gel-like substance. This gel helps bind the ingredients together and prevents the bread from crumbling. Psyllium husk also adds moisture to the bread, resulting in a softer and more tender texture.
In addition to its binding and stabilizing properties, psyllium husk has several other benefits. It is a good source of fiber, which can help support digestive health and promote regular bowel movements. Psyllium husk may also help lower cholesterol levels and regulate blood sugar levels.
If you don’t have psyllium husk on hand, there are a few substitutes you can try. Chia seeds and ground flaxseeds can both be used as binders and provide similar benefits to psyllium husk. However, they may not have the exact same binding properties, so you may need to adjust the amount used in your recipe.
Incorporating psyllium husk into your gluten-free bread recipe can be a game-changer. Not only does it improve the stability and texture of the bread, but it also offers numerous health benefits. Give it a try and enjoy the delicious results!
Incorporating Flavors and Add-Ins
Enhance the flavor and texture of your homemade gluten-free bread with a variety of delicious add-ins and flavors. Get creative and experiment with unique flavors and mix-ins to take your bread to the next level. Here are five ideas to inspire you:
- Herbs and Spices: Add a burst of flavor to your gluten-free bread by incorporating herbs and spices. Try adding rosemary, thyme, or basil for a savory twist. For a touch of warmth, cinnamon or nutmeg can do wonders.
- Seeds and Nuts: Give your bread some crunch by adding seeds and nuts. Chia seeds, flaxseeds, or sunflower seeds can provide a delightful texture. Walnuts, almonds, or pecans can add a rich and nutty taste.
- Dried Fruits: For a hint of sweetness, consider adding dried fruits to your bread. Raisins, cranberries, or apricots can bring a burst of flavor and add some chewiness to your loaf.
- Cheese: If you’re a cheese lover, why not incorporate it into your gluten-free bread? Parmesan, cheddar, or feta can add a delightful tang and melt beautifully, creating pockets of cheesy goodness.
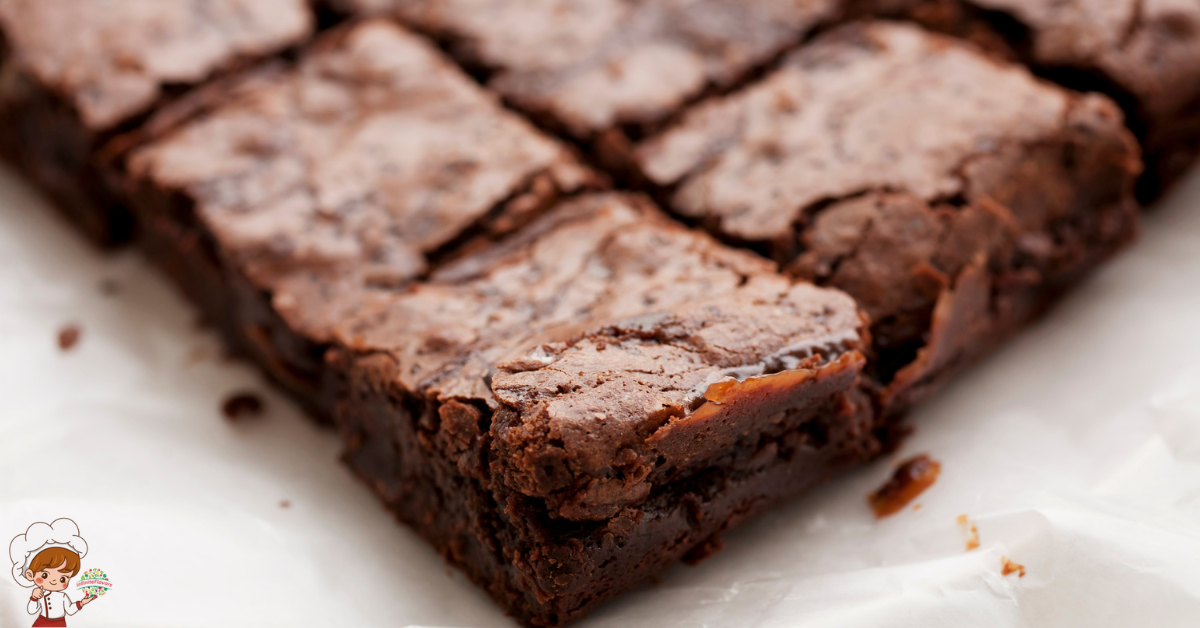
- Chocolate: Indulge your sweet tooth by adding chocolate to your bread. Whether it’s dark chocolate chunks or cocoa powder, the rich and decadent taste will satisfy any chocolate lover.
Don’t be afraid to experiment and mix and match these add-ins to create your own unique flavors. The possibilities are endless when it comes to incorporating flavors and mix-ins into your homemade gluten-free bread. So go ahead, get creative, and surprise your taste buds with a loaf of bread that’s packed with deliciousness.
Proofing the Dough
Now that you’ve added your desired flavors and mix-ins to your gluten-free bread dough, it’s time to let it undergo the important process of proofing. Proofing is a crucial step in bread-making that allows the dough to rise and develop flavor, texture, and structure. In this stage, the yeast ferments the sugars, producing carbon dioxide gas that makes the dough expand. To ensure successful proofing, here are some helpful techniques and troubleshooting challenges to keep in mind.
First, choose a warm and draft-free environment for proofing your gluten-free bread dough. Yeast thrives in a temperature range of 75°F to 85°F (24°C to 29°C). You can use a proofing box, warm oven, or even place the dough near a heat source like a radiator. Just make sure not to exceed the recommended temperature range, as it can kill the yeast.
Timing is also crucial when it comes to proofing. Gluten-free dough often requires less time to rise compared to regular wheat-based dough. Keep a close eye on the dough and check for visual cues such as increased volume and a slightly domed shape. You can also perform the “poke test” by gently pressing your finger into the dough. If the indentation slowly springs back, the proofing is complete.
One common challenge in proofing gluten-free bread dough is achieving sufficient rise. Gluten is responsible for trapping the carbon dioxide gas, giving bread its airy texture. Since gluten is absent in gluten-free bread, achieving a good rise can be challenging. To help with this, you can add xanthan gum or psyllium husk powder to improve the dough’s structure and rise.
Baking Time and Temperature
For optimal results, pay careful attention to the baking time and temperature when making homemade gluten-free bread. The right baking techniques will ensure that your bread turns out perfectly, with a delicious golden crust that is both crispy and tender. Here are five essential tips to help you achieve baking success:
- Preheat your oven: Before placing your bread in the oven, make sure to preheat it to the recommended temperature. This will ensure that your bread bakes evenly and rises properly.
- Use an oven thermometer: Oven temperatures can vary, and an inaccurate temperature can affect the outcome of your bread. Invest in an oven thermometer to ensure that your oven is truly at the desired temperature.
- Follow the recipe’s instructions: Gluten-free bread recipes often have specific baking times and temperatures. Follow these instructions carefully to achieve the best results. Overbaking can result in a dry and crumbly loaf, while underbaking may leave your bread doughy and uncooked.
- Rotate your bread: About halfway through the baking time, rotate your bread pan to ensure even browning. This will help you achieve a beautiful golden crust all around.
- Test for doneness: To check if your bread is fully baked, insert a toothpick or skewer into the center. If it comes out clean or with just a few crumbs clinging to it, your bread is ready. If the toothpick comes out wet or with raw dough, continue baking for a few more minutes.
Achieving the Perfect Texture
To ensure your gluten-free bread not only has a perfect golden crust but also a delightful texture that is soft and springy, there are a few key factors to consider. Achieving the perfect texture in gluten-free bread can be a bit challenging due to the absence of gluten, which provides the elasticity and structure in traditional bread. However, with a few simple tips and texture alternatives, you can achieve a consistent and satisfying texture every time.
One of the most important factors in achieving the perfect texture is using the right combination of gluten-free flours. A blend of different flours, such as rice flour, tapioca flour, and potato starch, can help create a balance of flavors and textures. Experiment with different ratios to find the combination that works best for you.
Another tip is to add ingredients that can enhance the texture of your gluten-free bread. Adding xanthan gum or psyllium husk powder can help bind the ingredients together and give your bread a better structure. These ingredients act as gluten substitutes and help achieve a soft and springy texture.
Incorporating moisture into your gluten-free bread is also crucial for achieving a delightful texture. Adding ingredients like applesauce, mashed bananas, or yogurt can help retain moisture and prevent your bread from becoming dry and crumbly.
Lastly, be sure to follow the mixing and kneading instructions properly. Over-mixing can lead to a dense and gummy texture, while under-mixing can result in a crumbly and dry texture. Follow the recipe instructions and give your dough the proper time to rise and develop its texture.
Slicing and Storing Tips
Now that you’ve mastered the art of achieving the perfect texture for your homemade gluten-free bread, let’s talk about slicing and storing tips. Slicing your bread can be a bit tricky, considering its delicate texture. I’ll share some techniques to ensure clean, even slices every time. And once your bread is sliced, proper storage is essential to maintain its freshness and flavor. Let’s dive in and learn some handy tips!
Slicing Techniques
Try implementing these slicing techniques to ensure perfect slices of homemade gluten-free bread every time!
- Knife Selection: Choose a serrated knife with a long blade to cut through the crust without crushing the soft interior.
- Bread Loaf Shape: Opt for a rectangular loaf shape instead of a round one as it allows for easier and more uniform slicing.
- Cooling Time: Allow the bread to cool completely before slicing to prevent it from crumbling or tearing.
- Gentle Pressure: Apply gentle, even pressure when slicing to maintain the bread’s structure and prevent it from flattening.
- Uniform Thickness: Aim for slices of consistent thickness to ensure even toasting and a balanced texture in each bite.
Proper Storage
For optimal freshness and flavor, it’s important to know the proper storage techniques for your homemade gluten-free bread. After all, you’ve put in the time and effort to bake a delicious loaf, so you want to ensure it stays as fresh as possible. When it comes to slicing your bread, it’s best to wait until it has completely cooled. This will prevent the bread from becoming squished or crumbly. Use a sharp serrated knife and apply gentle pressure to create clean slices.
Once your bread is sliced, it’s time to store it properly. Wrap individual slices or the entire loaf in plastic wrap or aluminum foil to maintain its moisture. If you’re experiencing issues with your bread drying out too quickly, try storing it in an airtight container or resealable plastic bag. By following these slicing and storing tips, you can enjoy your homemade gluten-free bread for days to come.
Troubleshooting Common Issues
If you find yourself facing common issues while making homemade gluten-free bread, fear not, as there are solutions to ensure your bread turns out deliciously perfect every time. Here are some troubleshooting techniques to help you overcome the common pitfalls:
- Dense and Heavy Loaf: If your bread turns out dense and heavy, try adding a bit more liquid to the dough. Gluten-free flours tend to absorb more moisture, so increasing the liquid content can result in a lighter loaf.
- Crumbly Texture: If your bread crumbles when sliced, it may be due to insufficient binding agents. Adding xanthan gum or guar gum to the recipe can improve the texture and help bind the ingredients together.
- Poor Rise: If your bread doesn’t rise properly, check the yeast. Gluten-free flours can sometimes inhibit yeast activity. Make sure your yeast is fresh and active, and consider using a bread machine or proofing the dough in a warm place to encourage a better rise.
- Gummy Center: If your bread is perfectly risen and golden on the outside but has a gummy texture in the center, it may be underbaked. Check the internal temperature with a food thermometer; gluten-free bread usually needs to reach a higher temperature than regular bread for proper doneness.
- Dry and Crusty Crust: If your bread has a dry and overly crusty exterior, brush the loaf with a bit of oil or butter before baking. This will help retain moisture and create a softer crust.
Gluten-Free Bread Variations
Are you tired of the same old gluten-free bread options? Well, it’s time to shake things up and explore flavorful gluten-free variations that will leave your taste buds satisfied. From savory options like rosemary and garlic bread to sweet alternatives like cinnamon raisin bread, there are endless possibilities to get creative with your gluten-free baking. So, why settle for plain bread when you can have a delicious and unique loaf that caters to your dietary needs? Get ready to step up your gluten-free bread game and discover a whole new world of flavorful options.
Flavorful Gluten-Free Options
Looking to add some extra flavor to your homemade gluten-free bread? Look no further! Here are five flavorful gluten-free options to enhance your bread recipe variations:
- Herb-infused: Add a burst of fresh flavors by incorporating herbs like rosemary, basil, or thyme into your bread dough. The aroma alone will make your mouth water.
- Cheesy: For a savory twist, mix in some grated Parmesan or cheddar cheese into your dough. The melted cheese will create pockets of gooey goodness.
- Cinnamon Raisin: Sweeten up your bread by adding a generous amount of cinnamon and a handful of plump raisins. This combination is perfect for a cozy breakfast treat.
- Garlic and Onion: Infuse your bread with the savory flavors of garlic and onion by sautéing them before adding them to your dough. The result? A bread that pairs perfectly with soups and stews.
- Sun-dried Tomato: For a burst of tangy goodness, fold in some chopped sun-dried tomatoes into your dough. They will add a delightful sun-kissed flavor to each bite.
With these flavorful bread alternatives, your gluten-free bread will never be boring again!
Creative Bread Alternatives
Get ready to explore a world of delicious gluten-free bread alternatives that will take your baking game to the next level. If you’re looking for gluten-free bread substitutes, there are plenty of innovative bread recipes to try. How about starting with a savory and moist zucchini bread? Add some grated zucchini to your gluten-free flour mix and enjoy a loaf that’s bursting with flavor.
Another option is to make a sweet and nutty banana bread using almond flour instead of regular flour. The almond flour adds a unique texture and enhances the flavor of the bananas. For a more adventurous choice, try making a gluten-free flatbread using chickpea flour. This versatile flour creates a dense and chewy bread that pairs perfectly with dips and spreads. Don’t limit yourself to traditional bread recipes – have fun experimenting with these creative bread alternatives!
Gluten-Free Bread Recipe Ideas
Discover delicious gluten-free bread recipes that will satisfy your taste buds and leave you craving for more. Here are five recipe ideas that will take your gluten-free bread game to the next level:
- Rosemary Garlic Bread: Infused with the aromatic flavors of rosemary and garlic, this bread will add a burst of flavor to any meal. Simply mix gluten-free bread flour, yeast, rosemary, garlic powder, and salt. Let the gluten-free bread machine do its magic, and enjoy the delicious aroma filling your kitchen.
- Cinnamon Raisin Bread: Indulge in the sweet and comforting flavors of cinnamon and raisins with this gluten-free version of a classic favorite. Combine gluten-free bread flour, yeast, cinnamon, sugar, raisins, and a pinch of salt. Let the dough rise, then shape it into a loaf and bake until golden brown.
- Sun-Dried Tomato and Basil Bread: This bread is bursting with the vibrant flavors of sun-dried tomatoes and fresh basil. Mix gluten-free bread flour, yeast, sun-dried tomatoes, chopped basil, and a dash of salt. Knead the dough until smooth, let it rise, then bake to perfection.
- Cheese and Herb Bread: Elevate your bread game with this cheesy and herby delight. Combine gluten-free bread flour, yeast, grated cheese, a blend of your favorite herbs, and a sprinkle of salt. Let the gluten-free bread machine work its magic, and enjoy the gooey, flavorful goodness.
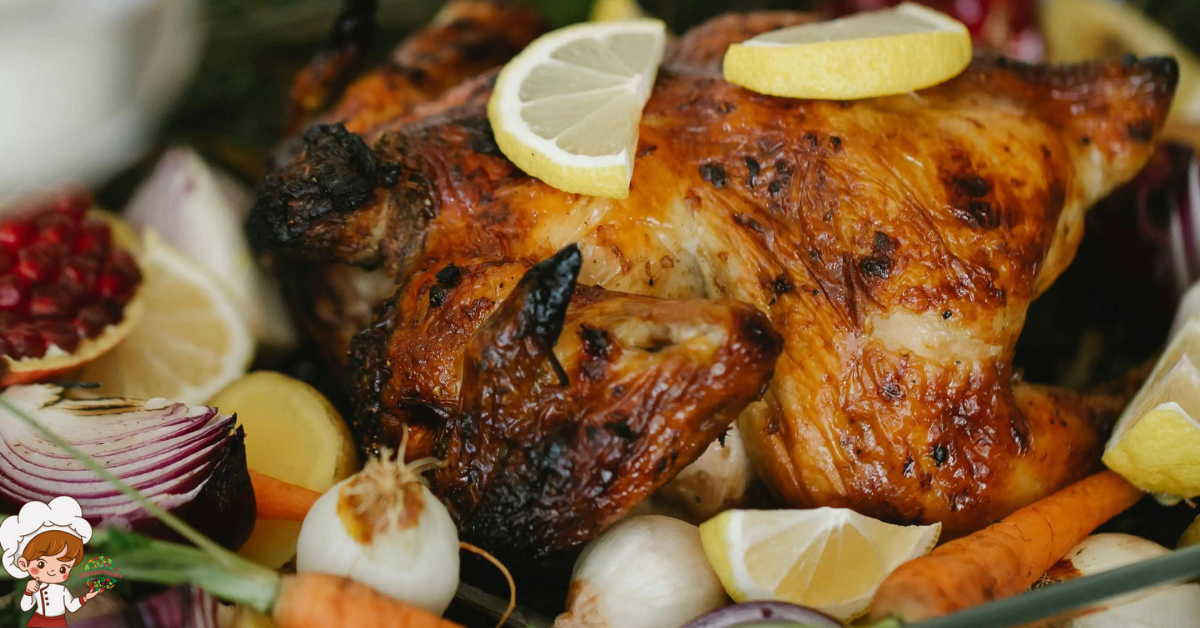
- Crunchy Breaded Chicken Sandwich: Who says gluten-free bread can’t be used for sandwiches? Make your own gluten-free bread crumbs by toasting gluten-free bread slices and blending them into fine crumbs. Dip chicken breasts in egg, coat them in the homemade gluten-free bread crumbs, and fry until crispy. Serve on a gluten-free bun with your favorite toppings.
With these enticing gluten-free bread recipe ideas, you can enjoy delicious homemade bread without compromising on taste or texture. So, dust off your gluten-free bread machine, gather the ingredients, and get ready to savor these delectable creations.
Tips for Gluten-Free Bread Success
For successful gluten-free bread, it’s important to keep these tips in mind. Gluten-free bread recipes can be a bit tricky, but with the right techniques and ingredients, you can achieve delicious results. Here are some gluten-free baking tips to help you on your bread-making journey.
- Use a mix of gluten-free flours: Experiment with different gluten-free flours like rice flour, almond flour, or sorghum flour. Combining different flours can improve the texture and flavor of your bread.
- Add binders: Gluten-free bread lacks the elasticity that gluten provides, so it’s important to add binders like xanthan gum or psyllium husk powder. These ingredients help to hold the bread together and prevent it from becoming crumbly.
- Increase the hydration: Gluten-free flours tend to absorb more moisture, so increase the liquid content of your recipe. This will help to keep your bread moist and prevent it from drying out.
- Give it time to rise: Gluten-free bread often requires a longer rising time than traditional bread. Be patient and let the dough rise until it has doubled in size. This will help to develop the bread’s structure and improve its texture.
- Add flavor and texture: Enhance the taste and texture of your gluten-free bread by adding ingredients like herbs, spices, nuts, or seeds. These additions can add a delicious twist to your bread and make it more enjoyable to eat.
Frequently Asked Questions: Tips For Amazing Homemade Gluten-Free Bread
Can I Use Regular Flour Instead of a Gluten-Free Flour Blend?
No, you cannot use regular flour instead of a gluten-free flour blend. Regular flour contains gluten, which is what you’re trying to avoid in gluten-free bread. There are alternative gluten-free flours you can use.
How Do I Know if My Yeast Is Still Active?
To test if your yeast is still active, dissolve it in warm water with a pinch of sugar. If it foams up within 5-10 minutes, it’s good to go. If not, it may be time to buy new yeast.
Can I Use a Bread Machine to Make Gluten-Free Bread?
Yes, you can use a bread machine to make gluten-free bread. However, if you don’t have one or prefer other methods, there are alternatives like hand mixing or using a stand mixer. Check out the best gluten-free bread recipes for more options.
Do I Need to Add Xanthan Gum or Guar Gum to My Gluten-Free Bread Dough?
You definitely need to add xanthan gum or guar gum to your gluten-free bread dough. These alternative binders are crucial for providing structure and preventing your bread from being crumbly.
How Long Does Gluten-Free Bread Typically Stay Fresh?
Gluten-free bread typically stays fresh for 3-4 days. To extend its shelf life, store it in an airtight container or bag. You can also freeze slices for later use. Follow these storing tips for optimal freshness.

Conclusion
There you have it — eight essential tips to help you successfully make homemade gluten-free bread. By using the right gluten-free flour blend, properly activating your yeast, and following effective mixing techniques, you can create a flavorful loaf with excellent structure and texture. Adding binders and stabilizers, such as xanthan gum or other gluten-free alternatives, also plays an important role in achieving the soft, balanced crumb that great gluten-free bread requires.
Don’t be afraid to experiment with different flavors, seeds, herbs, or other add-ins to customize your bread and make it your own. If challenges arise, simple troubleshooting techniques can help you adjust your process and improve your results with each bake.
With these expert gluten-free bread baking tips, you’ll be ready to explore new variations and recipes while enjoying fresh, homemade gluten-free bread that’s both satisfying and delicious. Happy baking!